

First distinguish wood warping from a closure symptom
Describe what the box does before naming the defect. Does one corner remain high? Does the lid stop at a repeatable point? Does it close empty but resist when the product is inside? Record those observations against the specific box and sample revision.
The USDA Wood Handbook’s drying chapter describes warp as departure from the intended flat or straight geometry of lumber. Its illustrations distinguish bow, cup and twist. These terms help describe a component; they do not identify the cause of a finished box’s uneven lid gap.
| What you observe | Check next | Do not conclude yet |
|---|---|---|
| The lid closes empty but not loaded | Product seating, insert height and loose accessories | The wooden lid must be warped |
| Resistance appears near a hinge | Visible contact and hardware position | The hinge alone caused the problem |
| A corner remains raised with contents removed | Lid shape, body rim and assembly alignment | A photograph proves moisture damage |
| Fit changed after storage or delivery | Earlier fit records and the exposure history | Transit conditions are automatically responsible |
Use this table as a proposed investigation order, not an industry defect standard. More than one issue can be present, and the box body deserves the same attention as the lid.
Why finished wood can still change shape
Wood exchanges moisture with its surroundings. The USDA chapter on moisture relations explains that humidity, temperature and the wood’s current moisture condition govern that exchange. It also describes unequal dimensional movement in different grain directions. These material behaviors make moisture history relevant to an investigation, but they do not establish the cause in an individual box.
The same chapter states that varnish, lacquer and paint can slow moisture changes without preventing them. A polished clear-coated lid therefore should not be treated as permanently isolated from its environment. Likewise, “kiln-dried” describes processing, not a guarantee that moisture content will never change afterward.
Confirm what each component actually contains. A wood-grain surface may cover solid wood, a veneered panel or another specified construction. Ask for the substrate, face and reverse-side construction, edge details and finish system. Do not apply a solid-board explanation to every layered lid without checking its build. The MDF versus solid wood guide covers the broader material selection decision.
Check the box without changing the evidence
Record the condition before trying adjustments
Photograph the complete box, the gap from several sides and any visible contact marks. Keep the packaging and identify the affected unit, carton or batch. Note when the issue was first seen and whether the box has already been unpacked, loaded, moved or adjusted.
For a receiving inspection, keep affected units identifiable while the supplier reviews the concern. Avoid using the latch or magnets to pull a resistant lid into place. The aim of this first check is to observe where normal closure stops, not to demonstrate how much force the box can tolerate.
Compare the empty and intended loaded configurations
Remove the product, loose certificate, ribbon and accessories, then gently repeat the closure check. If the insert was designed to lift out, examine the box with and without it. Leave bonded lining in place; pulling it out creates a different sample and may destroy useful contact evidence.
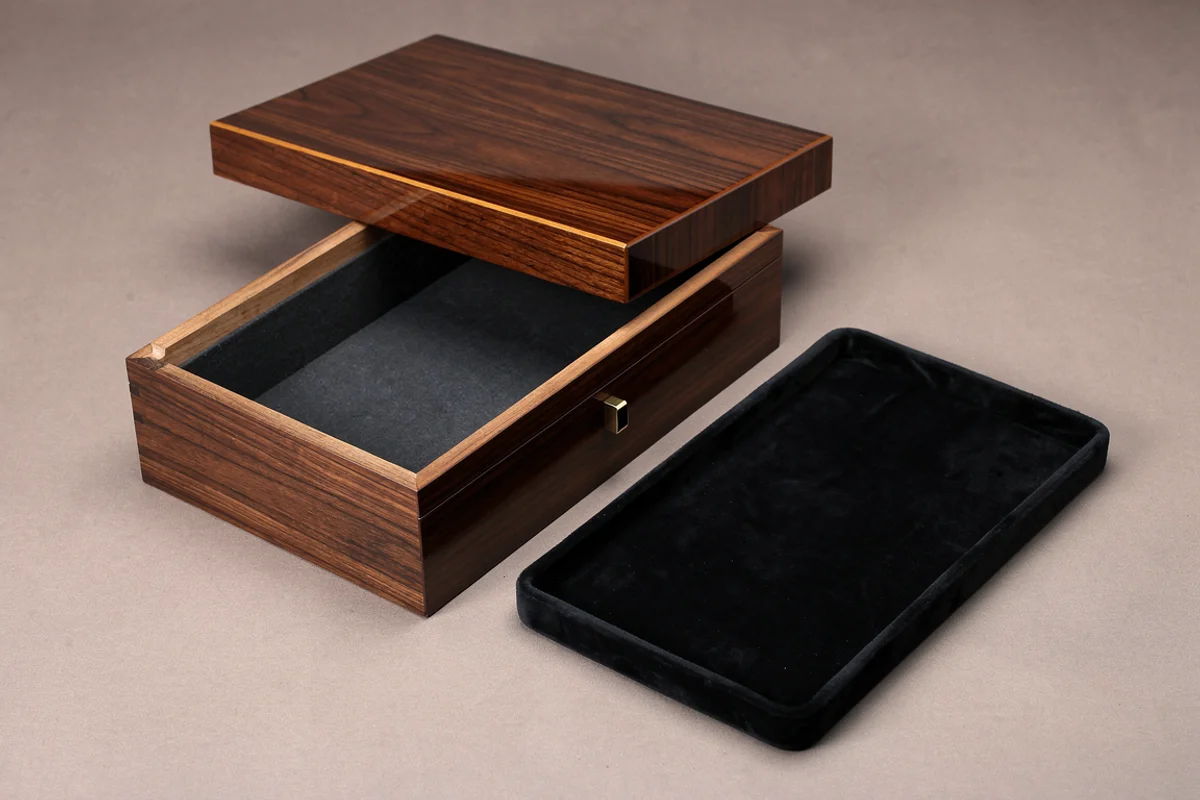
If closure improves, investigate the removed items and their seating. For example, a removable tray that has not reached its intended position is a reason to check fit before ordering a replacement wooden lid. This is a diagnostic example, not proof that every loaded-only problem comes from the insert.
Separate component shape from hardware position
Look along the accessible lid edges and body rim, checking for curvature, uneven seating or localized contact. Ask the supplier how to measure the relevant surfaces against the drawing, especially where bevels, raised profiles or decorative trim make a simple flatness check misleading.
Inspect the hinges, latch and closing path without loosening screws. Record a proud screw, shifted leaf or contact point if visible, but leave adjustment to the agreed investigation. Removing hardware may be appropriate later; it is not the default first step for a buyer receiving finished goods. The box hinge guide explains the different hardware configurations.
Ask for moisture evidence that can be interpreted
A report saying only “moisture is normal” is difficult to assess. Ask which component was measured, where, when and with what instrument and settings. Establish whether the reading was taken before finishing, at dispatch or after the complaint.
ASTM D4444-25 addresses laboratory standardization and calibration of hand-held moisture meters. Its public scope notes that different meter technologies may give different readings under the same conditions. The published discussion also distinguishes the directly measured area from predictions about larger pieces or lots.
The USDA drying chapter additionally describes moisture gradients and the importance of suitable electrodes and instrument corrections. For a finished or layered component, ask the measurement provider to confirm that the method is appropriate. A number without its method should not settle the dispute.
- Identity: box revision, component, material and inspected unit.
- Measurement: instrument, applicable settings, location and method.
- Context: inspection time, known storage conditions and earlier records.
- Comparison: affected and unaffected pieces assessed consistently.
A current reading is evidence about the current inspection. It does not, by itself, reconstruct the earlier condition or distinguish every possible cause of a fit failure. Agree any further testing before sacrificing a finished sample.
Agree a correction and a way to validate it
Ask the supplier to connect the proposed action to the observation: what is believed to be wrong, which evidence supports that explanation, which pieces are affected, and what will change? “Make the gap bigger” or “use a stronger magnet” is not a complete response if the source of resistance remains unknown.
Before accepting rework, define what the corrected sample must demonstrate. Check closure with the intended product and insert, appearance around the lid, opening feel and any revised hardware position. If dimensions or components change, identify the revision so a successful sample is not confused with the original configuration.
When environmental exposure is relevant, agree a conditioning and testing plan with the supplier or a suitable laboratory. ASTM D4332-22 provides conditioning atmospheres and procedures for packages and components. Its public guidance explains that specified conditions support meaningful comparisons and that simulated conditions do not necessarily duplicate the field.
Conditioning is therefore part of a test plan, not a statement that the box has passed. Specify what will be examined afterward, how the box will be loaded, and what counts as acceptable closure and appearance. Do not substitute a generic waiting period for these decisions.
Similarly, do not adopt steaming, soaking, sanding or clamping from a general woodworking repair article as the default treatment for a coated presentation box. Preserve the original evidence and obtain an agreed rework or replacement proposal for the actual construction.
Carry the finding into the next order
A resolved complaint should leave a clearer specification. Record the relevant construction, drawing revision, approved loaded configuration and agreed environmental assumptions. Where measurements form part of acceptance, include their method and limits rather than a vague instruction such as “no movement.”
Retain an identified reference and the correction record with the golden sample approval. If the next order changes the lid construction, lining or hardware, review whether the previous fit evidence still applies.
For a new custom wooden packaging project, send XRX the box drawing, intended contents and destination conditions. For an existing fit concern, include the empty-versus-loaded observations and photographs of the closing path so the discussion starts with an identifiable problem.
Frequently Asked Questions
Does a wooden box lid that will not close always mean wood warping?
No. Contents, lining, hardware position or the box body can also affect closure. Compare the empty and loaded box, record where contact occurs, and review component shape before assigning a cause.
Does clear varnish prevent wood warping?
Clear varnish can slow moisture exchange but does not stop it. A finished wood surface is not a guarantee of dimensional stability; the material, construction and exposure still need consideration.
What moisture content should every wooden box have?
There is no single target justified for every construction and destination. Agree the material-specific requirement and measurement method with the supplier, taking the intended environment into account.
Should I sand a tight box lid immediately?
No. First document the condition and separate shape, hardware and internal interference issues. Agree any alteration with the supplier so the original evidence and approved finish are not changed before the investigation.
Does conditioning a box prove that it will close correctly?
No. Conditioning establishes an agreed exposure or sample state for evaluation. The test plan must separately define and check closure, loading and appearance acceptance after that exposure.