

 العربية
 Français
 Deutsch
 Italiano
 日本語
 한국어
 Português
 Español
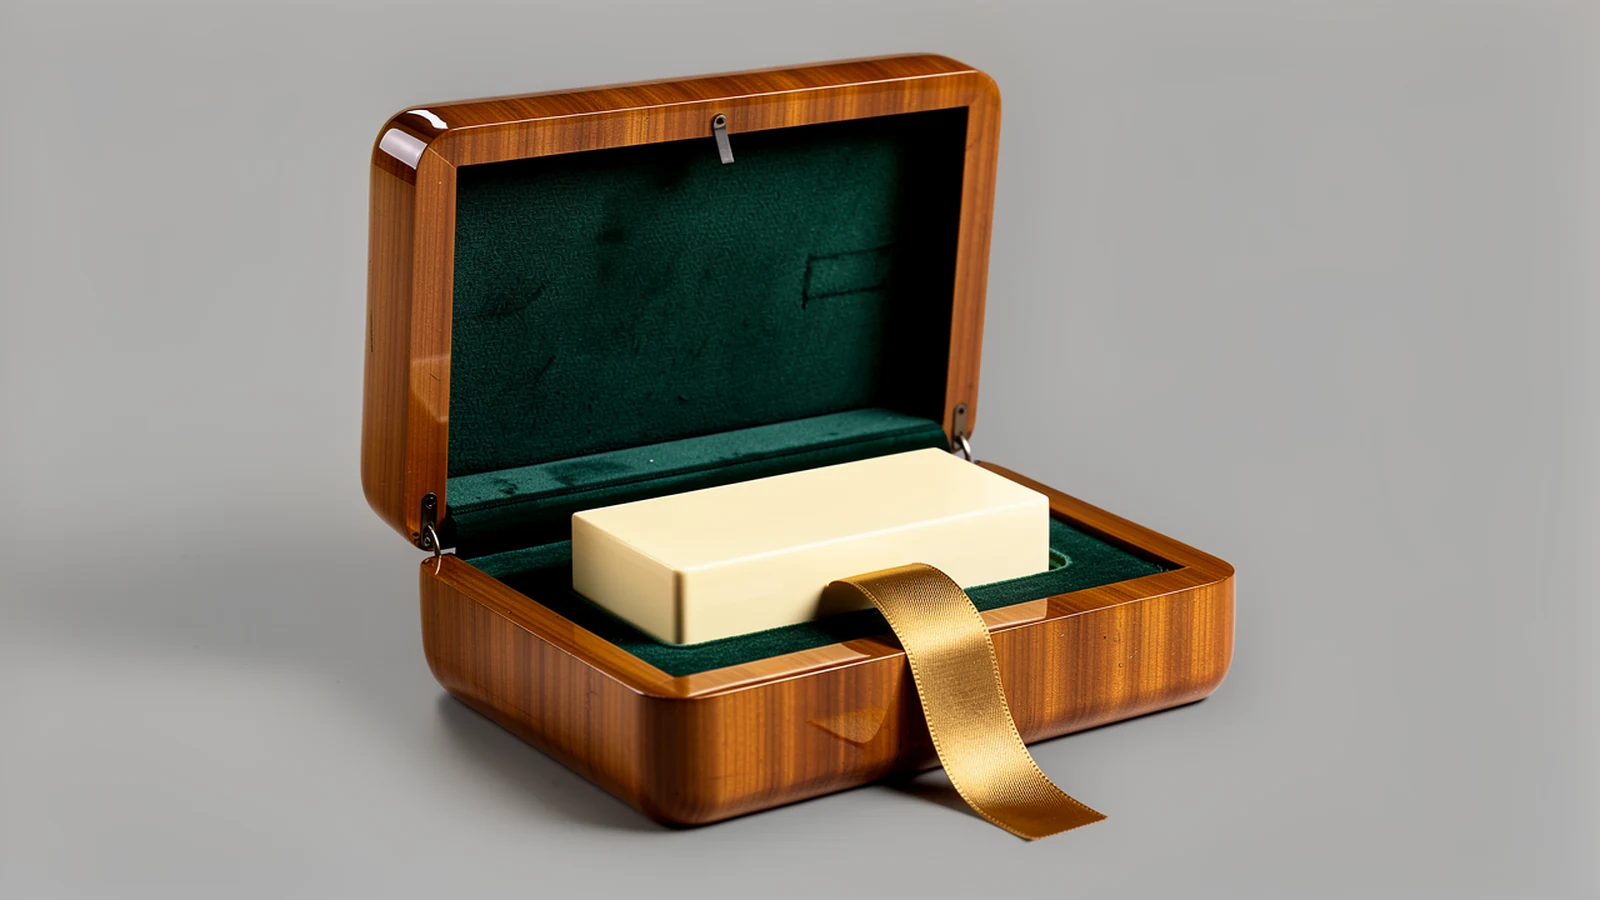

This guide focuses on product-removal ribbons inside presentation boxes. Pulling out a bottle, compact or fitted accessory is a different task from lifting an entire loaded tray. Defining that task clearly helps a buyer compare proposals and avoids approving a ribbon only for its color.
Decide what the ribbon is meant to move
Begin with a simple instruction: the ribbon should raise or expose the product far enough for the user to take a secure hold. That is more useful than requesting “a pull tab” without identifying the moving component.
A ribbon passing beneath a product can help start its removal from a pocket. A tab attached to a platform may instead move the platform and everything on it. A decorative loop tied around the product may have no designed removal function at all. Similar materials can therefore lead to different assembly drawings and approval checks.
Use these distinctions in the request for quotation. If the project requires a whole removable layer, review the separate considerations for removable trays in custom wooden boxes. For a product-release ribbon, keep the discussion centered on the item, the pocket and the handover from ribbon to hand.
| Intended function | Detail to show on the drawing | What to check on the sample |
|---|---|---|
| Start lifting a product from its pocket | Route beneath the item and position of the free end | The intended item becomes accessible without an uncontrolled release |
| Move a product-support platform | Connection between ribbon and moving support | The support moves as intended rather than only peeling the lining |
| Remove an entire tray | Attachment to the tray and intended loaded state | The complete tray operation is reviewed separately |
| Decorate the presentation | Ribbon placement and appearance | Decoration is not mistaken for an approved lifting feature |
Avoid asking one unexplained ribbon to perform all these jobs. If the user could reasonably pull the wrong loop, change the presentation or instructions before approving the sample.
Make the end accessible in the packed condition
An empty insert is a poor place to judge access. Pack the product, position any booklet or accessory and open the lid as the recipient would. The ribbon may be visible from above yet too close to the box wall to pinch, or covered by an item placed later in the packing sequence.
The relevant condition is usually after the box has been opened. An internal product-release ribbon does not have to hang outside a closed presentation box. Instead, define where its end should be when the lid opens and how the packing operator will leave it there.
Ask someone who has not seen the design drawing to try the sequence. Observe whether they recognize the pull, can grasp it and understand when to switch to holding the product itself. This is an exploratory usability review; record the users and limitations rather than presenting it as a formal certification.
The official abstract of ISO 17480 on ease of opening identifies opening location, opening methods, and instrumented and user-based evaluation as relevant design considerations. It does not provide a universal ribbon length or establish that a particular wooden-box design is accessible. The useful purchasing implication is to evaluate the action, not just the appearance.
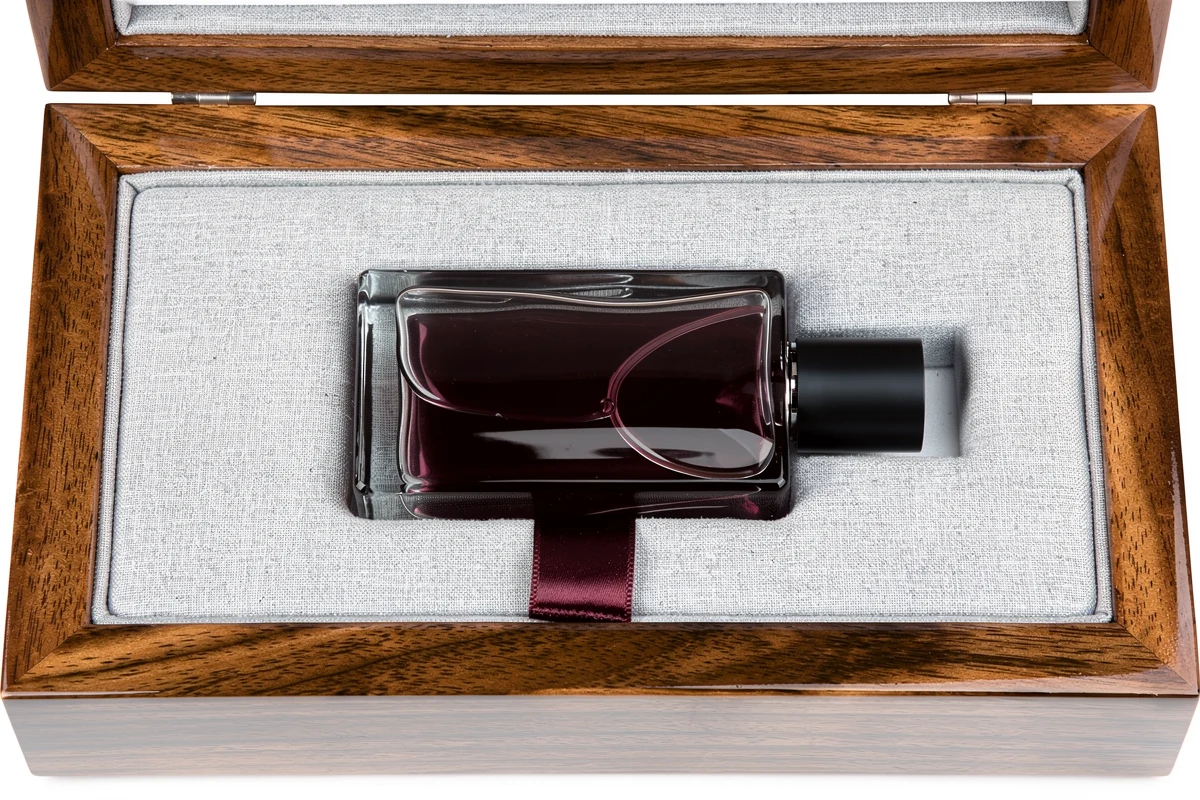
Specify the route for ribbon pulls for custom wooden boxes
Show the ribbon path in both the packed and empty pocket. Identify the fixed end, if there is one, any slot or concealed passage, the portion contacting the product and the free end. If the arrangement uses a loose ribbon instead of a fixed attachment, make that clear so packing and replacement can be reviewed accordingly.
Consider what moves first when the ribbon is pulled. A route near one end of a long product may raise that end before the other. That can be useful if the intended result is to present a graspable edge, but it should not be mistaken for an even vertical lift. Watch for the product catching against the pocket or approaching a nearby divider as it moves.
The recipient still needs to take control of the item. A narrow ribbon is not automatically a carrying strap for a glass bottle after it clears the insert. Design the sequence so the user can grasp the product before it is free to tip or drop. If this cannot be achieved comfortably, review the pocket access or removal method rather than simply fitting a stronger ribbon.
Specification insight: approve the route with the item installed and removed. A photograph of the visible tail alone cannot show whether the ribbon passes beneath the intended support area or is attached to the correct component.
For production communication, include a clear packing photograph that shows where the tail is left. This helps distinguish a routing problem from a packing-position problem without guessing that every difficult removal has the same cause.
Include folds and attachment layers in the fit review
The ribbon takes up space wherever it sits. Under a product, a fold or doubled section can raise a local contact point. Beside a closely fitted item, added material can change the available clearance. Near the top of the insert, an untidy tail can be caught between the lid and base.
These are reasons to assess the completed assembly, not to apply a standard extra allowance. Ribbon thickness, folded ends, attachment layers, lining and product geometry differ. A sample that fits before the ribbon is installed has not yet demonstrated the final fit.
Identify the proposed attachment method without choosing it only from appearance. Ask what receives the attachment and whether the joint is hidden by the lining. The ribbon should move the intended product or support, rather than relying on an unspecified decorative layer to do a different job.
Specification insight: the approved component is the finished ribbon assembly, including its end treatment and concealed attachment. Substituting a visually similar ribbon can still change thickness, stiffness, routing or the way its end rests inside the box.
Keep an accessible part reference or material description with the sample. If the supplier proposes a change, compare the packed fit and removal action as well as the color swatch. Do not assume that equal nominal width makes two ribbon constructions interchangeable.
Separate color matching from contact performance
A ribbon can match the brand palette and still require a separate review of contact with the product. Identify where it touches a light-colored case, coated bottle, printed label or interior lining. Include contact while the box remains packed, not just the brief moment when the item is removed.
AATCC TM8’s published summary describes assessment of color transferred from a textile by rubbing under controlled conditions, with dry and wet test cloth procedures. That supports asking for defined color-transfer evidence. It does not mean that a textile result automatically proves compatibility with every product surface or with prolonged storage in your box.
Where marking would be unacceptable, agree a contact assessment appropriate to the actual ribbon and contacting material. Ask the testing provider to define the conditions and acceptance criteria. Keep the ribbon identity and product finish linked to the result, so a later color or material substitution is visible in the approval record.
Do not infer performance from color alone. A darker ribbon is not automatically unsuitable, and a pale one is not automatically non-marking. Likewise, a clean visual sample does not establish what happens under every future storage condition.
The wooden exterior should have its own appearance specification. A smooth clear-coated wood surface and a well-chosen ribbon can complement each other, but approving the wood finish does not approve the textile’s behavior against the contents. Keep those decisions separate while reviewing them together on the complete sample.
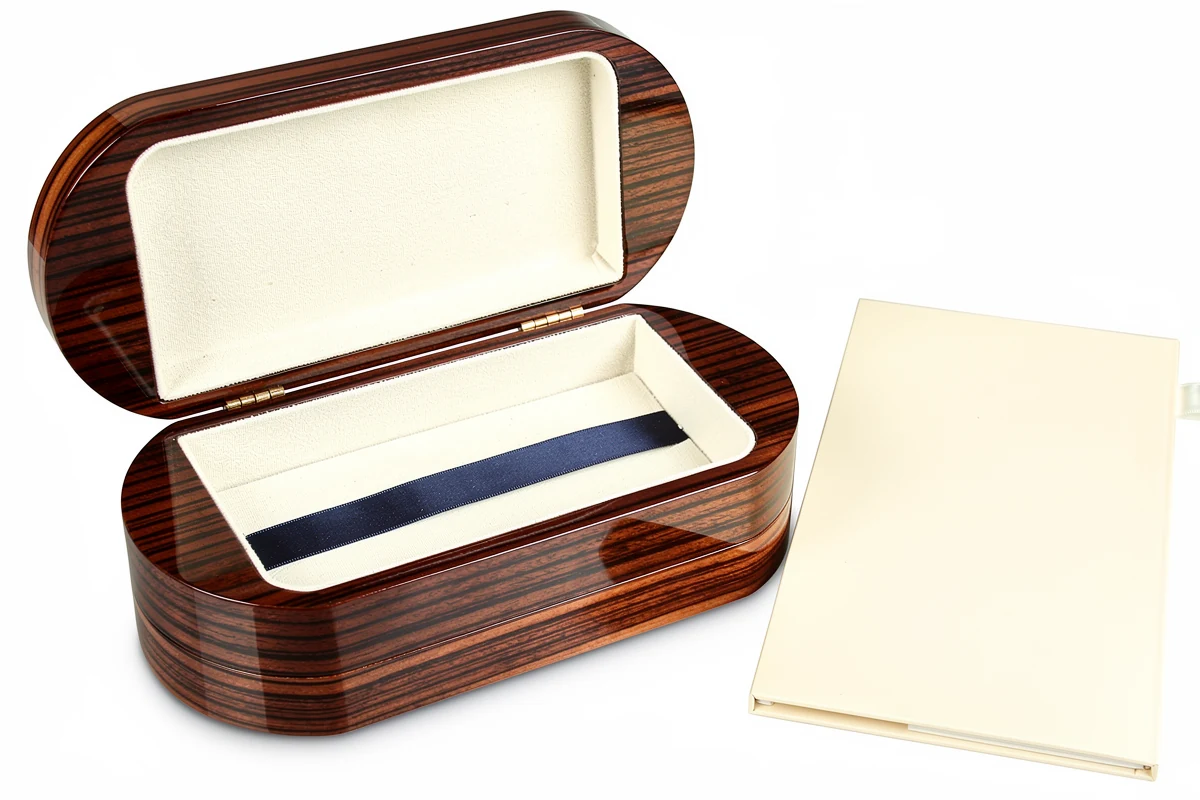
Review removal, replacement and closure as one sequence
Start with the sample packed as intended. Open the box, locate the ribbon, remove the item, place it aside and then return it to the pocket. Finally, position the ribbon and close the lid normally. If the box is intended for reuse, replacement deserves the same attention as the first opening.
Record where the sequence becomes awkward. Does the tail disappear beneath the product after replacement? Does the item twist before a hand can reach it? Does the ribbon bunch at the bottom, cross an accessory pocket or sit on the closing edge? Use those observations to request a specific revision rather than a vague “make it easier to open.”
A useful approval record includes:
- The product version, pocket and lining used for the review.
- The ribbon identity, route, attachment and accessible-end position.
- Photographs of the packed condition and empty pocket.
- The intended pull direction and handover to the product.
- Agreed observations for attachment movement, fraying, marking and closure.
- Any further evaluation needed for repeated use or product contact.
Set any force limits or repetition counts around the actual project and intended users. An informal successful opening is useful feedback, but it should not be relabeled as a standardized test. Attach the agreed record to the golden sample approval so the production team knows which configuration was accepted.
For a quotation, provide the product dimensions and sample, desired orientation, lining preference, removal task, ribbon color direction, quantity and presentation requirements. Within the broader custom wooden packaging specification, ask the supplier to show how the ribbon fits into the insert and packing sequence. Contact XRX with those details to discuss a wooden box sample built around the intended product access.
Frequently asked questions
What is the difference between a ribbon pull and a tray tab?
The important distinction is what moves. A product-release ribbon helps make an individual item accessible, while a tray tab moves the tray or support to which it is attached. Specify the intended function and route because the same ribbon material can be used for different tasks.
Must a product-removal ribbon remain visible when the box is closed?
No. An internal ribbon normally needs to be accessible when the lid is opened and the product is still packed. Define its resting position and check that packing or replacement does not bury the free end.
What width and length should the ribbon have?
There is no universal size for every wooden box and product. Select the dimensions around the routing, grasping space, product geometry and closed-box fit, then confirm them on the complete lined sample.
Can a ribbon solve a product pocket that is too tight?
Do not assume so. A ribbon may help start removal, but the pocket and extraction path still need to work. If the product binds or releases unpredictably, review the fit and access rather than relying on a stronger pull.
Does an approved ribbon color prove that it will not mark the contents?
No. Color matching and contact performance are separate approvals. Where transfer or marking matters, agree suitable evaluation using the identified ribbon and relevant contacting material, and review substitutions that could affect the result.