

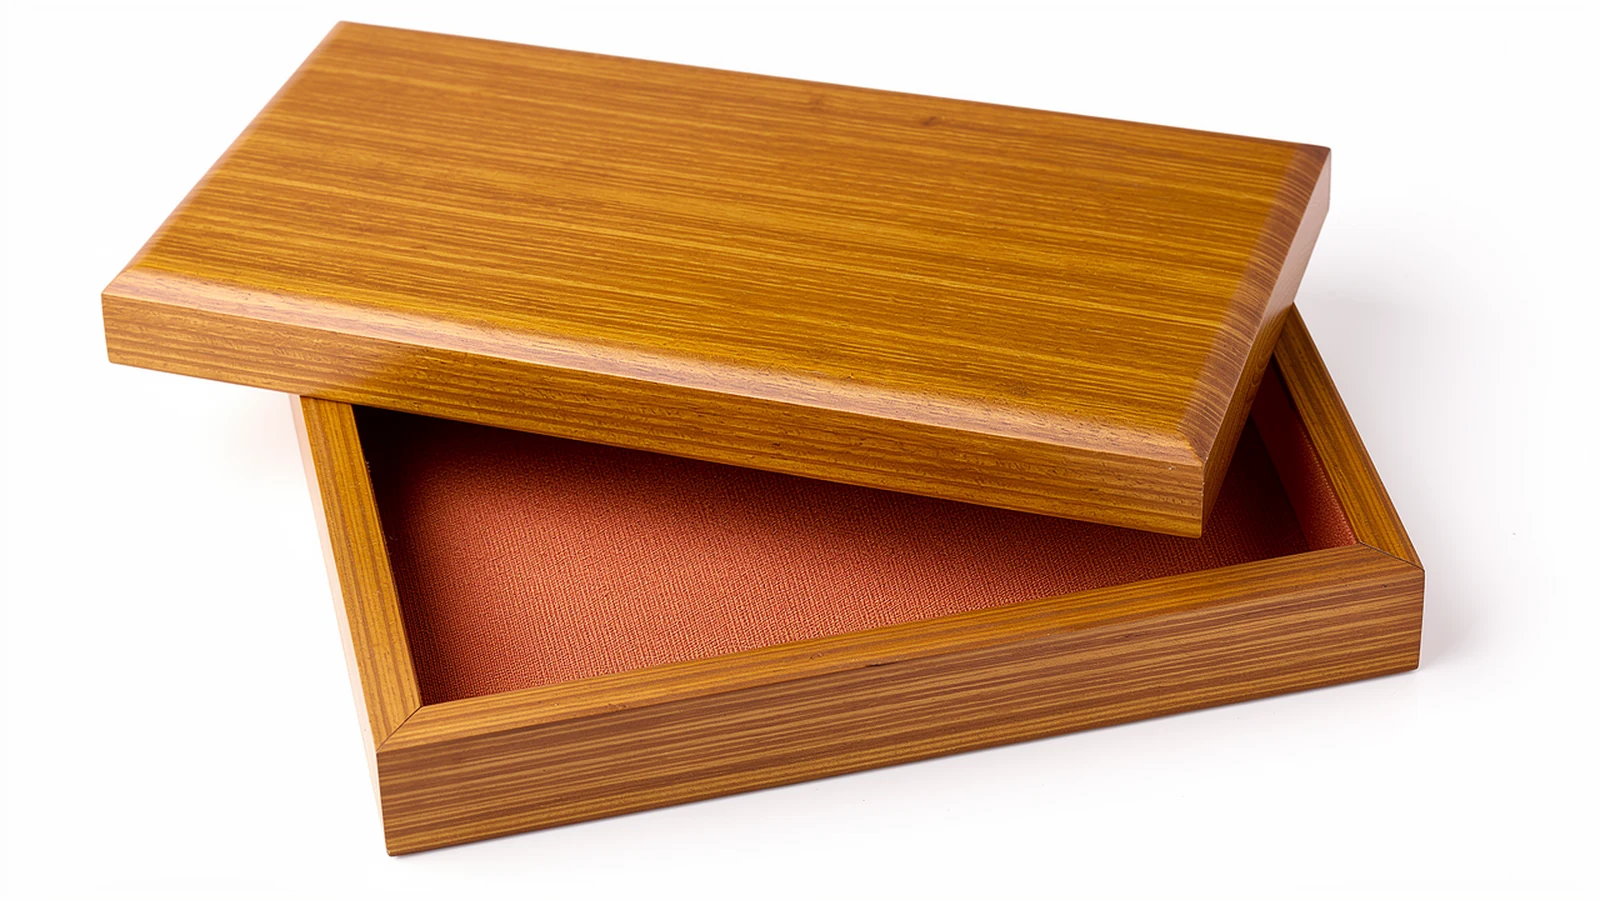

For clear-coated packaging, start with a drawing of the visible edges and finish with a physical sample. Keep appearance approval separate from evidence about the bond. This guide helps brand owners and packaging buyers turn “matching wood edges” into a requirement that a manufacturer can quote, build and inspect.
Identify the edges the customer will actually see
Look at the box closed, open and with any removable insert lifted out. These views reveal different surfaces. A front lid edge may dominate the closed presentation, while the upper rim and inner returns become prominent during unboxing. An edge hidden beneath a tray may become visible whenever the tray is removed.
The Architectural Woodwork Institute glossary defines edgebanding by its role: material applied to an edge to conceal a panel core. The term alone does not specify natural wood, a particular species or the complete construction. In a wooden-box quotation, name the proposed edge material explicitly.
Mark each relevant location on a drawing or annotated photograph. Include the lid perimeter, base rim, inner opening, cutouts and any removable wooden parts. Identify intentional exposed-core designs separately; an approved decorative detail and accidental missing coverage should not receive the same inspection comment.
| Location | Detail to agree | Sample view |
|---|---|---|
| Closed lid perimeter | Edge material and relationship to the lid face | Front and side views with lid seated |
| Open base rim | Coverage, grain direction and corner joints | Overhead view with lid open |
| Inner return beside lining | Boundary between wood finish and fabric | Close view before and after loading |
| Removable wooden component | Edges visible during removal and replacement | Component outside the box |
For a first quotation, a simple numbered edge map is often more useful than a page of adjectives. Give the manufacturer room to propose the construction, but require any change to the intended visible result to be identified. Do not let an unmarked rear edge become an accidental exception.
The broader guide to wood veneer for wooden boxes covers face materials and grain choices. This edge schedule supplements that selection rather than replacing the material specification.
Choose the face-to-edge relationship before finishing
A separate veneer strip, a solid-wood edge component and a proposed wrapped surface are different construction proposals. Ask for a section showing the face layer, core, edge treatment and inside finish. If a supplier proposes wrapping, have it confirm feasibility for the actual profile and material; a reference photograph does not establish the method.
Choose the visual relationship deliberately. The edge might blend with the broad face, form a darker wood border or create a clearly defined frame. None of these intentions is adequately described by “premium wood finish.” Supply a reference for the relationship, not just a picture of the lid centre.
For a blending design, review the finished face and edge side by side. State whether the priority is overall tone, fine grain, direction or an unobtrusive junction. A species name does not tell the manufacturer which of these matters most to your brand. Equally, an intentional contrast should not later be rejected simply because it differs from the face.
Specification insight: approve a corner containing the face, edge and lining boundary. A flat veneer swatch can approve a colour direction, but it cannot show where those surfaces meet on your box. Retain both references if they serve different decisions.
Transparent clear coating leaves the underlying visual relationship important. It does not add a missing wood-grain layer over an exposed core. If the brief requires a wood-covered rim, specify that construction before approving the coating appearance.
Mark seams and transitions for edge banding for custom wooden boxes
Ask the manufacturer to show where separate pieces meet and how the face-to-edge junction will be formed. The application sequence can affect the visible junction, so obtain a construction detail rather than prescribing “edge first” or “face first” without understanding the proposal.
At corners, identify the intended joint pattern and the direction of the visible grain. For a long rim, state whether a joint within that run is acceptable and where it may appear. A blanket “no seams” instruction is difficult to assess when the design itself contains separate components.
The front rim may be a critical viewing area for one package, while a vertical side is more prominent in another. Mark those priorities using the intended opening and display positions. Do not automatically move every joint to the rear if that surface is also visible in the retail presentation.
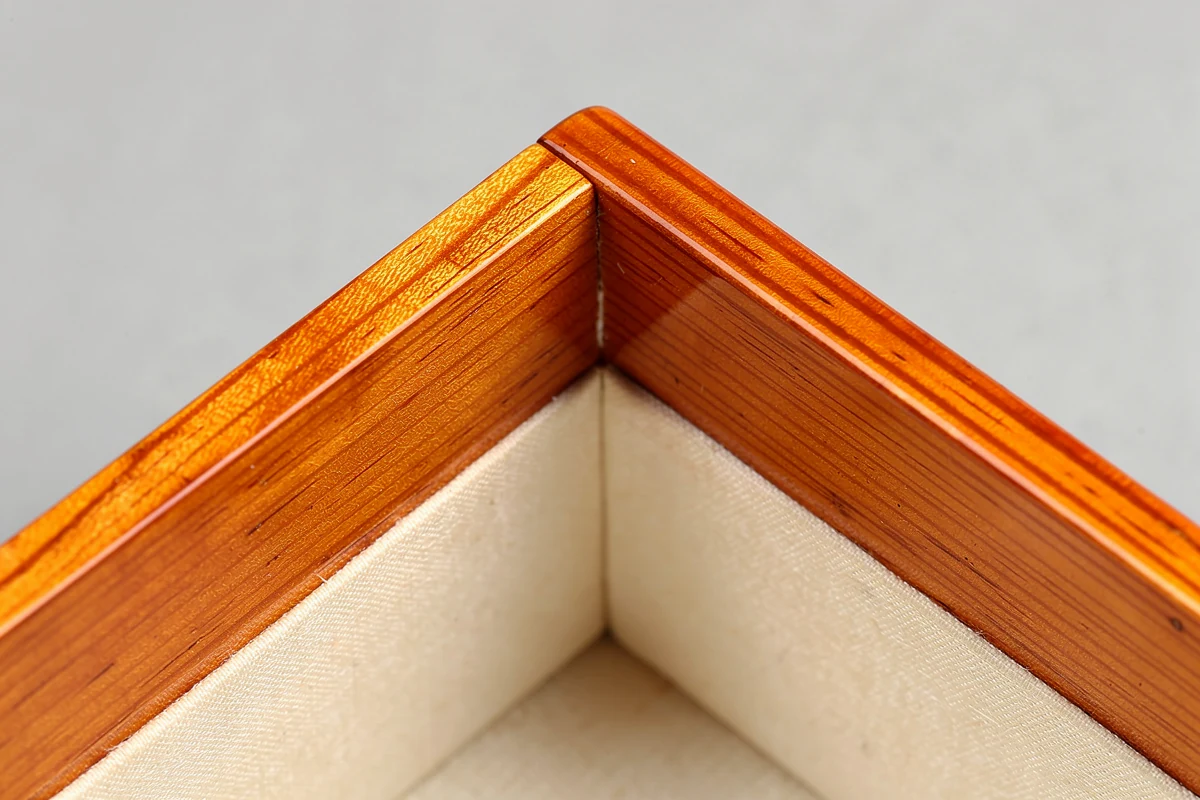
Describe the transition in observable terms. Identify whether the band should finish flush with the adjacent face or form a deliberate border. Agree how any measurable step or gap will be checked and what variation is acceptable. Avoid importing a furniture tolerance into a small packaging project simply because both use wood veneer.
Also show the lining boundary. Fabric that finishes below the rim leaves a wood strip visible; fabric turned over the edge creates a different detail. Approving the outer face alone leaves this part of the unboxing experience unresolved.
Review bonding without guessing from a photograph
An edge that lifts, opens or develops a raised line deserves investigation. Record its location and appearance before assigning a cause. A photograph may show the symptom, but it does not reveal the adhesive, surface preparation or assembly history.
The USDA Wood Handbook chapter on adhesive bonding explains that bond performance depends on the physical and chemical condition of the surfaces. It also treats veneer and composite-panel surfaces as requiring appropriate preparation. This supports reviewing the material and bonding process together; it does not prescribe a universal adhesive or production recipe for presentation-box edges.
Ask the manufacturer to identify the proposed substrate, edge material and adhesive system, and to explain how preparation and bonding are controlled. Where the application requires performance evidence, agree the specimen, conditioning, method and acceptance criteria with the supplier or a suitable laboratory.
Keep the visual master available for appearance comparisons. If a destructive assessment is needed, use a separately identified representative specimen. Record how it represents the production construction. A neat-looking corner is useful appearance evidence, but it is not a substitute for the particular bond assessment you agreed.
Specification insight: write a correction request in two parts: the observed defect and the proposed action to review. “Front rim has a lifted section; investigate the assembly and submit a corrected finished sample” is more precise than “use stronger glue.” The latter assumes a cause before it has been established.
Approve the completed edge under agreed viewing conditions
Inspect the sample with its final surface finish and lining. Start at the normal presentation distance, then look closely at the designated critical edges. Use agreed lighting and viewing positions so that the acceptance discussion does not depend on whichever photograph makes the joint least visible.
Check coverage, corner consistency, visible adhesive, unexpected colour breaks, chipped areas and raised transitions. Compare any intentional border with the drawing. Record the exact location of a concern; a comment such as “edge finish poor” gives the manufacturer little basis for a targeted correction.
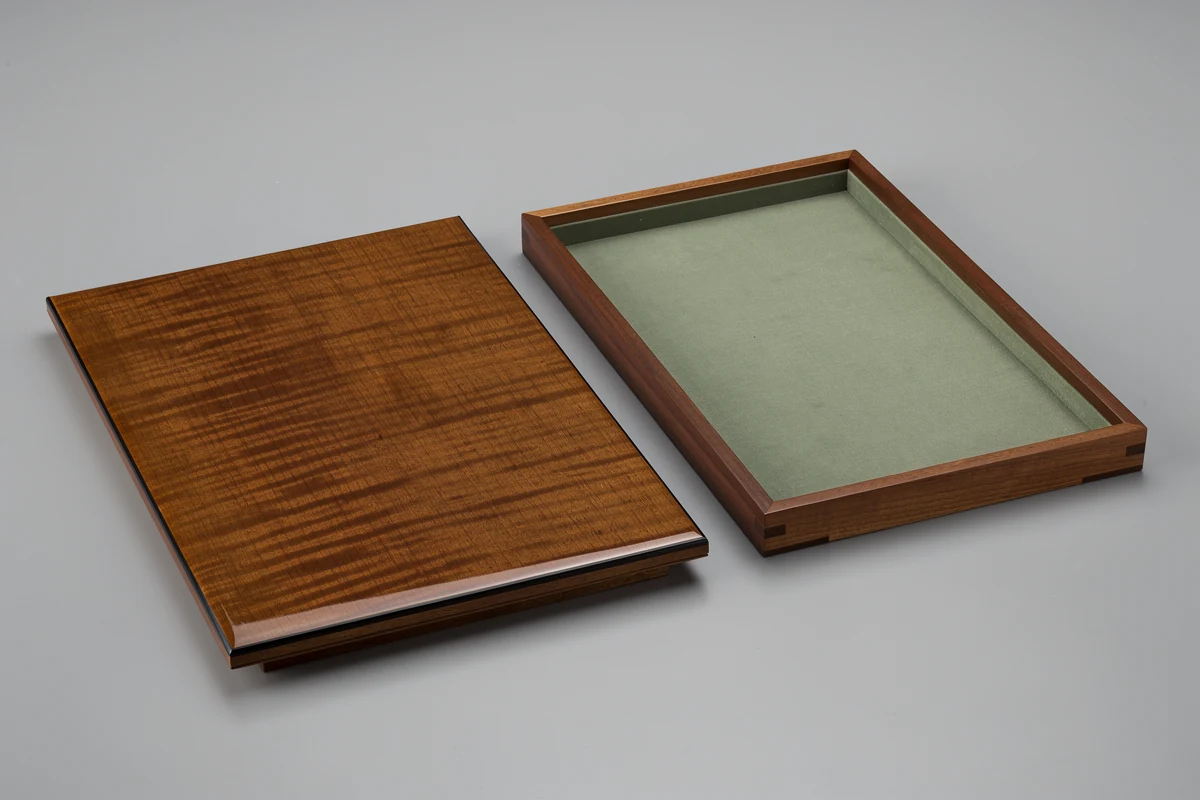
Then load the product and operate the box. Confirm that the lid seats as intended, the insert passes the opening and the visible rim remains as approved. A lining change or revised insert should not obscure a detail that was central to the design without renewed agreement.
As a hypothetical example, a buyer might approve a pale, fine-grained rim beside a darker lid face. During sampling, the supplier proposes a wider contrasting edge. The decision is not merely whether the new colour looks attractive: the buyer should also review the border width, corner arrangement, lining boundary and closed-box relationship. This is an approval scenario, not a reported factory case.
Attach the accepted edge map and close photographs to the wooden-box golden sample record. Include agreed natural variation and any accepted joints. That makes later inspection more useful than comparing every unit with one isolated beauty shot.
Put the edge schedule into the quotation and order
Send the overall box dimensions, finished internal space, substrate proposal, face veneer reference, edge map, clear-coat target and lining arrangement together. Add logo placement, quantity, sample requirements, delivery destination and protective packing needs. Ask the supplier to identify assumptions and separately price alternatives that change the approved visible construction.
If minimum order quantities or sample timing differ between proposals, ask which material or operation creates the difference. Do not compare prices for a natural-wood band and a printed substitute as though they were the same specification.
Before production, freeze the approved revision. Changes to edge material, substrate, seam arrangement, adhesive system or finishing sequence should be reviewed for their effect on appearance and any relevant performance evidence. The required recheck depends on the change; not every revision needs an entirely new approval programme.
For custom wooden packaging boxes, the edge should be part of the original design brief. You can send XRX the box drawing and marked edge references to discuss a construction proposal and the details to resolve during sampling.
Frequently asked questions
Is edge banding always natural wood veneer?
No. Edge banding describes an edge-covering function, not a single material. If the project requires natural wood, specify the edge material separately from the face veneer and core. Confirm the actual construction on the drawing and finished sample.
Should the rim match the lid exactly?
Define the intended relationship rather than assuming exact identity. A blending rim, a contrasting wood border and a framed appearance are different choices. Approve the finished face and edge together, including grain direction, colour range and corner details.
Can clear lacquer hide an exposed MDF edge?
Do not treat transparent coating as a substitute for the specified wood covering. If the design requires a wood-grain rim, resolve the edge construction first. Inspect the completed sample for the intended coverage and transition before approving production.
Does a smooth edge prove that the band is securely bonded?
No. Smoothness is an appearance observation. Bond-performance evidence must address the relevant materials, assembly and agreed assessment conditions. Visible lifting should be investigated, but appearance alone does not establish its cause.
Where should an edge-banding seam be placed?
Identify acceptable locations on the drawing using the closed, open and display views. There is no single location suitable for every box. Ask the manufacturer to propose a feasible joint arrangement and approve its appearance on the finished sample.