
Factory Production Capability
Wooden Box Manufacturing Process
from Engineering to Export Packing
The wooden box manufacturing process changes with the substrate, structure, finish, hardware and interior. XRX does not route a natural solid wood box, veneered MDF box and piano-lacquer presentation box through one identical production sequence.
Our factory coordinates engineering, material preparation, machining, sanding, surface work, branding, assembly, lining, inspection and packing so the approved concept can be repeated for a bulk OEM or ODM order.
MOQ
500 pcs
Sample
7–15 days
Bulk
35–65 days
Different Products Need Different Routes
Why the Manufacturing Route Is Defined Before Cutting
Material movement, coating build, hardware clearance, insert depth and final packing all affect manufacturability. Engineering review prevents attractive concepts from becoming unstable, difficult to finish or inefficient to assemble.
Natural Solid Wood Route
Walnut, beech, oak, pine, birch and rubber wood require attention to grain, moisture-related movement, machining direction, sanding and a finish that respects natural variation.
MDF Painted Route
MDF offers a stable, smooth base for branded colors. Edge sealing, primer preparation, coating, curing and protected handling become important production controls.
MDF Veneer Route
Veneer projects combine a stable core with natural grain. Veneer selection, panel matching, grain direction, edge treatment, pressing and protective coating must be planned together.
Cedar Cigar Box Route
Cedar-related projects require the buyer to define intended use, cedar scope, internal structure and finish. Material handling and odor expectations differ from a standard painted gift box.
Piano Lacquer Route
A thick glass-like surface needs repeated preparation, coating, curing and polishing. The longer finish route affects schedule, handling and packing protection.
Display Product Route
Jewelry display props and wooden presentation stands may use shaped components, soft coverings, concealed fixings and modular set packing rather than a conventional hinged box structure.
Engineering Defines the Process Reference
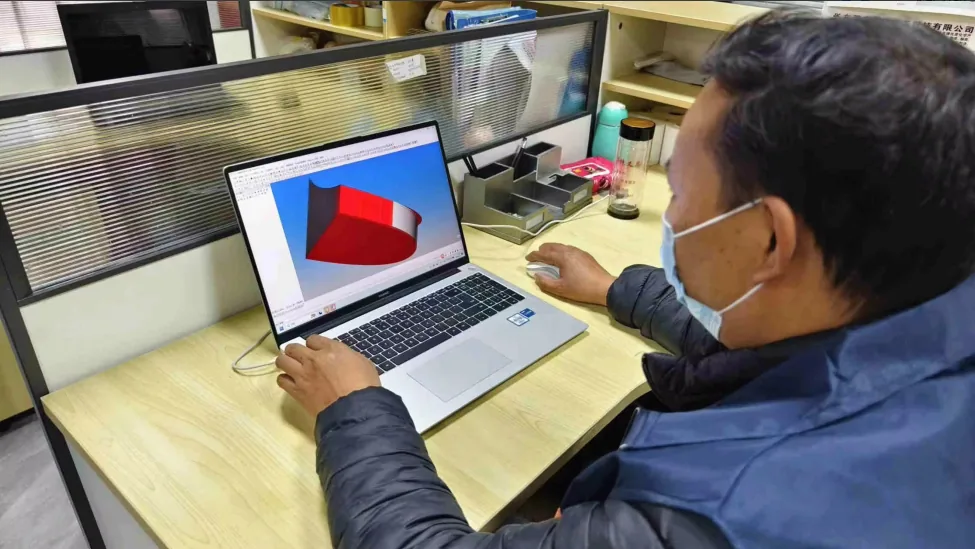
A buyer may begin with a drawing, a sample, a rendering or only a target product. Before material is released, the useful information has to become a manufacturable reference: outside and inside dimensions, wall thickness, lid movement, joint direction, hardware positions, insert depth, logo area and packing orientation.
This review also identifies which features need a physical sample. A tight bottle cavity, a drawer face that must align with surrounding veneer, or a metal plate placed across a curved lid cannot be judged from nominal dimensions alone. Confirming these relationships early reduces late changes after coating or assembly has begun.
Downstream Work Changes Upstream Decisions
The final appearance influences the first machining steps. Veneer requires a grain plan and suitable edge treatment. Painted MDF needs edges that can be sealed and prepared. A clear-finished solid wood box needs machining and sanding that respect visible grain. Piano lacquer requires shapes, gaps and corners that can be coated, cured, polished and protected.
Hardware and interior components also affect the sequence. Some recesses are machined before finishing, while selected fittings, linings and inserts are installed only after finished surfaces are stable. The route is therefore a connected production plan, not a list of independent workshops.
Bulk Readiness Is More Than Sample Appearance
A presentation sample may look correct yet still require adjustments before quantity production. The factory reviews whether components can be positioned consistently, whether grain and color references are practical, whether the insert can be assembled without damaging the finish, and whether the packed unit has enough protection for repeated handling.
The approved sample remains important, but it works together with confirmed drawings, artwork, material references and written requirements. When a revision is approved, the current revision must be clear to purchasing, production, finishing, assembly, inspection and packing teams so that outdated details do not continue downstream.
Production planning also considers material preparation, coating and curing time, manual assembly, insert work and final packing. These activities cannot always be compressed into one continuous machine cycle. A realistic route gives each stage the reference and working time it needs, while inspections are placed before defects become hidden by paint, lining or assembled hardware. Buyers can support this process by freezing dimensions, artwork and presentation details before the agreed production release. If product samples, accessories or special hardware are supplied by the buyer, their arrival and approved version should be included in the release plan. This keeps the production reference aligned with the actual components that the finished wooden box must contain throughout bulk production.
Core Production Sequence
Seven Connected Manufacturing Stages
Checks are placed where a problem can still be corrected before it affects downstream finishing or assembly.
Engineering Review
Convert drawings, samples or references into confirmed dimensions, joints, hardware positions, insert clearances and process requirements.
Material Preparation
Select the confirmed solid wood, MDF, veneer, okoume or cedar components and prepare them for the required structure and surface route.
Cutting and Machining
Use cutting, shaping, routing and drilling operations to create repeatable panels, cavities, edges, joints and hardware positions.
Sanding and Preparation
Control flatness, edges, joints and surface condition before veneer, clear coating, paint or lacquer is applied.
Finishing and Branding
Complete coating, curing, polishing, engraving, printing, hot stamping or logo-plate work according to the approved sample.
Assembly and Interior
Fit hinges, magnets, locks, handles, trays, velvet, EVA, sponge and other internal parts while checking function and fit.
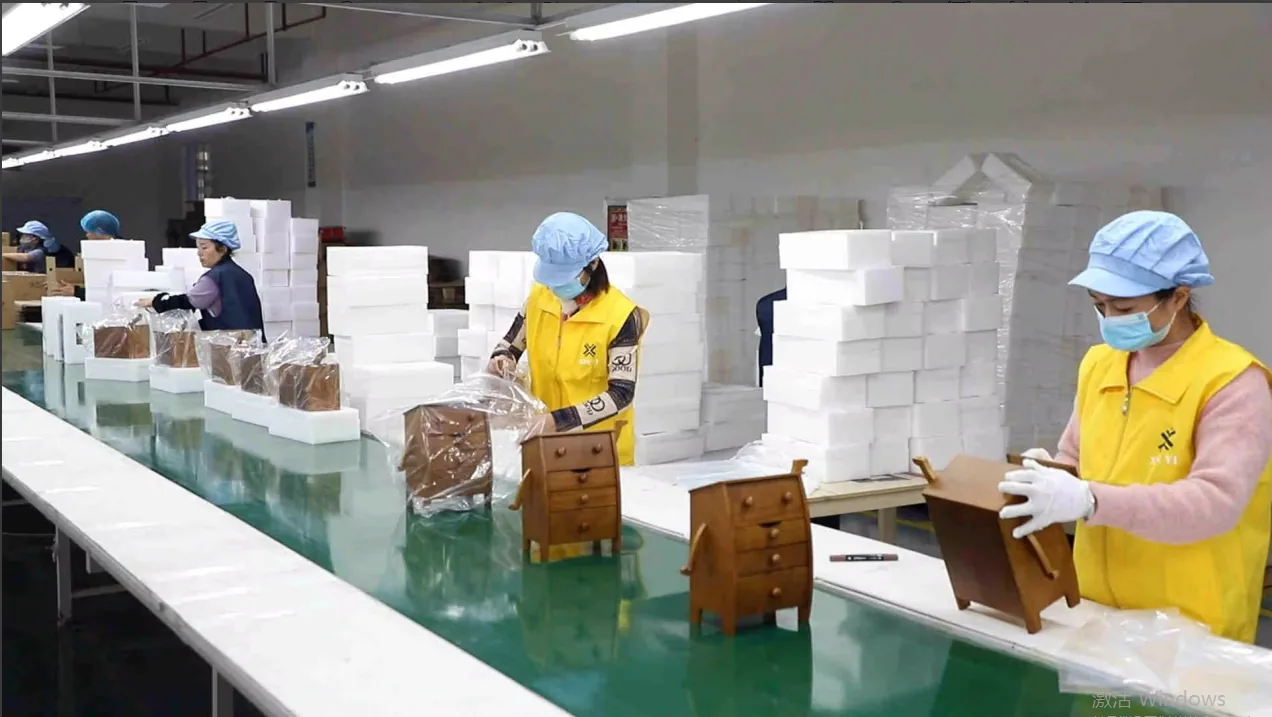
Inspection and Packing
Review appearance, dimensions, opening action, branding, interior, accessories and shipment protection before carton sealing.
Machining Foundation
Equipment Supports Repeatable Structure, Not Automatic Quality
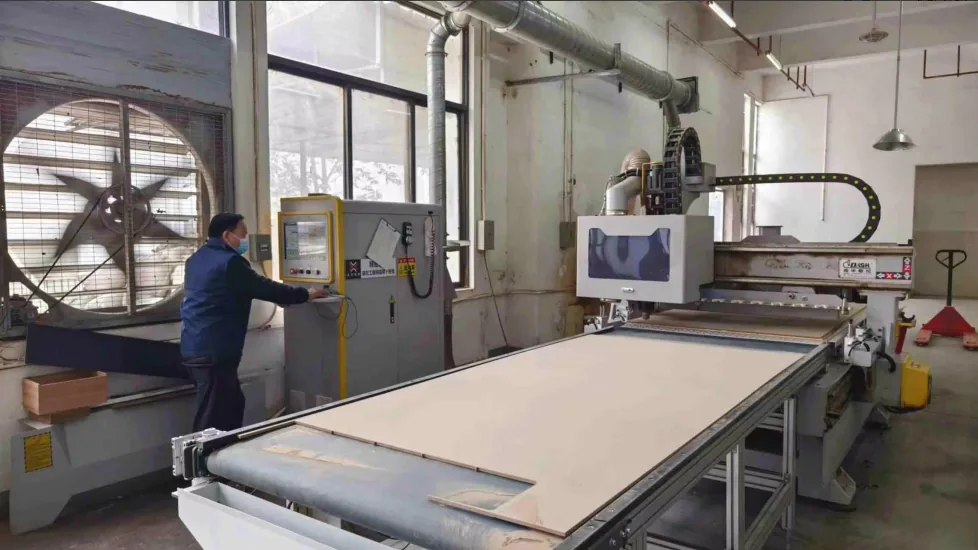
Our equipment system covers cutting, shaping, sanding, veneering, drilling, spraying, laser work, assembly, dust collection and packing. Experienced operators, fixtures, approved references and process checks remain essential for custom work.
Cutting and Panel Work
Electronic saws, cutting equipment and panel-preparation processes establish repeatable component sizes before detailed shaping.
CNC, Routing and Shaping
Machining centers, routers and shaping equipment support cavities, profiles, openings, decorative features and repeatable component geometry.
Drilling and Joint Preparation
Multi-row and vertical drilling, tenoning and related operations prepare hardware positions, joints and assembly references.
Sanding and Dust Control
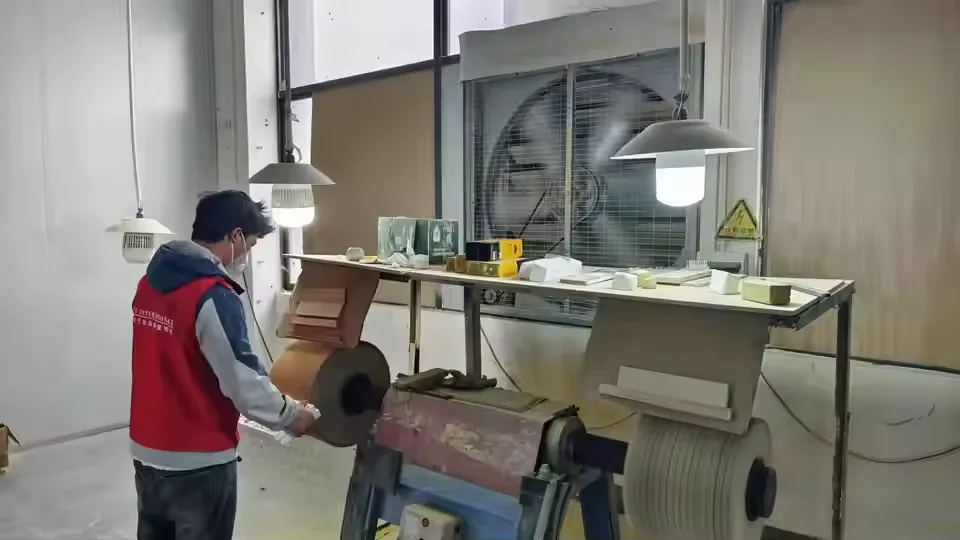
Automatic and manual sanding plus central dust collection support surface preparation before coating and final assembly.
Veneering and Pressing
Veneer, laminating, gluing and pressing processes are selected according to substrate, grain direction, panel shape and finish.
Spraying and Post-Processing
Spray, flow-coating, laser, marking and printing equipment support different finish and branding routes after correct preparation.
Surface Route
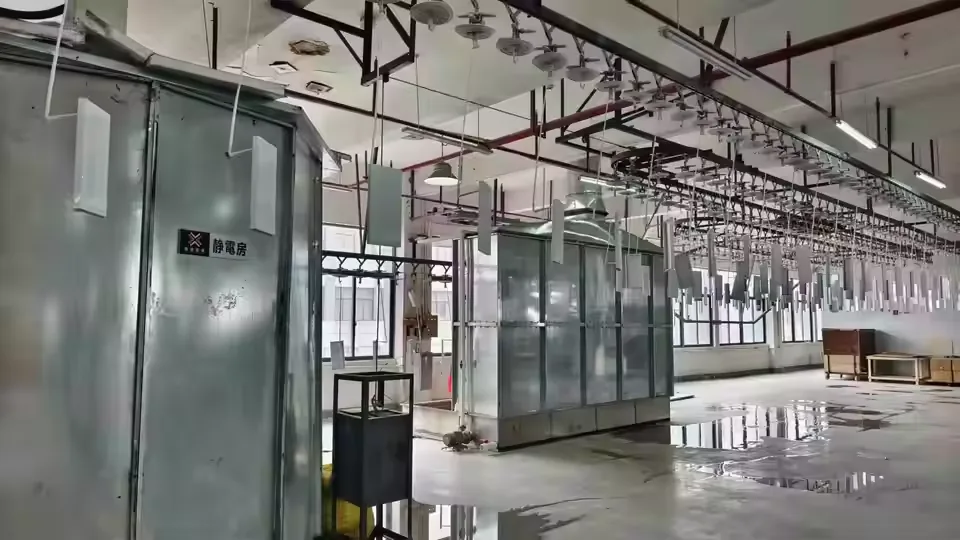
Finishing Time Is Part of the Production Plan
Clear varnish, stain, matte paint, gloss paint, veneer and piano lacquer require different preparation, coating, curing and polishing stages. The finish affects how edges are prepared, when logos are applied, how components are handled and how finished boxes are separated during packing.
A physical sample should confirm color, gloss, grain visibility and logo appearance on the actual substrate. For a deeper educational comparison, use the Finishing Guide; for available factory processes, review our surface finish capabilities.
Prepare
Sand, seal and inspect the selected substrate.
Apply
Follow the approved coating and color route.
Cure
Allow the finish to stabilize before handling.
Polish and Protect
Complete required polishing and prevent surface contact.
Assembly & Branding
Manual Detail Work Completes the Structure
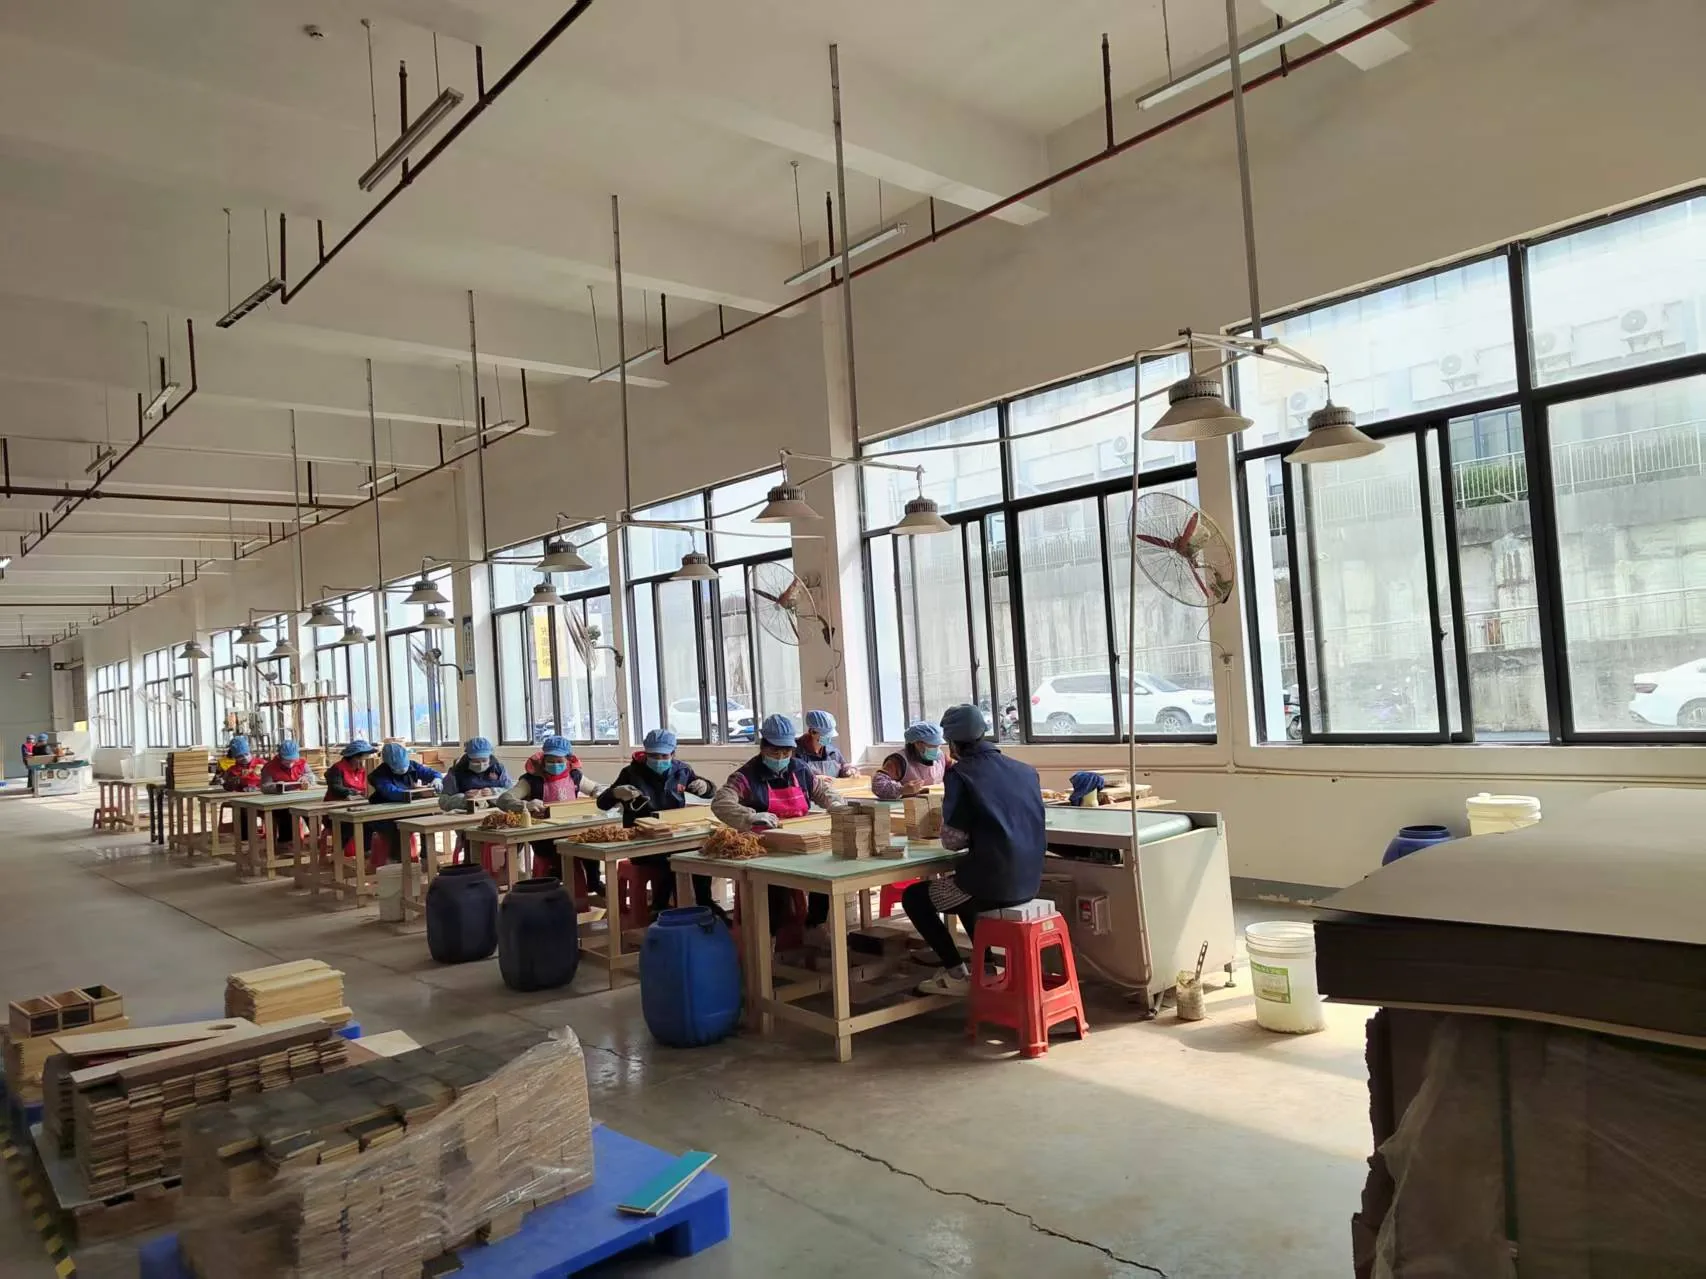
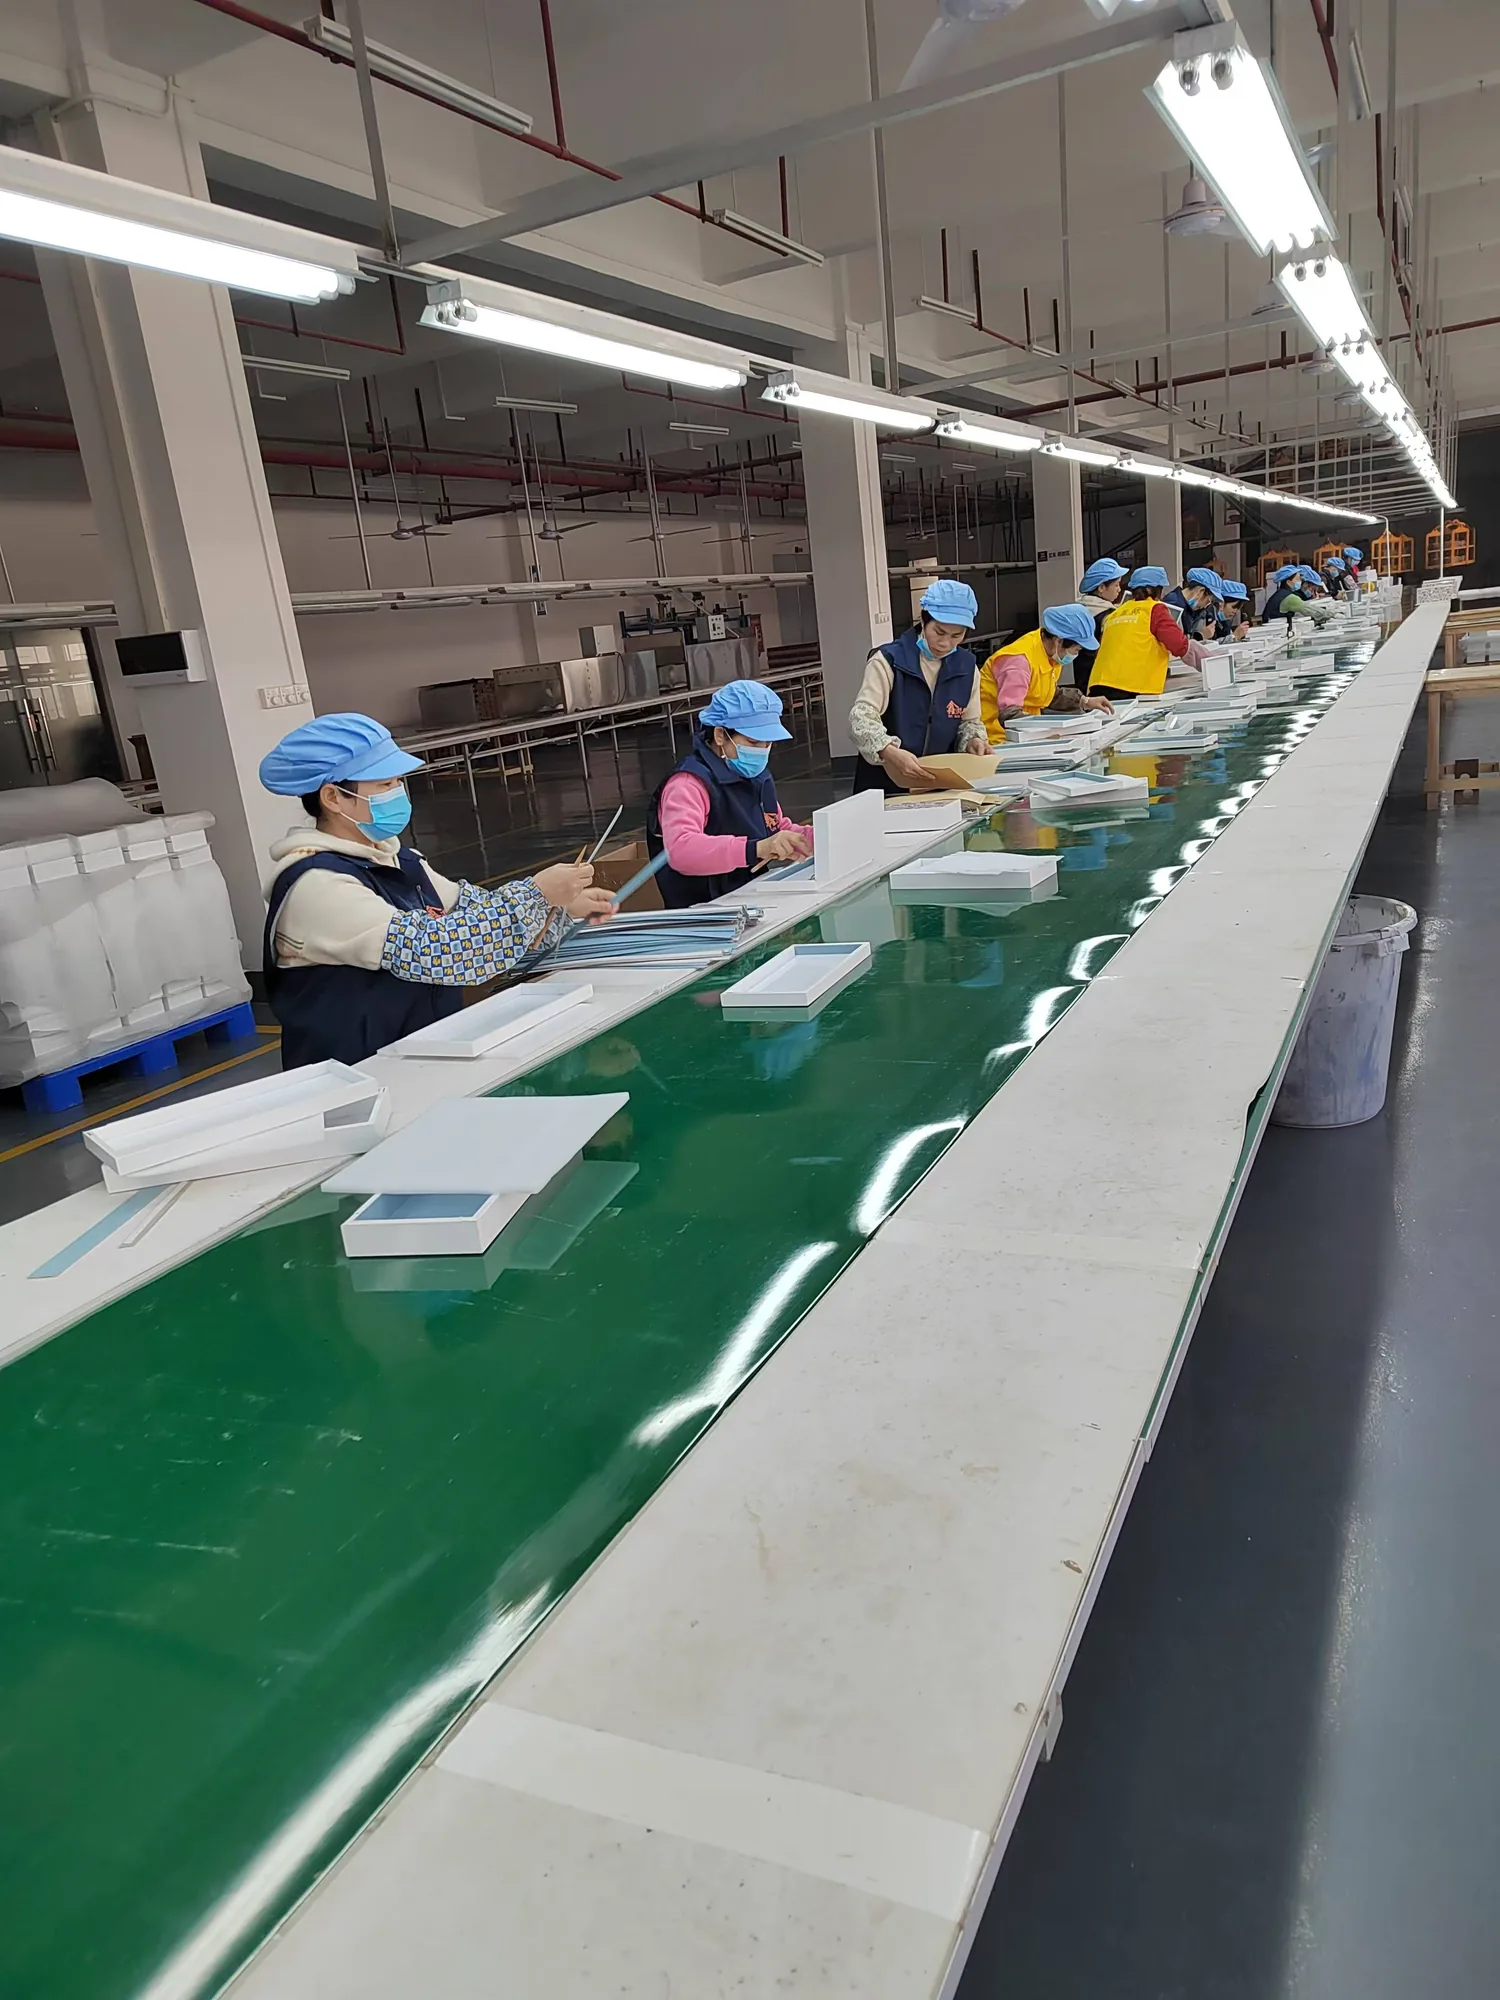
Hinges, magnets, locks, handles and lid supports must fit the machined positions and operate without forcing the wooden structure. Velvet, EVA, sponge, leather-like lining and molded inserts must hold the product without wrinkles, exposed adhesive or unsuitable pressure.
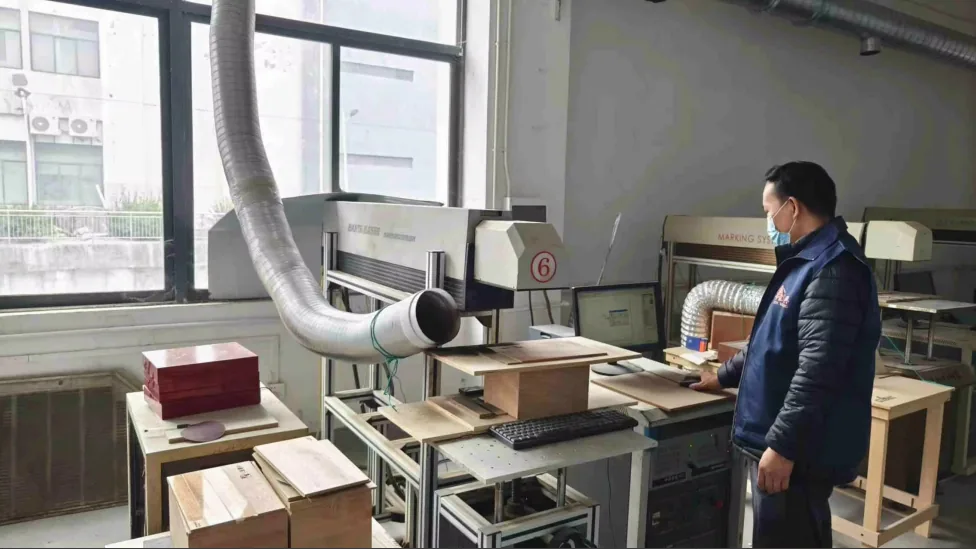
Logo work is coordinated with the surface route. Laser engraving suits selected natural or veneered surfaces; UV printing, silk screen, hot stamping and metal plates require their own artwork and adhesion checks. View detailed logo and insert options.
Approval should include the actual product
Real bottles, watches, jewelry, coins, tea containers or gift-set components reveal clearance, removal, lid depth, weight and movement that nominal dimensions alone may miss.
Production Control
From Approved Sample to Shipment Readiness
The approved sample, drawing, artwork and written requirements form the current project reference. Process checks address critical details before final inspection confirms the complete box and packing.
Pre-Production
Confirm materials, finish references, artwork, hardware, inserts, packing, quantities and approved revisions.
During Production
Check critical dimensions, machining, sanding, coating, branding, assembly and product fit before value moves downstream.
Before Shipment
Review appearance, function, cleanliness, accessories, quantities and export protection. See our quality control process.
B2B Buyer Questions
Wooden Box Manufacturing Process FAQ
Practical answers for buyers preparing a custom wooden box or display product project.
How long does sample development take?
What is the normal bulk production lead time?
Can XRX manufacture from a physical sample?
Does every wooden box use the same process?
How is sample-to-bulk consistency managed?
Can a buyer arrange an inspection?
Send Drawings, Samples or References
Plan a Manufacturable
Wooden Product
Share dimensions, structure, material, finish, logo, hardware, insert, quantity and target schedule. Our team will review the practical production route before sampling.
20+ Years
Wooden product manufacturing experience
32,000㎡
Production facility
Around 300
Workers
OEM / ODM
Sample to bulk production