
Branding & Interior Engineering
Wooden Box Customization Options
for Logos and Inserts
Wooden box customization options connect external branding with internal product protection. XRX develops logo methods, lining, EVA, sponge, trays and dividers around the actual box substrate, surface finish and product dimensions.
The logo cannot be chosen independently from the finish, and the insert cannot be finalized from a generic cavity. Both systems should be reviewed together on the complete sample before bulk production.
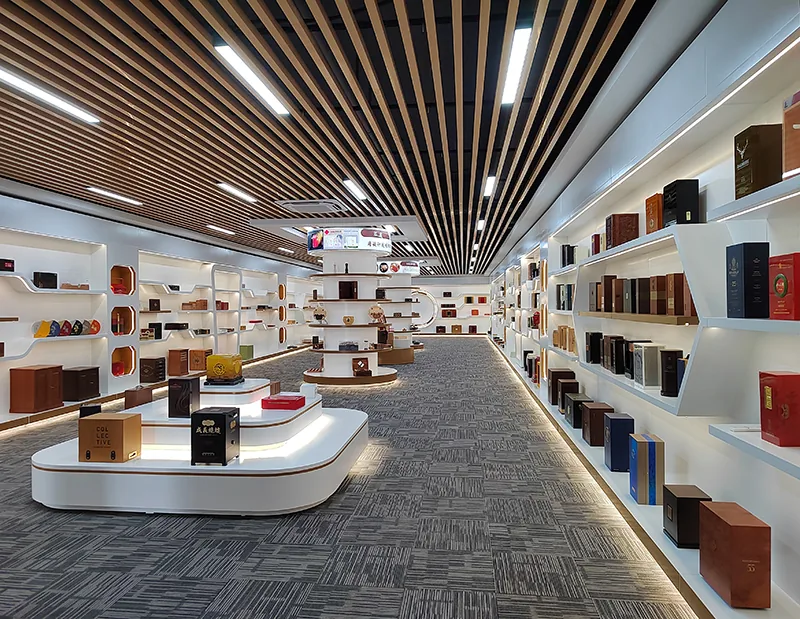
MOQ
500 pcs
Sample
7–15 days
Bulk
35–65 days
External Brand Application
Choose a Logo Method That Works with the Surface
Artwork detail, contrast, durability, color, production quantity and the selected substrate determine which logo process should be sampled.
Laser Engraving
Creates a direct mark on suitable wood or veneer. Grain, engraving depth, artwork detail and contrast should be tested on the selected surface.
UV or Silk Screen Printing
Supports defined artwork and selected colors on compatible prepared surfaces. Artwork resolution, adhesion, curing and gloss relationship matter.
Hot Stamping
Adds metallic or colored foil for logos and details. Flatness, heat response, pressure, foil selection and placement influence the result.
Metal Logo Plate
Creates a separate dimensional brand element. Plate size, thickness, plating color, fixing method, recess and alignment should be engineered.
Debossed or Applied Details
Selected structures can support recessed, raised or applied decorative elements when tooling, finish and assembly requirements are confirmed.
Combined Branding
A project may combine engraving, printing, a plaque or internal brand details, but visual hierarchy and production sequence should remain controlled.
Artwork Must Become a Production Specification
A logo file alone does not define the finished branding. The review should confirm real width and height, placement from physical edges, orientation when the box is opened, intended color or metal tone, and the relationship to grain, lid panels, hinges and decorative lines.
Fine lines and small reversed details may behave differently in engraving, printing, stamping and metal production. Vector artwork allows the method to be assessed at real scale. When several brand elements appear on the same box, their visual hierarchy and production order should be agreed before sampling.
The Interior Is a Presentation Mechanism
An insert must hold the product, guide removal and support the intended unboxing sequence. Bottle shoulders, watch straps, jewelry chains, electronic accessories, certificates and tools each need different contact areas. The design should avoid pressure on fragile surfaces while preventing movement during normal handling.
Finger notches, pull ribbons, layered trays, removable blocks and document pockets are functional details rather than decoration. Their position affects cavity spacing and box depth. For multi-product sets, the insert also controls visual balance so the complete presentation remains organized when the lid opens.
Materials Must Work Together
Velvet, EVA, sponge and leather-like coverings differ in firmness, thickness, edge appearance and color availability. A soft covering may improve touch but also adds thickness around a fitted cavity. A firm EVA layer can create clean geometry but still needs a suitable surface and removal method.
The exterior finish, logo process and interior palette should be sampled as one system. A warm natural veneer, black velvet and gold plate create a different result from matte paint, color printing and precisely cut EVA. Coordinated approval prevents technically correct components from producing a visually inconsistent box.
Approval should include the closed box, open presentation, product removal and the packed unit. This reveals whether the logo is correctly oriented, whether the product sits at the intended height, whether accessories remain organized and whether interior materials touch delicate product surfaces. Written confirmation then records the current artwork, dimensions, colors and component arrangement for bulk production. It should also identify supplied accessories, presentation documents and any insert parts intended to remain removable during regular product use before bulk production begins.
Factory Branding Equipment
From Vector Artwork to a Physical Sample
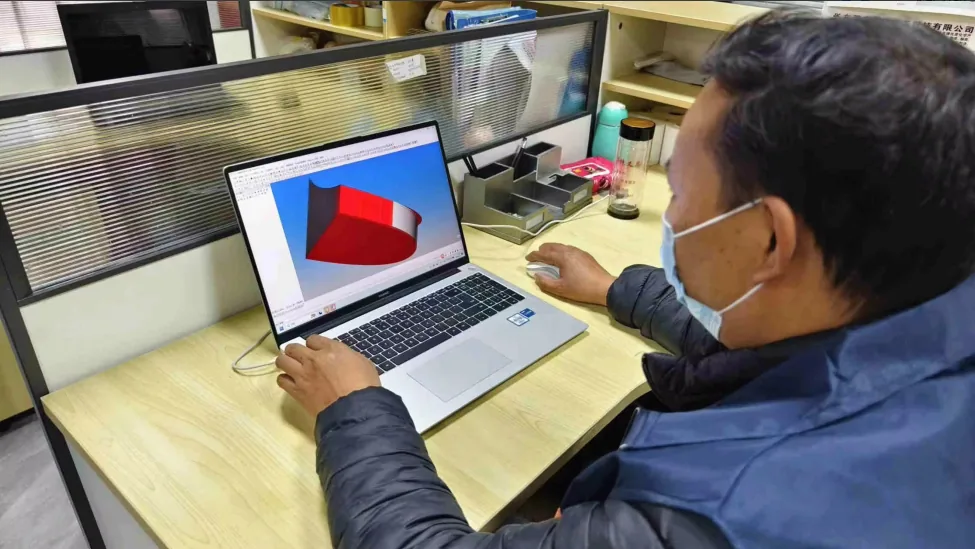
Vector artwork, real dimensions and placement references reduce ambiguity before machine setup and sample approval.
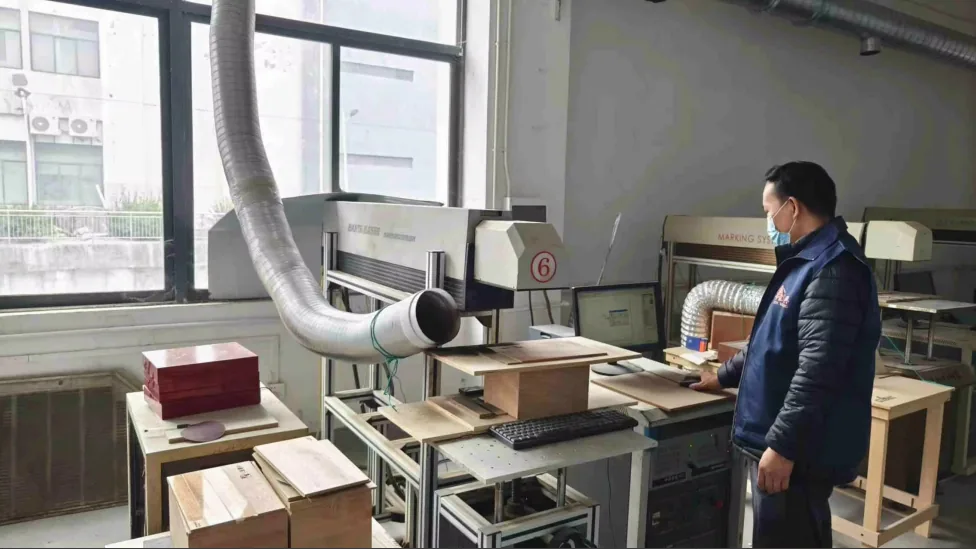
Laser Engraving
Suitable for selected wood and veneer surfaces where a direct, durable mark and natural contrast support the brand direction.
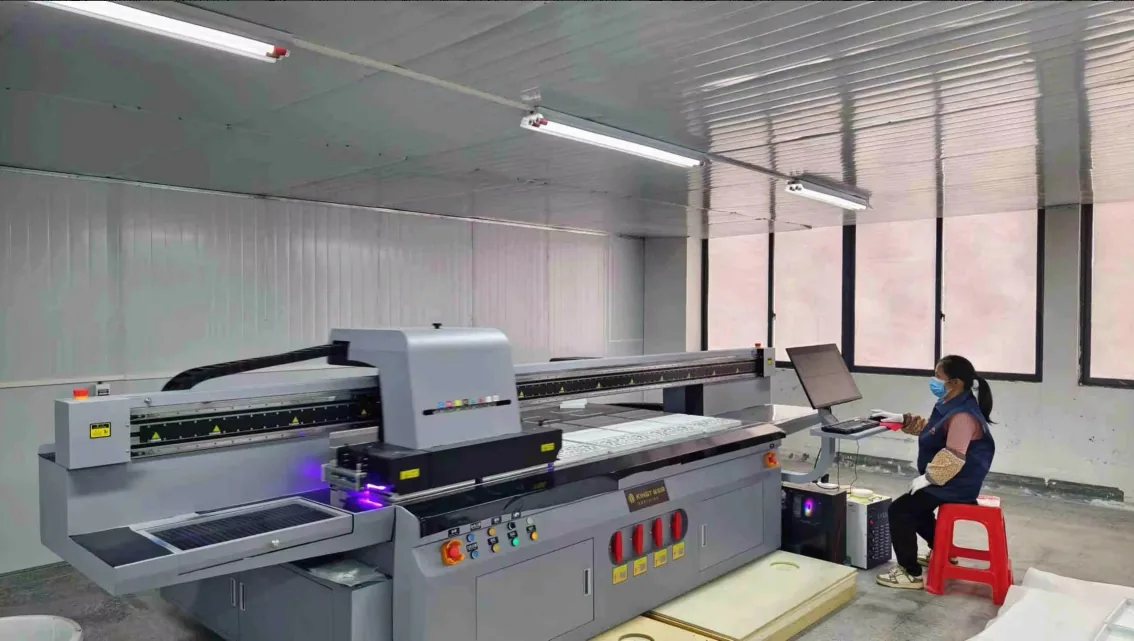
UV Printing
Supports detailed artwork and controlled colors on compatible surfaces after artwork, adhesion and appearance are confirmed through sampling.
Compatibility First
The Same Logo Looks Different on Each Finish
Natural grain can change engraving contrast; matte paint provides a controlled colored base; glossy and piano-lacquer surfaces require careful adhesion and protected handling; veneer direction affects how a centered logo is perceived. The approved sample should show the actual logo on the actual surface.
Natural Wood
Review grain and engraving contrast.
Matte Paint
Confirm ink, foil or plate color.
Gloss & Lacquer
Test adhesion and surface protection.
Veneer
Align grain, logo position and panel edges.
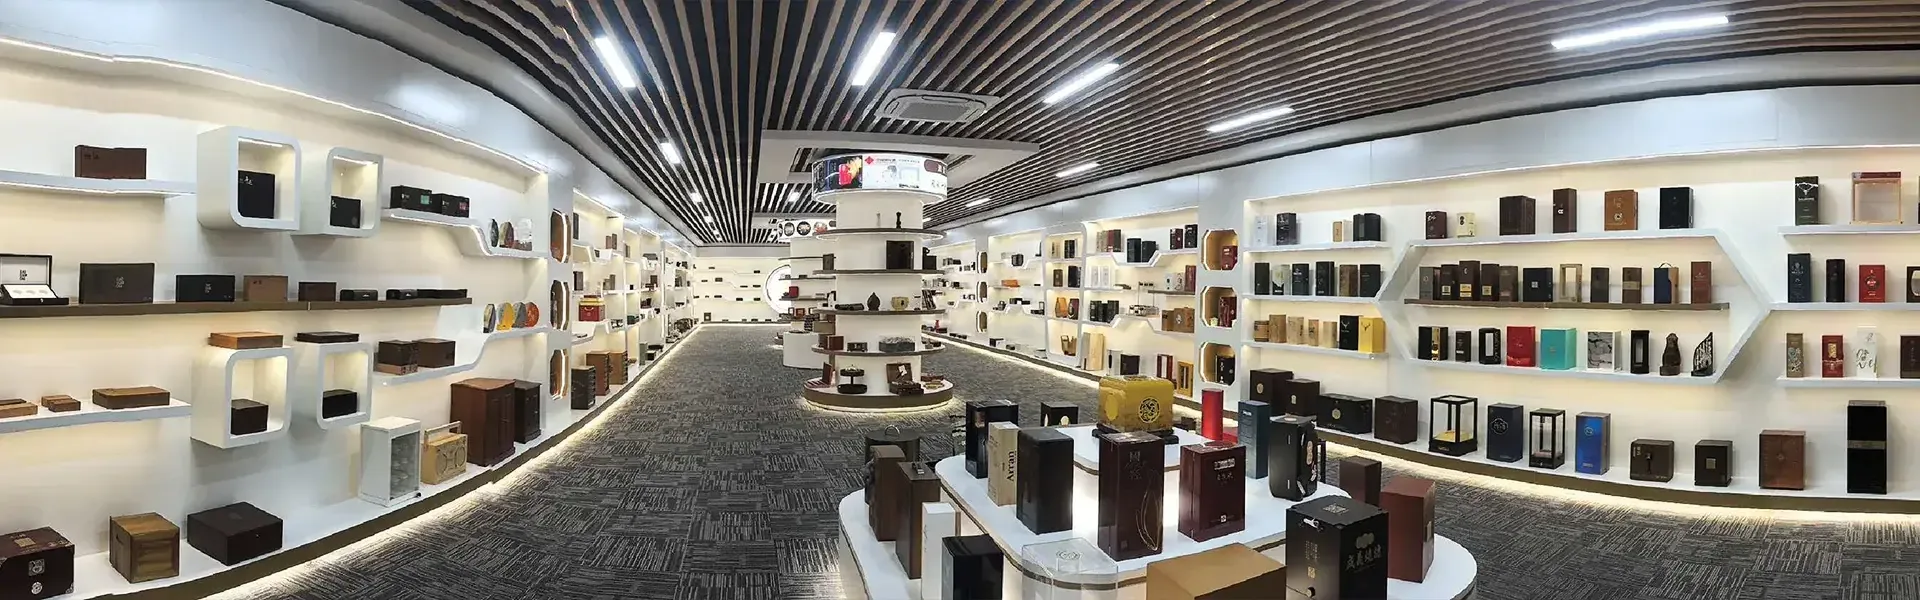
Review available surface finish capabilities before selecting the final logo method.
Interior Customization
Build the Insert Around the Real Product
Product weight, shape, fragility, removal direction, display angle and transport movement determine the interior. A precise-looking cavity is not useful if it compresses a watch strap, scratches a bottle label or makes a gift component difficult to remove.
Velvet-Covered Inserts
Velvet can create a soft premium presentation over EVA, sponge or shaped supports. Color, nap direction, seam treatment and adhesive cleanliness affect appearance.
EVA Inserts
EVA provides firmer, precisely cut support for bottles, electronics, cosmetics, coins and accessories. Density, thickness, cavity tolerance and surface covering are project choices.
Sponge Inserts
Sponge provides softer compression for selected products. Density and recovery should suit the weight and shape without allowing excessive movement.
Leather-Like Lining
Leather-like materials can cover trays, pads, dividers or box interiors. Edge wrapping, seams, texture, color and adhesion must be sampled.
Trays and Dividers
Removable trays, layered interiors, wooden dividers and accessory compartments organize multi-item gift or collector sets.
Custom Molded Supports
Shaped supports, cushions, bottle neck rests, ring slots and display angles can be developed around physical samples or accurate 3D data.
Approval Workflow
Confirm Branding and Product Fit on One Complete Sample
Send vector artwork, the actual product or accurate dimensions, preferred material, finish, lining and presentation direction. We review logo position, insert cavity, finger access, lid clearance, hardware and packing before producing the physical sample.
1. Review files and product data
Vector logo, color reference, product dimensions, quantity and reference presentation.
2. Confirm drawings and methods
Logo scale, placement, insert cavity, removal access, clearances and material compatibility.
3. Approve the physical sample
Check real contrast, finish, product fit, pressure, opening action and packed presentation.
Quotation Preparation
Information That Makes Customization More Accurate
Clear inputs shorten early review and help us recommend manufacturable logo and insert combinations.
For branding
- • Vector logo artwork and brand color reference
- • Preferred logo size, location and appearance
- • Selected box material and surface finish
- • Order quantity and target launch schedule
For the insert
- • Physical product or accurate dimensions and weight
- • Product orientation and removal method
- • Accessories, documents and layered components
- • Preferred lining color, texture and presentation
Also review our Buying Guide and quality control process.
B2B Buyer Questions
Wooden Box Customization Options FAQ
Practical answers for buyers preparing a custom wooden box or display product project.
Which logo method is best for natural wood?
What logo file should a buyer provide?
Should we send the actual product for insert development?
What is the difference between EVA and sponge?
Can one box contain several products?
Can the insert color match the brand?
Send Artwork and Product Data
Coordinate the Logo,
Finish and Interior
Share vector artwork, product samples or dimensions, box references, preferred materials, finish, lining, quantity and target schedule for a complete customization review.
20+ Years
Wooden product manufacturing experience
32,000㎡
Production facility
Around 300
Workers
OEM / ODM
Sample to bulk production