

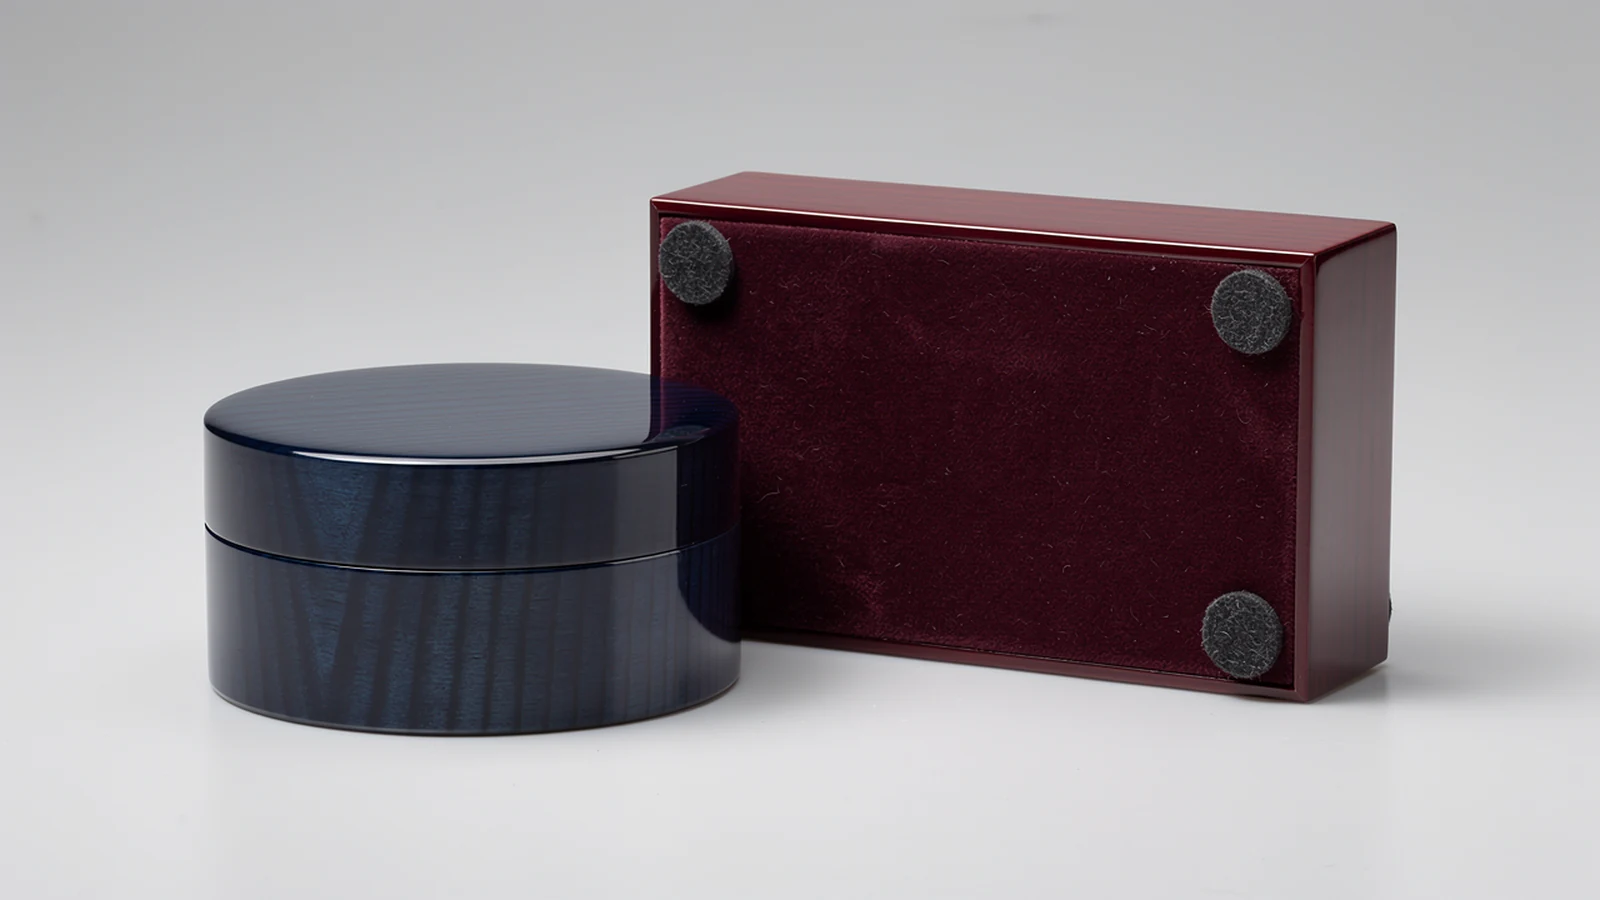

For a premium jewelry, watch or gift box, the underside is part of the customer’s handling experience. A box that rocks when opened or leaves a loose pad on the counter undermines an otherwise carefully finished product. Start by defining the required behavior, then approve the underside as part of the complete sample.
Decide what the base treatment needs to do
Separate the desired outcomes before comparing materials. Do you want to keep the finished wood away from the counter, reduce movement during opening, create clearance beneath the base, or give the underside a continuous decorative covering? More than one may matter, but they should be stated individually.
A retail display box that stays in one position has different handling needs from a presentation box passed between people. A box that customers lift and turn over also exposes the underside visually. Include the intended countertop or desktop finish in the brief; “used indoors” is too broad to describe that contact.
The box’s construction comes first. Pads should not conceal a projecting fastener, a loose bottom panel or a base that has not been made to its agreed shape. Resolve those issues before treating pad thickness as the solution. The wooden box dimensional tolerance guide explains why dimensions need defined references and inspection conditions.
Compare base pads for custom wooden boxes by function
Use the following comparison to shortlist a sample construction. It does not rank every felt, rubber compound or fabric as if products within each category were identical.
| Base treatment | Reason to consider it | Question to resolve on the sample |
|---|---|---|
| Individual felt pads | Discrete soft contact while leaving most of the underside visible | Do placement, compression and cleanliness allow stable contact? |
| Resilient bumpers or feet | Defined stand-off and a candidate for greater resistance to movement | Does the selected shape and material behave correctly under the actual load? |
| Full-base fabric or similar cover | A continuous underside appearance with broad surface separation | Is the covering flat, securely bonded and compatible with the contact surface? |
For felt, ask for an identified material and thickness rather than just a color. For bumpers, identify the actual product, dimensions and attachment method. For a full cover, include the edge detail and the way it fits inside or around the base perimeter. These details allow a repeat order to refer to a construction instead of a vague appearance.
A full cover is not automatically more stable, and discrete feet are not automatically more protective. A wrinkle, an uneven support point or an unsuitable contact material can change the result. Choose the format that addresses the project’s priorities and can be checked consistently.
Draw the support layout, not just the pad shape
A list reading “four black pads” leaves their positions undefined. Show locations relative to fixed box edges or another clear drawing reference. Record the pad dimensions and the surface on which each piece will be attached. Keep supports on sound areas of the base, clear of recess transitions and seams that would prevent proper contact.
Four supports are a common layout option, not a universal rule for every box. The correct arrangement depends on the base shape, load and opening behavior. A round case and a long rectangular case should not inherit the same drawing simply because they use the same pad material.
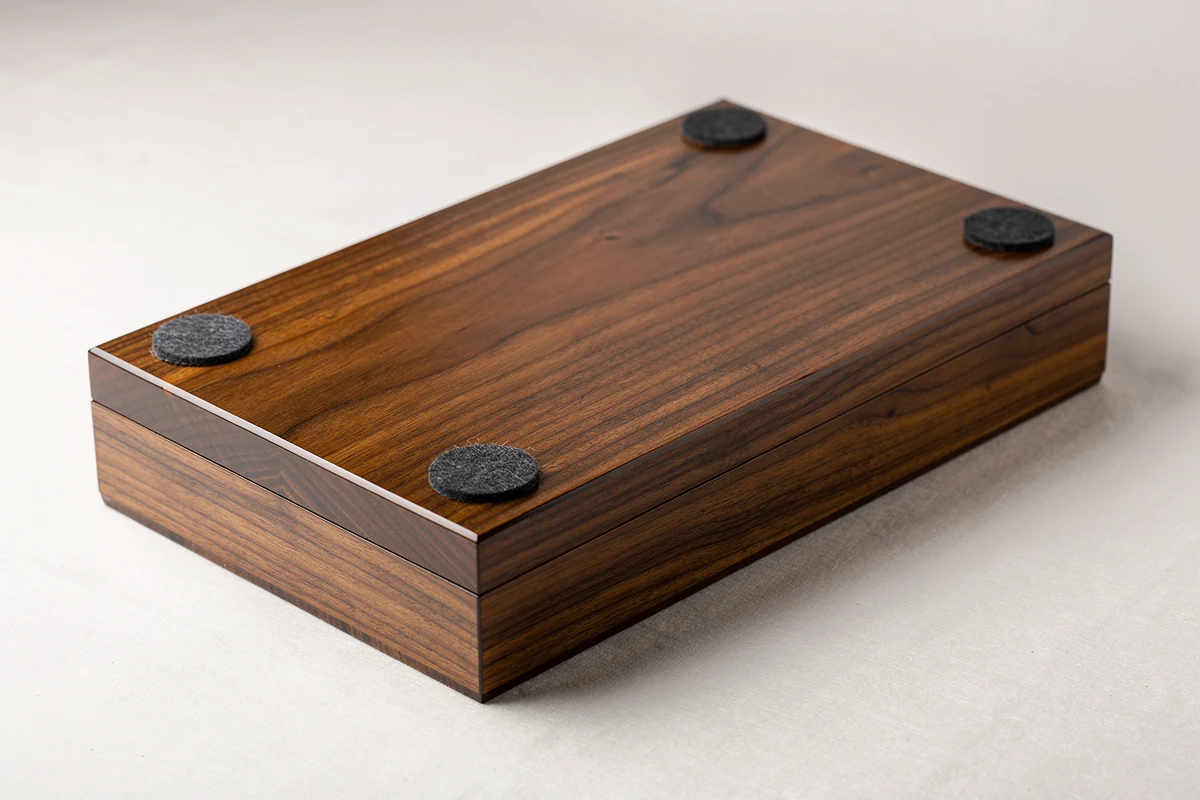
Inspect the box on a known flat reference surface, then on the intended use surface. Check it empty and with representative contents. If a corner lifts when another corner is pressed, investigate the support heights, base and counter before changing the material. A softer pad may change the symptom without identifying its cause.
Consider a hypothetical rectangular box that rocks after its pads are fitted. One pad overlaps the edge of a recessed bottom panel while the other three sit on the outer base. First compare the actual placement with the drawing and correct the attachment plane. Increasing all four pad thicknesses would not answer whether that placement was acceptable. This is an inspection example, not a recorded factory failure.
Check the bond to the finished underside
An adhesive-backed pad contacts the surface actually present beneath it. On a lacquered box, that is the coating, not bare timber. The selected pad and adhesive therefore need to be evaluated on a representative finished base with the agreed preparation and application process.
3M’s Bumpon technical information emphasizes a clean, dry contact surface, application pressure and time for the adhesive bond to develop. It also identifies its published values as typical data rather than a ready-made project specification. These product-specific instructions illustrate why pressing any generic pad onto any lacquered surface is not sufficient qualification.
Ask the pad and finish suppliers which preparation is compatible with the actual coating. Do not copy a solvent-cleaning instruction onto a premium finished box without confirming that compatibility. Record the application sequence and the required waiting time from the chosen product instructions, rather than inventing a universal time for all adhesives.
After the agreed waiting period, inspect for edge lift, movement and incomplete contact during representative handling. If pads are intended to be replaceable, evaluate removal and replacement too. A pad that remains attached during a brief demonstration has not established long-term adhesion or damage-free removal.
Evaluate the contact with the counter separately
A successful bond to the box does not prove that the exposed pad surface suits the counter. This is the second interface in the design. Review both sides of it: the pad material and the actual counter finish, together with the intended load and contact duration.
The Canadian Conservation Institute’s guidance on materials used in preventive conservation discusses transfer and staining associated with some direct-contact materials. Its museum context is not a qualification standard for commercial box feet. The relevant purchasing lesson is limited: a generic material name is insufficient evidence of compatibility with every surface.
Ask for a representative contact evaluation when the counter finish matters to the project. Observe marks, transfer, residue and changes in appearance, and record the conditions used. Do not turn a result on one counter into a promise covering all painted, lacquered, glass or stone surfaces.
Cleanliness matters as well. Examine the pads for trapped particles before a sliding check. A soft contact layer does not make grit harmless. If the intended handling is lifting and setting down, evaluate that behavior instead of assuming the box must tolerate repeated dragging.
Review a full-base cover as a finished component
A full-base cover makes the underside more visually continuous, but it introduces a perimeter and a larger bonded area to inspect. Agree whether the cover is inset, flush with the edge or otherwise located by the box design. Look at the underside and the side view; material that looks neatly trimmed from below may still project beyond the rim.
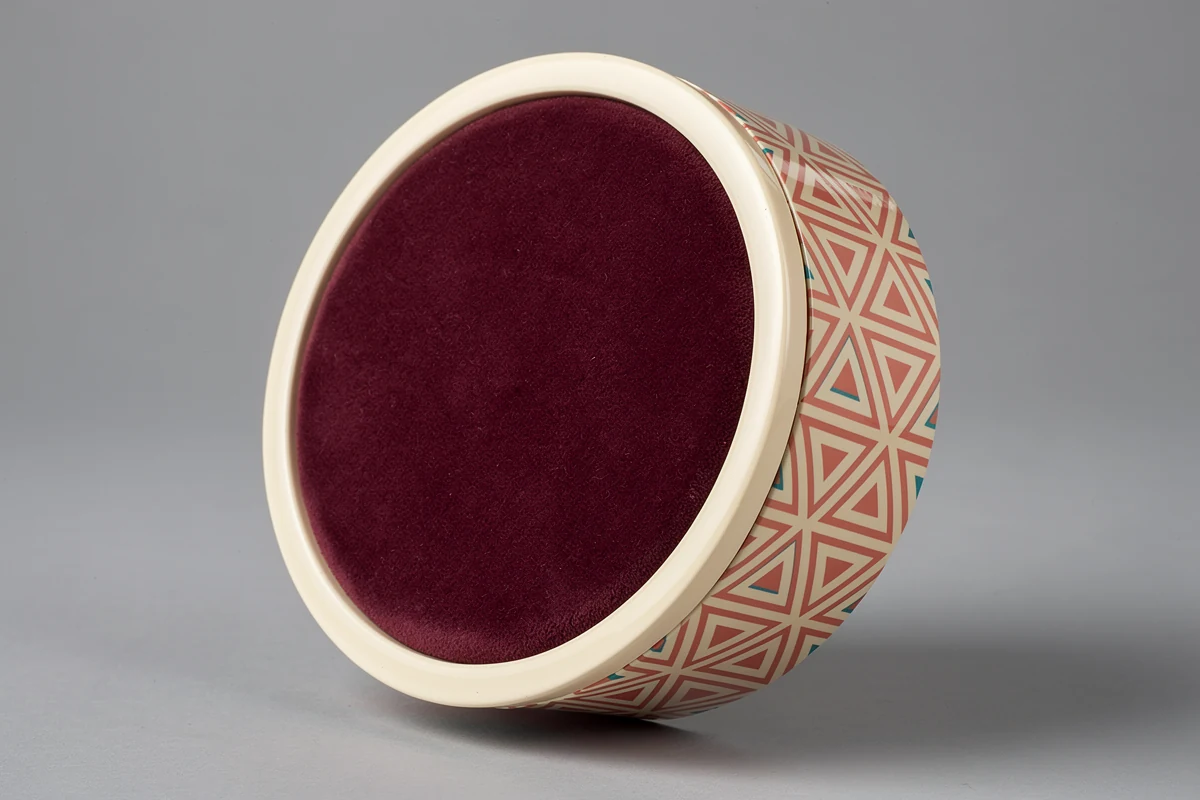
Check for bubbles, folds, lifting corners and gaps at the perimeter. Confirm that the cover does not bridge a protrusion or conceal a hard point that can become the first contact with the counter. A continuous sheet cannot be assumed to correct a distorted base.
Include the underside color and texture in the visual approval. A contrasting cover can be intentional, particularly on a round or decorated box, but the selected material should also meet the contact requirements. Review this detail alongside the finish and presentation choices in the custom wooden packaging box range.
Approve the box in the positions customers will use
A closed, empty box is only one condition. Open the lid to its intended position, load the contents and carry out the normal product-removal motion. Observe whether the box rocks, slides unexpectedly or becomes difficult to support. Keep tipping and sliding separate in the record; they are different problems and may need different changes.
Use a short sample checklist:
- Identify the box revision, pad or cover material, attachment and placement drawing.
- Record the counter surface, contents and open or closed condition.
- Inspect support contact, visible stand-off and underside appearance.
- Observe movement during the intended opening and handling sequence.
- Recheck attachment edges and both contact surfaces afterward.
Agree the acceptance criteria and evaluation duration for the project. There is no single pad height, push force or number of handling cycles that this guide can assign to every custom box. Keep the approved underside details with the golden sample record so they remain part of the production reference.
Include the underside in your quotation request
Send the box dimensions, estimated contents weight, opening arrangement and intended use surface. Explain whether the priority is discrete supports, controlled movement or a continuous covered base. Include a photograph or drawing of the proposed underside if one is already available.
Ask the supplier to identify what is confirmed and what needs a physical sample. If a pad material, adhesive or placement changes later, request a review of the affected contact and support checks. An apparently small underside substitution can change the approved result.
Send XRX your custom wooden box brief with these use conditions and the desired base treatment. This gives the sample discussion a clear purpose: a finished box whose underside has been considered as carefully as its lid and interior.
Frequently asked questions
Are felt pads or rubber bumpers better for custom wooden boxes?
Neither is universally better. Felt and resilient bumpers offer different contact and support options. Compare the identified materials on the actual finished box, with representative contents and the intended counter surface, before choosing.
How many base pads should a wooden box have?
The number and layout depend on the base shape, load and opening behavior. Define locations on a drawing and verify stable support. Do not assume that four pads placed by eye are suitable for every rectangular or round box.
Can self-adhesive pads be applied to any lacquered underside?
No universal compatibility should be assumed. Follow the selected adhesive product’s instructions and confirm suitable preparation with the finish supplier. Evaluate attachment on a representative finished base, including the required waiting time and intended handling.
Does a full-base fabric cover stop a wooden box from rocking?
Not necessarily. A cover can provide continuous separation and an intentional underside appearance, but it does not automatically correct a warped base, protrusion or uneven bond. Inspect the base construction and actual support contact.
Can a box with soft pads be described as scratch-free and non-slip?
Those claims require evidence for the intended conditions. Pad material, cleanliness, loading, movement and the counter surface affect the result. State the evaluated use conditions rather than promising protection or grip on every surface.