
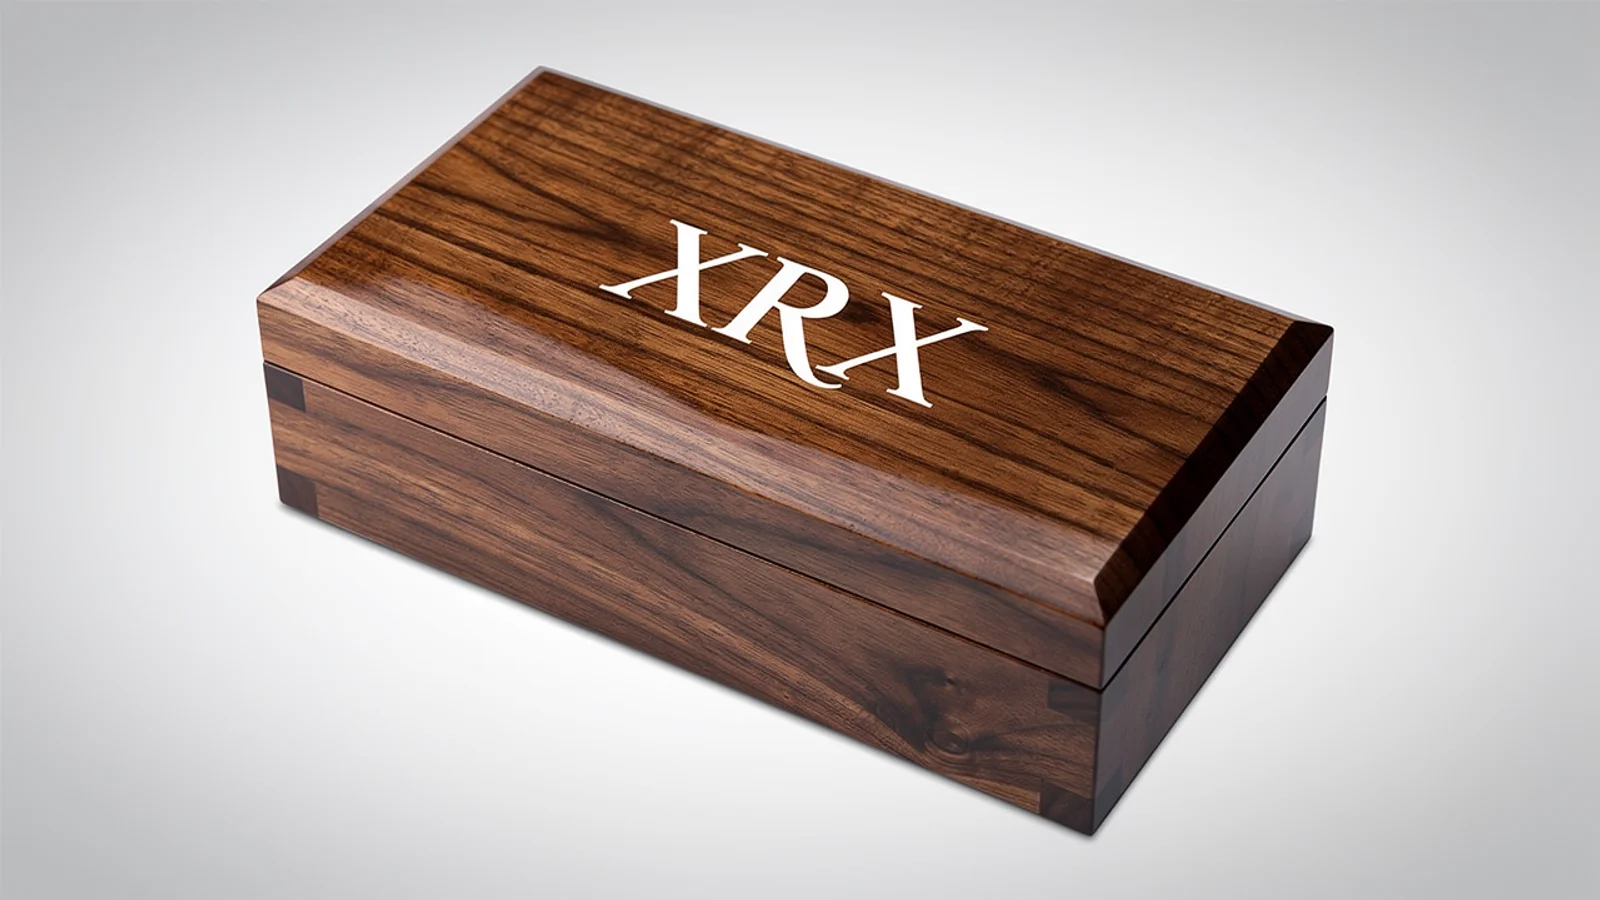

How screen printing on wood works on a finished box
A squeegee moves ink through the open areas of the screen stencil. The box panel must stay in a repeatable position while the design transfers. The screen defines the printed shape, but the finished result also depends on the ink, surface, artwork and process settings.
Many introductory tutorials address bare wood. For example, Ryonet’s wood-printing tutorial starts with unfinished wood. That starting condition matters: do not treat its approach as a ready-made specification for a lacquered presentation box.
On a veneered MDF lid with a clear finish, the visible grain provides the background while the outer coating provides the printing surface. Specify both. Writing only “walnut finish with white logo” leaves the supplier to interpret the coating, sheen and printed appearance.
Choose the print sequence before approving the appearance
There are two useful routes to discuss: printing on the finished coating, or printing before a later clear coat. Neither should be selected solely from a rendering.
| Proposed sequence | What needs confirmation | What the buyer should approve |
|---|---|---|
| Finish first, then print | Ink suitability for the actual outer coating and its condition at printing | Letter edges, coverage, surface appearance and agreed handling checks |
| Print, then apply a clear topcoat | Compatibility between the printed ink and the later coating, including the permitted process window | The logo after the complete finishing sequence, not just the uncovered print |
A useful supplier reference is Marabu’s Marapur PU technical data sheet, version 9. It lists wood and coated substrates but still requires preliminary trials. It also distinguishes physical drying from chemical hardening. This illustrates why a material name or a dry-to-touch print cannot establish suitability or packing readiness. It is not a recommendation that every box use this ink.
Ask the manufacturer to identify the intended ink-and-finish combination and follow the relevant suppliers’ processing instructions. Do not substitute a universal drying time, hardener ratio or overprinting interval in the purchase specification. If the box finish changes after sampling, revisit the print approval too.
For the underlying coating decisions, see our guide to spray painting for wooden boxes.
Check opacity and detail against each background
A white logo on a dark blue lid and the same logo on visible wood grain should be approved as separate appearances. The artwork specifies the shape; the finished sample establishes whether its coverage and visual contrast meet the brief.
For a wood-grain background, decide how much grain may remain visible through the printed area. For a solid painted background, check whether the logo reads consistently across its full width. A color reference helps communication, but it does not replace a physical print on the intended coating.
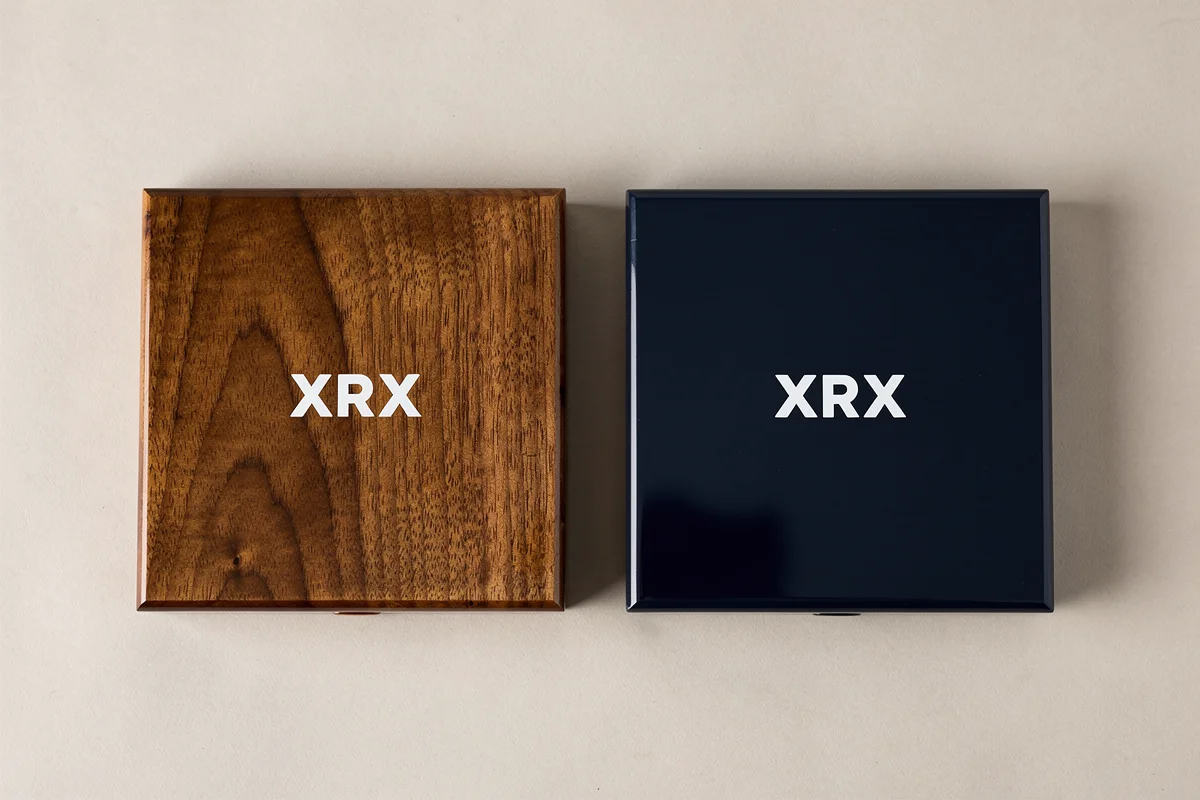
Small text, narrow gaps and fine strokes need particular attention. Instead of specifying an arbitrary minimum line width from a general tutorial, send the final-size artwork and ask which details can be reproduced with the proposed process. Approve any simplification before it becomes production artwork.
For a design using more than one printed color, registration means how closely those colors align. Identify the critical borders or gaps in the drawing and agree what is acceptable on the finished sample. A slightly shifted decorative area may matter less than a shift that closes a small letter.
Define placement from the box, not from a photograph
“Centered on the lid” is incomplete when the lid has a bevel, an inset panel or a visible border. State which feature defines the center. Give the logo’s finished width and height, its orientation relative to the opening direction, and distances from agreed reference edges.
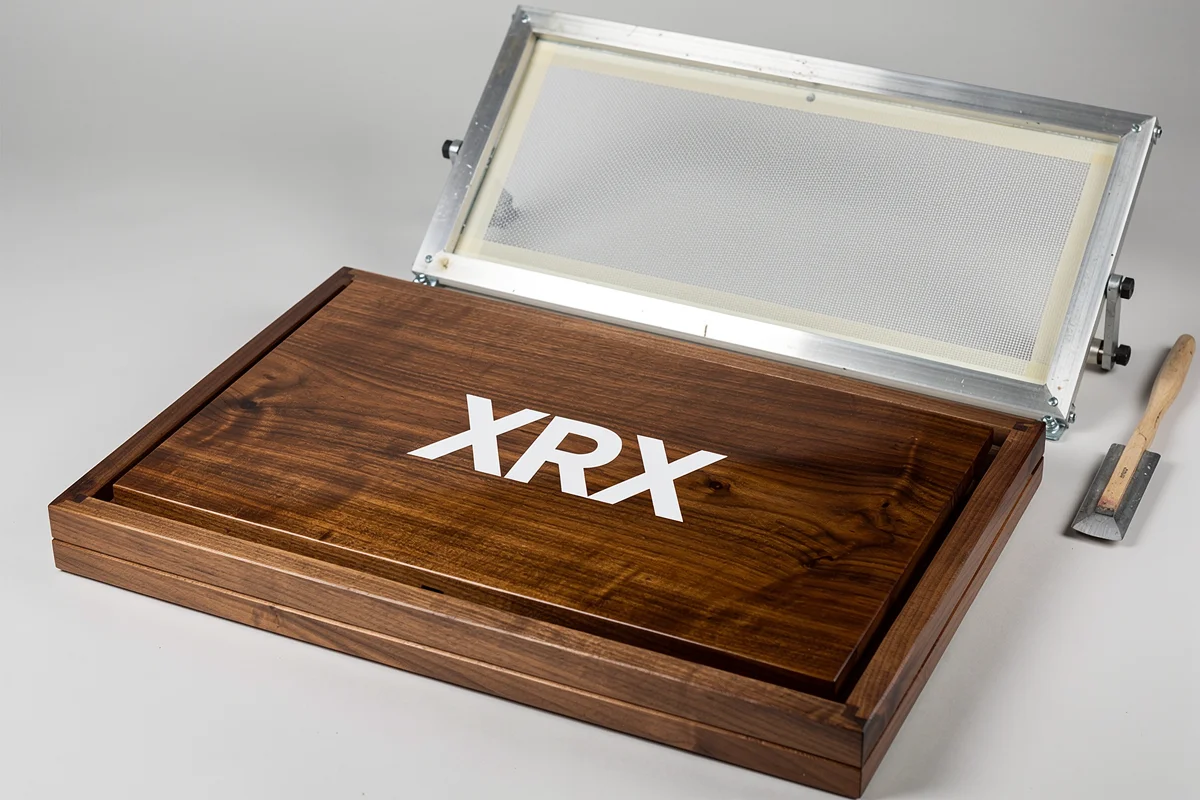
Confirm whether the supplier will print a separate panel or an assembled box. That decision affects how the part is held and which surfaces are accessible. Ask for a placement drawing that matches the proposed production stage rather than assuming the same setup can accommodate either route.
A practical specification judgment: keep three approvals separate—artwork geometry, placement on the lid, and printed appearance on the finish. A clean artwork file proves only the first. This separation makes a sample comment actionable: “move the logo toward the hinge” is different from “increase coverage” or “open the small letter gaps.”
Where the process fits—and where the sample must decide
Screen printing is worth discussing when the design calls for a surface-applied colored logo or graphic. It does not create the cut-in effect described in our laser engraving guide. Choose the intended visual effect first, then confirm feasibility on the selected finish.
Areas near abrupt changes in surface geometry, very fine artwork and tightly aligned multicolor designs deserve early sample review. Request a feasible print area from the manufacturer rather than filling the entire lid in the design file and checking access later.
Finally, distinguish an attractive print from an approved finished assembly. Discuss expected contact during handling, the protective packing material that touches the logo and any checks needed for the intended application. Agree the method, conditions and acceptance criteria; avoid an unsupported promise that a logo is simply “scratch-proof.”
Send a complete print approval brief
For custom wooden packaging boxes, the most useful brief brings the box finish and the branding requirement together:
- Final vector artwork, revision and actual printed dimensions.
- Box construction, visible background finish and approved finish reference.
- Logo location, orientation and reference edges.
- Required color appearance, opacity and critical fine details.
- Proposed print sequence and supplier-confirmed processing requirements.
- Representative finished sample, agreed checks and packing release conditions.
Keep the accepted artwork and sample linked to the same revision. Changes to the coating, ink, logo size or print sequence should be reviewed before the earlier approval is carried forward.
Review XRX’s logo and insert customization options, or send your box finish and artwork for discussion. Include the surface the logo will actually be printed on.
FAQ
Can you screen print on varnished wood?
Yes, provided the ink system is suitable for the specific coating and is verified on a representative finished sample. Treat the varnish or lacquer as the printing surface; a method intended for unfinished wood is not automatically suitable.
Should the logo be printed before or after the clear coat?
Either sequence may be possible, but it needs its own compatibility check. Printing over the clear coat requires suitable ink adhesion to that finish. Printing under it requires a compatible topcoat and an approved final appearance.
Will white ink look the same on every wooden box finish?
Do not assume it will. Approve opacity, shade and detail on each intended background finish. A digital artwork file alone cannot establish the appearance of white lettering on wood grain and dark lacquer.
What should a screen-printed box sample approval include?
Record the artwork revision, logo dimensions, position references, background finish, approved color appearance and print sequence. Also agree on edge quality, registration where relevant, and the handling checks and packing readiness required before production.