

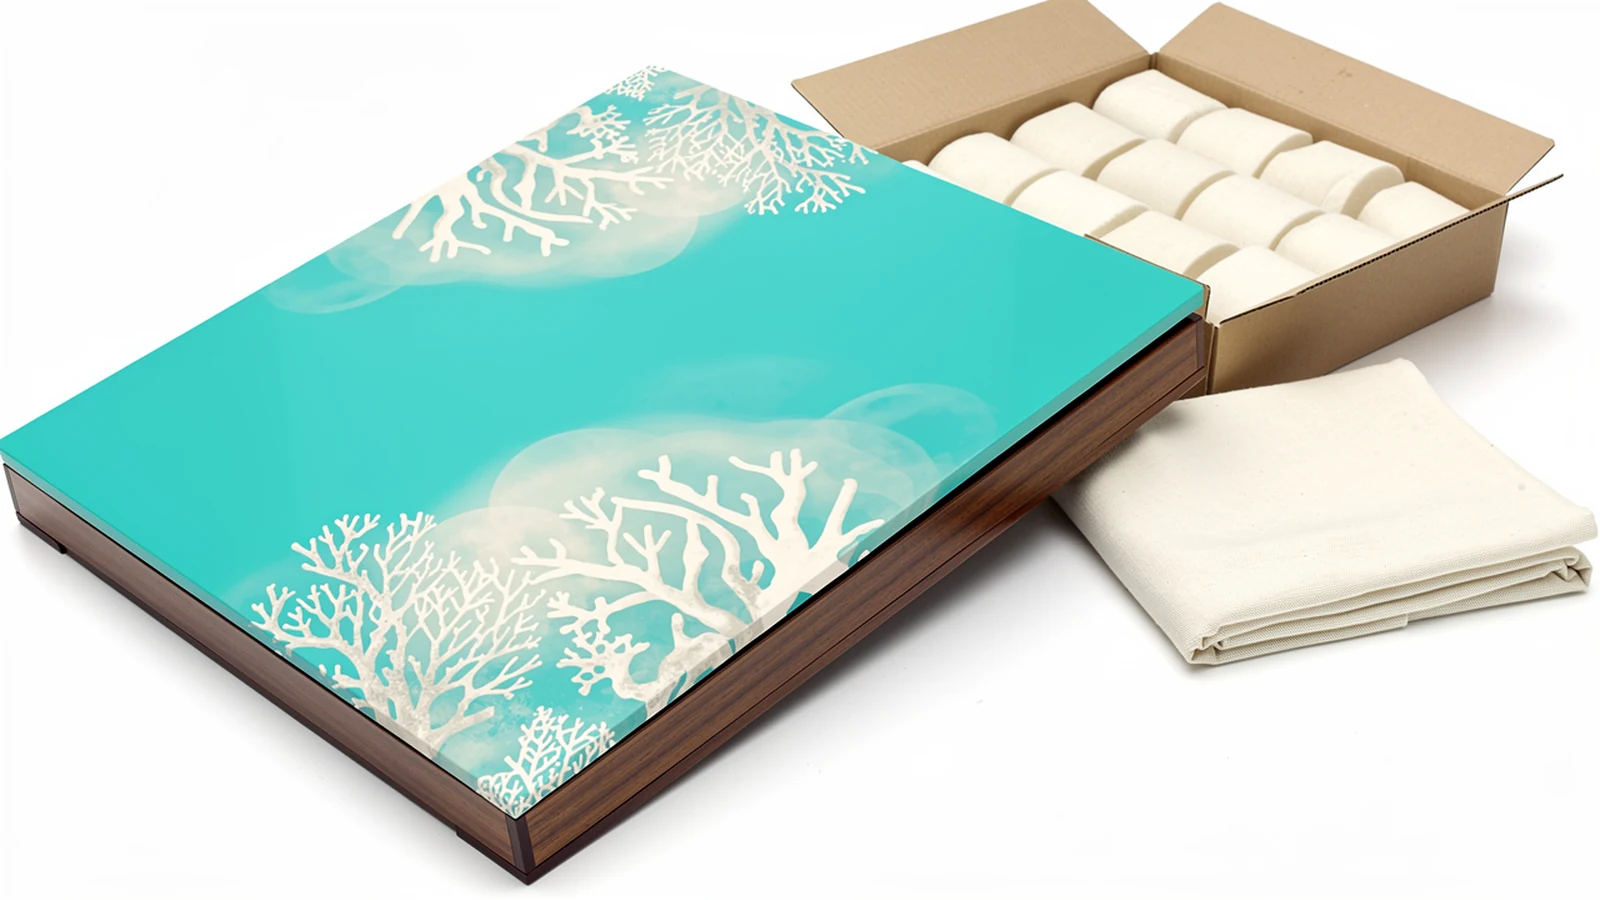

A useful purchasing brief separates three questions. What touches the finish? What controls the box’s position? What provides the required transport protection? A fabric bag, fitted support and outer carton can perform different jobs, and one component may contribute to more than one. Their effectiveness must be reviewed together.
This guide focuses on the external pack around a finished custom wooden presentation box. It is not a guide to using wooden freight crates or selecting the insert that holds the product inside.
Define the jobs of protective packaging for custom wooden boxes
Begin with a packing layout rather than a request for “extra protection.” Identify the faces that may contact other materials, the areas intended to support the box and the clearances around hardware. Show the box closed in its normal shipping orientation.
Then assign each job to a named component. If the proposal relies on a bag to protect the surface and foam blocks to locate the box, record both. If a shaped support also provides cushioning, ask the supplier to explain that role within the complete configuration.
| Packing job | What to specify | What to review on the sample |
|---|---|---|
| Surface contact | Material and the side that touches the finish | Marks, residue, transfer and removal behaviour |
| Position and support | Support locations and intended restraint | Shifting, unwanted opening and pressure on projections |
| Transport protection | Cushioning, carton, closure and shipment configuration | Evidence appropriate to the intended distribution route |
| Unpacking and repacking | Opening sequence and reusable parts, if required | Whether the box can be handled without dragging or snagging |
Avoid describing the outer pack only by its carton thickness or the number of wrapping layers. Those details matter within a design, but they do not describe how the finished wooden box is supported or what touches its decorative surfaces.
Also clarify the commercial scope. State who supplies the surface cover, who packs the finished box, who supplies the shipping container and who approves the packed sample. If another facility adds the product or changes the carton, identify that step before approving the original configuration.
Approve the contact layer against the actual finish
“Soft” is not a complete material specification. Review the actual cover or wrapping with its seams, closures, inner face and any printed areas. A material name alone does not establish compatibility with every coating or decoration.
The Canadian Conservation Institute advises that materials touching an object’s surface should not cause reactions, impressions or residues, and that tape should be applied to the wrapping rather than the object. Its guidance concerns artwork, not automatic approval for a particular wooden-box finish. The relevant principle is to verify the interface. See its guidance on effective packaging and transport.
For your order, ask for a trial using the proposed packing material and a representative finished box. Agree the contact conditions, duration and observations with the supplier. Include the intended storage and handling situation rather than inventing one universal trial period.
Before packing, record the appearance of the contact areas. After the agreed trial, compare those same locations for visible marks, gloss changes, colour transfer, residue or difficult release. These are observations to investigate; do not diagnose the coating or wrapping material from one photograph alone.
If a protective film with adhesive is proposed, request confirmation for that specific film and finished surface, including removal. Do not substitute an adhesive film for a loose cover on the assumption that both are simply “surface protection.”
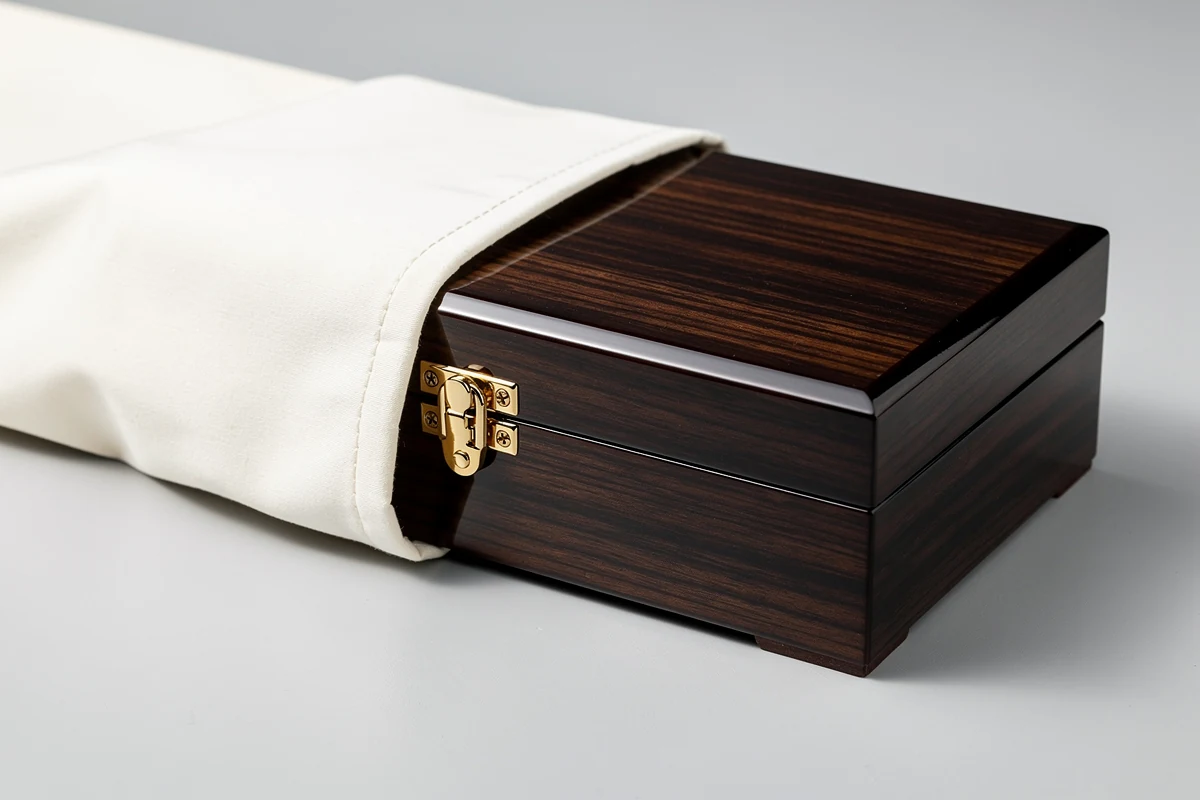
A separate rub-resistance evaluation for the wooden-box finish answers a related question. Its result does not approve every material that might later touch the box during packing.
Map seams, closures and hardware before adding layers
Make a simple contact map from photographs of the closed box. Mark the main decorative face, visible side panels, corners, base and any projecting clasp, plate, foot or pull. Then place the proposed cover and supports over that map.
Look for details that a general material description misses. Where will the bag seam lie? Can a drawcord toggle reach the lid? Does a folded edge collect under one support? Is a clasp being used unintentionally as the point that carries pressure from the pack?
Treat these as design-review questions, not a claim that every seam or closure will cause damage. The practical aim is to identify the contact arrangement before a problem has to be traced through several layers of wrapping.
Keep the packing area and contact materials clean, and include a check for loose particles before enclosing the finished box. If a mark appears later, note its location relative to the seam, support or closure. A repeated location can help direct the investigation without proving the cause by itself.
Where hardware projects beyond the surrounding surface, ask for a detail showing the intended clearance and load path. The supplier should confirm which parts of the construction can receive support. A decorative fitting should not become the default support point merely because it touches the packing first.
Separate a presentation sleeve from a shipping pack
A sleeve or bag can be part of the presentation and handling sequence. It does not, by its presence alone, establish adequate transport protection. Ask what the rest of the system contributes and what evidence supports the proposed configuration.
Test removal as carefully as insertion. A close-fitting sleeve might look tidy while requiring the operator to drag it across a clasp or grip a visible lacquered edge. A loose bag may be easier to remove but introduce folds that need a defined position when the box is packed.
Neither observation means that tight or loose is always preferable. Compare the proposed designs using the same finished box and the intended packing sequence. Record whether tools, unusual force or repeated realignment are needed.
If retail staff or the customer must repack the box, have that user sequence reviewed as well. Specify which protection parts are retained and how their orientation is recognized. A configuration assembled correctly by the original packer can be less useful if the next person cannot reproduce it.
Use a packed-sample trial to resolve competing explanations
Consider an illustrative case: a finished box looks acceptable before packing, but a narrow mark appears near the decorative lid border after an unpacking trial. The cover has a raised seam in that location, and the nearby support presses the cover towards the lid.
Do not immediately conclude that the coating is defective or that the fabric is unsuitable. First document the mark, original condition, seam position, support arrangement and removal sequence. Then agree a controlled revision, such as relocating the seam while keeping the other relevant conditions the same.
Repeat the agreed review and compare observations. If several packing details change together, record them; the revised pack may work better, but the trial will provide less information about which change mattered. This example describes an investigation method, not an XRX customer case or a verified failure rate.
The same approach applies when a bag catches a clasp or a support shifts. Give the supplier the location and sequence, not just “the packaging damaged the box.” Keep the investigation connected to the final packed configuration you intend to approve.

Match transport evaluation to the shipment
Record whether the boxes will travel as individual parcels, in master cartons, or as part of a palletized shipment. Also identify any later repacking before the package reaches the final recipient. A packing proposal needs to be assessed against that route.
ISTA distinguishes screening tests from transport simulations and describes different procedures for different distribution situations. For example, its 3A procedure concerns individual parcel shipments; that label should not be applied automatically to every shipping arrangement. Use the ISTA test-procedure descriptions to discuss an appropriate evaluation with a qualified testing provider.
Identify the tested configuration in the record: finished wooden box, actual contents or agreed representative load, surface cover, supports, carton and closure. A report for a different configuration should not be treated as proof for the current one without assessing the differences.
Agree the appearance and functional acceptance criteria before evaluation. A box that still opens may nevertheless have unacceptable visible damage to its lid or decoration. Conversely, a cosmetic observation needs to be recorded separately from a closure or hinge problem.
Do not interrupt a formal test sequence for investigative unpacking unless the selected procedure permits it. Use a separate trial when intermediate inspection is needed. Keep a handling demonstration, a transport simulation and an actual shipment record clearly identified for what each shows.
Freeze the packing configuration with the order
Save a packing sequence with photographs, component identities, orientation and the accepted sample reference. Include where wrapping overlaps and where the box is supported. Record the completed pack dimensions and mass from the actual sample rather than estimating them from the bare wooden box.
If the finish, hardware, sleeve, supports, carton or product load changes, review which earlier observations remain representative. A change in a cover seam can affect contact even when the finished box dimensions stay the same.
Include the approved packing arrangement in the pre-shipment inspection brief for wooden boxes. Inspection against that brief is distinct from establishing transport performance through the agreed evaluation.
When ordering custom wooden packaging boxes, define the finished appearance and its external protection together. You can send XRX your box design and packing requirements to clarify the proposed scope, shipment configuration and samples needed for approval.
Frequently asked questions
Is a fabric bag enough to ship a finished wooden box?
A fabric bag alone does not establish suitable shipping protection. It may serve as a contact cover, but the complete pack must address support, movement, cushioning and the outer container for the intended shipment. Review the actual configuration rather than relying on the bag’s appearance.
Can bubble wrap touch a lacquered wooden box directly?
Do not assume compatibility with every lacquer or printed finish. Ask the supplier to review the actual wrapping and finished surface under the intended contact conditions. Where a separate contact layer is proposed, approve it as part of the complete pack.
Does a scratch-resistant finish remove the need for protective packing?
No. A finish-resistance claim does not establish compatibility with all covers, adhesives or supports, or prove transport performance. Review the actual finished box with the proposed packing materials and the intended handling and shipment conditions.
Should every custom wooden box pack be tested to ISTA 3A?
No. ISTA 3A addresses individual parcel shipments within its scope. Select an evaluation appropriate to the distribution route and complete packaged product. Do not choose a procedure solely because its name appears on another supplier’s packaging report.
What should change-control records include for the outer pack?
Identify the wooden box and finish revision, contents or representative load, contact cover, supports, carton, closure and packing sequence. When a component or arrangement changes, review whether the previous sample approval and test evidence still represent the revised configuration.