


Define the transfer before choosing a container
A staff-supervised move between nearby stores and a parcel shipment through several handling points are different briefs. Record who packs, carries, receives and unpacks the set. Include the transport method, expected transfers, storage between events and whether the same team will handle the return journey.
Measure the actual props and record their weights, materials, coverings and condition. Identify projections, detachable pieces and areas that should not carry packing pressure. Also check practical access: the packed unit must work with the destination’s receiving space and the people and equipment handling it.
The Canadian Conservation Institute’s shipment-planning guidance begins with object features and transport details, and identifies collision, abrasion and inadequate support as packing concerns. That guidance addresses heritage objects. Here, its limited planning principle is useful; it does not certify a commercial display package or supply a universal cushion thickness.
Decide whether the equipment will travel as one complete store set or as a shared library of components. A store set needs a clear completeness check. A shared library also needs a record of which pieces were assigned to each destination and which remain available.
Make a manifest of props and detachable parts
Use a short identifier for each prop and keep it linked to a photograph. Choose a marking location and method that the supplier confirms will not damage the finish. Where direct marking is unsuitable, identify the individual compartment or protective sleeve and keep the relationship clear during unpacking.
| Manifest field | What to record | Why it helps |
|---|---|---|
| Prop identity | Type, individual ID and set assignment | Distinguishes similar pieces from different sets |
| Configuration | Dimensions, covering, finish and revision where relevant | Identifies the component actually being moved |
| Disassembly | Permitted steps and associated hardware | Prevents an improvised breakdown |
| Packing position | Container, compartment and orientation | Makes the arrangement repeatable |
| Condition | Dated observations and photographs | Separates existing marks from newly observed damage |
| Destination check | Received quantity and assembly status | Shows whether the usable display set is complete |
For a hypothetical set, two busts, three risers, four ring stands and one tray make ten finished props. If one prop separates into two transport pieces, the packed-piece count changes while the finished-set count remains ten. Record both measures where they differ; otherwise, a receiver can count all containers correctly and still miss a necessary base or connector.
Keep loose fasteners associated with the parent prop in an identified, closed holder. Include the required tools in the transfer plan where appropriate. Do not leave small metal parts free to move against decorative surfaces, or rely on the receiving store to have an unspecified tool.
If the assortment itself is still being selected, use the jewelry display types guide. Finalize the actual collection of props before designing a packing arrangement around assumed shapes.
Disassemble only what is designed to come apart
Ask the supplier which joints are intended for routine disassembly and which should remain assembled. A visible seam or screw is not, by itself, permission to dismantle a finished prop. Obtain the sequence, part orientation and any assembly instructions required for the particular design.
For an approved detachable component, photograph its normal arrangement and identify the matching parts. Keep left/right or similar-looking components distinguishable where that matters. Confirm whether replacement hardware is interchangeable before adding a generic spare kit.
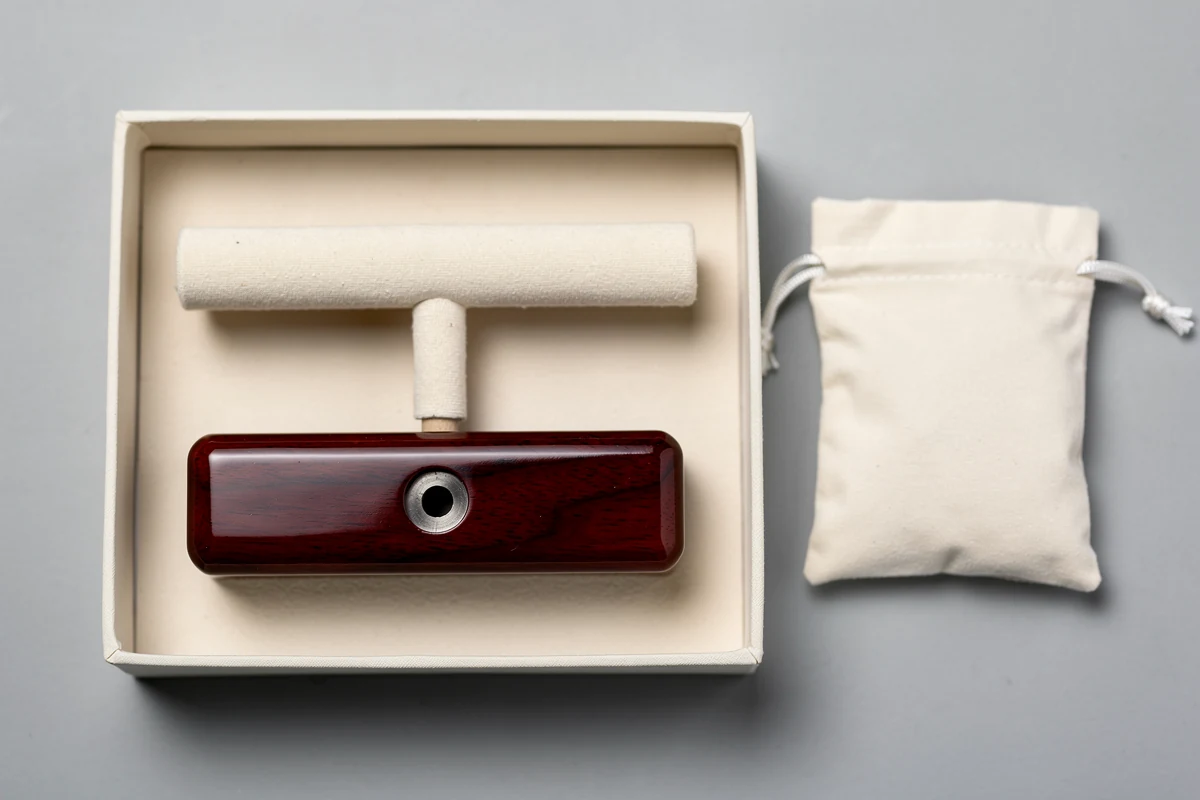
Do not force a connection that resists the documented sequence. Record the issue and ask for guidance. Removing a glued or upholstered section merely to fit a smaller carton can create a new repair problem and change the approved display.
At XRX, display products can be customized in size, material, finish and branding. If repeated movement is part of the intended use, include that requirement at the design stage. Discuss which parts should remain assembled and which, if any, need an agreed removable connection; do not assume every existing design is modular.
Specify contact and support, not just “soft packing”
Separate the job of protecting the visible surface from the job of supporting the prop. A wrapping layer may keep two surfaces apart without adequately supporting a tall or projecting shape. Conversely, a firm compartment can restrain movement while contacting an area that should not take pressure. Review both relationships in the proposed arrangement.
Ask the supplier or packaging specialist to identify suitable contact areas and the actual protective materials. Record where supports touch the item and which faces must remain clear. Avoid prescribing one material solely because it feels soft by hand. The relevant question is whether the complete contact arrangement suits the finished surface and the intended handling.
A display family may combine coated wood, fabric-covered sections and other linings. Request care and packing instructions for those actual finishes. Do not use one unconfirmed cleaner or wrapping material across the whole set. This guide does not prescribe solvents, polishes or a universal cleaning treatment.
Check existing packing materials before reuse. Look for contamination, damage, displaced supports and missing separators, then follow the agreed replacement rules. Keep packing used for one configuration from being quietly reassigned to a differently shaped prop without review.
Do not approve stacking just because pieces fit above one another. Identify what carries the load, whether a lower prop’s decorative surface is contacted and whether the container’s arrangement has been evaluated for that use. A packing illustration is not a load rating.
Create a packing map the next team can follow
A useful packing map names the container, compartment, prop ID and orientation. Add photographs of each layer before it is covered, followed by the completed arrangement with the container open. Show removable supports and hardware holders clearly enough that they can be returned to the same positions.
Keep that record with the transfer instructions and give the receiving team access before arrival. An image stored only on the original packer’s phone is hard to use during a busy shop opening or exhibition breakdown. Assign responsibility for updating the map whenever the approved arrangement changes.
Perform a trial pack and unpack with the proposed props and materials. Check access to each piece, the removal sequence, completeness and whether the container closes as intended without forcing a prop into position. Treat the observations as a practical handling review, with unresolved issues recorded.
A trial pack is not a distribution test. ISTA’s test-procedure overview distinguishes screening procedures from general simulations of transport hazards. If transport-performance evidence is required, have the responsible packaging specialist select an appropriate evaluation for the actual props, packing and route. A case described as sturdy or reusable does not establish a particular test result.
Make the return instructions as explicit as the outward instructions. State which protective parts stay with the container, which consumables need replacement and where damaged items should be reported. Do not assume that a different crew will infer the original arrangement from an empty case.
Check receipt before rebuilding the display
Record the received container count and any visible external damage before opening. Unpack in the documented order on a suitable clear work surface. Compare the prop and hardware counts with the manifest, retaining the packing materials for review and the return journey.
For each item, note condition differences against the departure record. Keep photographs tied to the prop ID and describe where the observation appears. Do not assign a cause solely from when the damage was noticed; handling, previous condition and packing records may need review together.

Reassemble using the correct parts and supplier instructions. Check that the prop sits and functions as intended before placing merchandise on it. Set aside a piece with an unresolved connection or condition issue and obtain a decision; a visually complete counter is not a reason to improvise a repair.
Use a separate layout reference for merchandising. The packing map explains how the pieces travel, while the counter layout explains where they are used. Keeping both avoids confusing an empty packing position with a missing display position.
Before the return move, reconcile the set again. Record items retained by the store, replacements added, missing hardware and damaged packing. Update the manifest rather than sending the original quantity unchanged on the paperwork. This closes the information gap between repeated trips.
Include the transfer plan in the purchasing brief
For a new display program, specify the empty prop list, dimensions, finishes, intended destinations, transfer frequency and responsible handling teams. Ask which construction details support the intended disassembly and what care information is available. Treat the outer transport arrangement as a separate item to scope and verify with the responsible supplier.
XRX’s wooden jewelry display props page is the starting point for the display components. Use the sample approval record to identify agreed component references, adapting it to the display set. Neither the display sample nor its photographs automatically approve a transport package.
When you contact XRX, include the actual transfer scenario and a component list alongside the desired appearance. That makes repeated handling a design input and gives the packing discussion specific objects to work with.
Frequently asked questions
Should jewelry remain on the displays during transfer?
This guide covers empty display props. Jewelry merchandise needs its own approved packing, handling and accountability arrangements. Do not assume that a retail presentation position is suitable for transport.
Can every wooden display be taken apart for packing?
No. Confirm which connections are designed for routine disassembly and follow the supplier’s instructions. A visible seam, screw or upholstered joint does not establish that removing it is appropriate.
Is soft wrapping enough to protect a display prop?
Not by itself. Review surface contact, support, restraint and the outer container together. Confirm the actual protective material and arrangement for the finished prop rather than choosing solely by softness.
Does a rigid carrying case guarantee safe delivery?
No. Suitability depends on the actual contents, internal arrangement and handling conditions. A rigid case or a successful trial pack does not, on its own, establish transport-test performance.
What should be checked before the return journey?
Reconcile the props and hardware, record condition changes, inspect the reusable packing and confirm the current packing map. Document anything retained, replaced or missing so the return manifest reflects what is actually sent.