
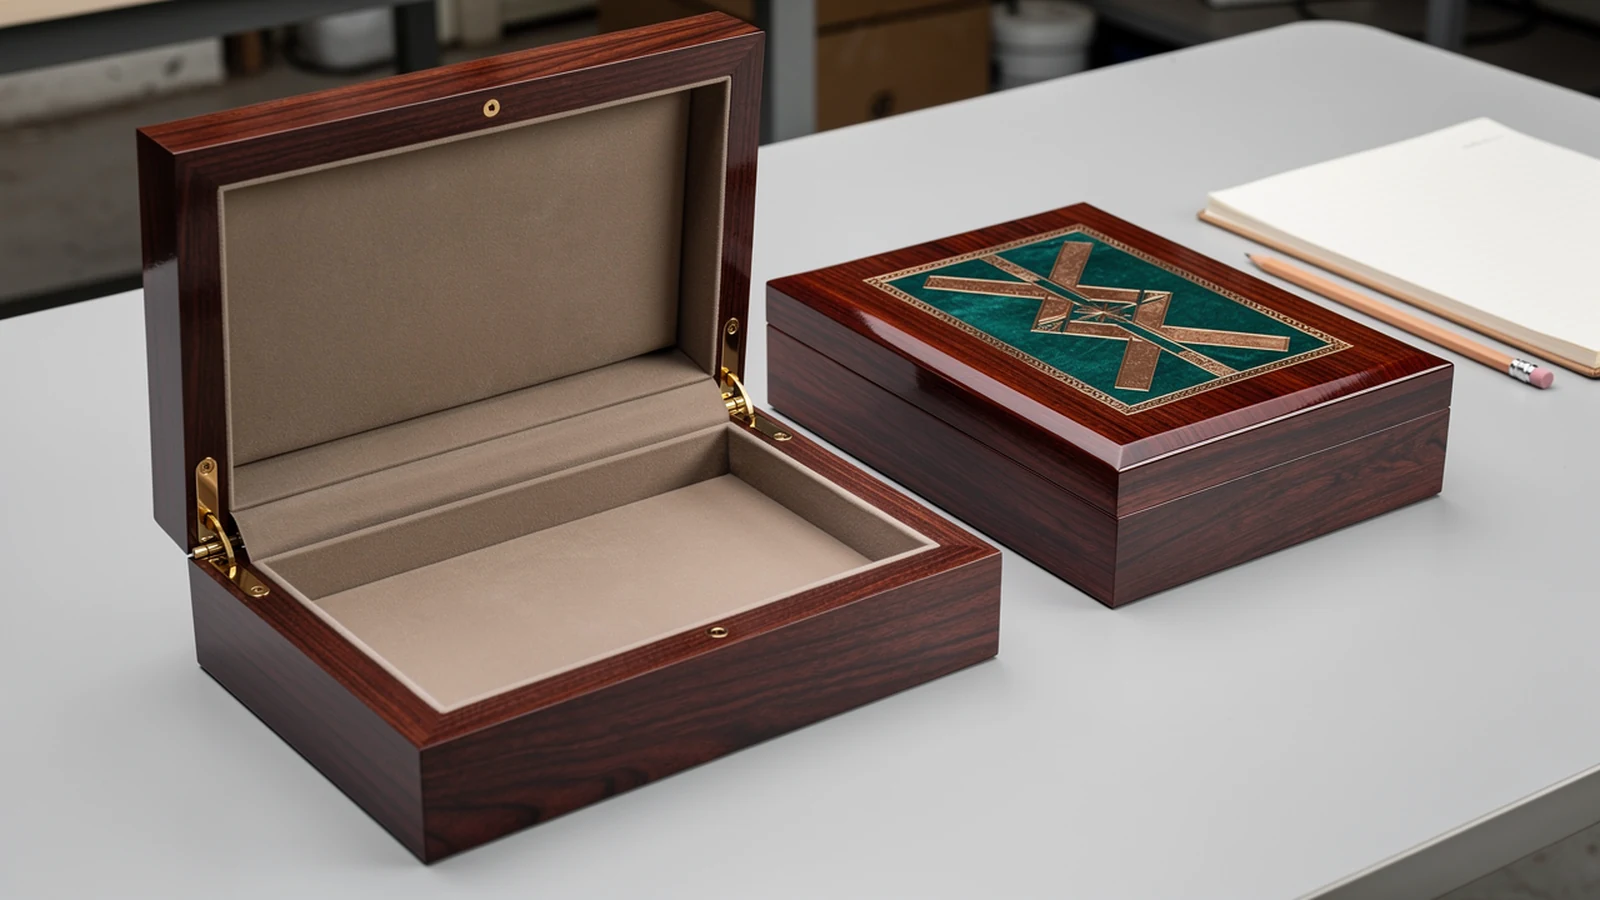

Define exactly which goods the inspection covers
Start with the purchase order, box configuration, revision, lot identifier and quantity offered for inspection. Break out different finishes, artwork versions, inserts and destination labels. Ask the responsible inspection party to agree how these groups will be covered and reported. A result for one configuration should not silently become approval of another.
Record the goods’ actual state: finished, awaiting lining, awaiting protective wrapping, packed or inaccessible. “Production complete” needs a shared meaning. If the inspection includes carton markings and packing, an unfinished packing operation leaves those checks outstanding. Agree readiness conditions with the supplier and inspector before the visit, rather than copying a generic percentage from an online checklist.
Make the approved drawing, artwork, component list, appearance references and packing instruction available together. Resolve conflicting revisions before inspection. The separate golden sample approval guide covers establishing that reference; here, the question is whether the offered goods meet it.
At XRX, the confirmed manufacturing approach aligns structure, material, finish, logo, hardware and lining before bulk production. For the buyer, this has a practical consequence: the inspection brief should identify the complete configuration, including interior and hardware revisions, rather than describe only the exterior color.
Agree the sampling and decision rules before checking boxes
NIST describes lot acceptance sampling as using a random sample to decide whether to accept or reject a lot. Its purpose is the lot decision, not estimating the lot’s quality. A passed sample therefore should not be presented as proof that every uninspected box is defect-free.
A checklist tells the inspector what to examine. The inspection plan also needs to say how selection and acceptance work. Agree the following before results are known:
- The defined inspection population and access to the goods.
- Selection method and sample quantity for each required check.
- Defect definitions, classifications and counting basis.
- Acceptance and rejection rules, including unresolved or incomplete checks.
- The person authorized to approve correction, concessions and shipment release.
If the contract uses an acceptance quality limit, or AQL, name the sampling scheme and applicable edition. ISO 2859-1:2026 provides AQL-indexed sampling schemes for inspection by attributes. It does not replace a product specification. Have the responsible quality professional select and document the applicable plan; this article does not reproduce its tables or prescribe an AQL.
Do not let selected presentation pieces replace the agreed random-selection process. If cartons cannot be reached or a variant is unavailable, identify the limitation in the report. Decide whether the inspection must be completed later instead of quietly expanding the conclusion beyond the goods checked.
Check the finished wooden box as an assembly
Use the following matrix to prepare project-specific requirements. Add the actual reference, tolerance or acceptance description to each applicable row. A blank requirement is a question to resolve, not an invitation for the inspector to invent a limit.
| Check area | Compare or observe | Evidence to record |
|---|---|---|
| Identity and decoration | Correct version, artwork content, orientation and agreed placement | Unit reference, artwork revision and clear photographs |
| Visible surfaces | Lid, edges, corners, underside and interior against agreed appearance limits | Location and description of each departure |
| Dimensions | Specified finished dimensions and relevant clearances | Measured value, requirement and instrument identification |
| Lid and hardware | Normal opening, closure, alignment and engagement | Observed condition and affected unit |
| Lining and inserts | Correct version, seating, exposed edges, cleanliness and agreed attachment | Interior photographs and requirement reference |
| Product fit | Intended contents, accessories, removal and normal lid closure | Product version, checked combination and result |
| Packing and quantity | Protection, contents per carton, marks and order allocation | Carton references, quantities and discrepancies |
Define the conditions for visual comparison, including lighting and which surfaces matter most. Describe a scratch, finish mismatch or decoration error precisely, then assess it against the agreed criteria. Do not automatically classify every surface mark as minor: the lid’s main display area and a concealed underside may have different agreed requirements.
For wood-grain finishes, distinguish acceptable appearance variation from damage or a departure from the approved finish range. Photographs help locate an observation, but they should not silently replace a physical reference when the comparison requires one. Appearance alone also cannot verify a hidden substrate or a claimed material composition; identify the relevant supporting documents separately.
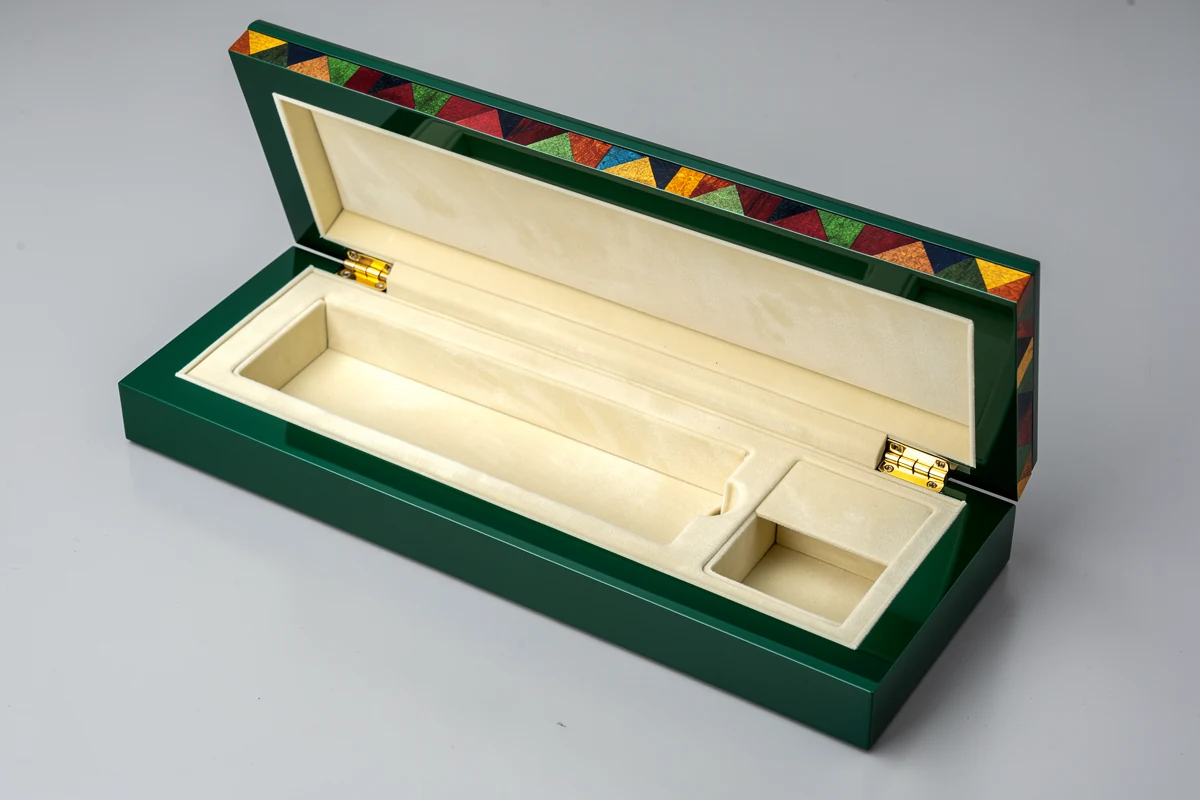
An interior that looks tidy while empty still needs the agreed assembled fit check. Use the intended product version, including its cap and accessories. Observe seating, removal and closure without forcing the lid. If a substitute is used, record what it represents and what remains unverified. This is a practical assembly check, not a measurement of long-term retention or transport protection.
Decide which checks require instruments, controlled conditions or separate test specimens. A photograph of a ruler near a box is not a recorded dimensional result. Likewise, opening a lid during inspection does not establish a rated cycle life. Keep those conclusions within the work actually performed.
Record defects without losing the identity of affected units
“Several scratches found” is difficult to act on. A useful record connects each finding to a unit, its carton or other location, the requirement and the evidence. Include an overview photograph to identify the area and a closer image where needed. Retain the original result even after correction.
Use separate fields for the observed condition, agreed classification, affected unit, corrective action and verification result. The classification should follow the approved defect definitions. If a condition was not anticipated, escalate it for a documented decision rather than changing the criteria informally at the inspection table.
Consider this hypothetical counting example. Three identified boxes each have a scratched lid. One of those three boxes also has a closure problem. There are three distinct affected boxes and four observations. This example supplies neither a recommended sample quantity nor an acceptance threshold. Whether the result meets the plan depends on its counting basis and decision rules.
Keep unique unit references when summarizing by defect category. Otherwise, adding category totals can accidentally count the same box twice. Report inspected quantities and the actual observations clearly; do not turn the sample’s observed count into an unsupported statement about every unit in the shipment.
Turn the report into a release or correction decision
Agree the handoff before inspection: who receives the report, who may decide shipment status and what evidence closes an outstanding item. The following sequence is a proposed buyer workflow that can be adapted to the order.
- Review the scope and findings. Confirm that the inspected goods, completed checks and references match the agreed plan.
- Identify the goods on hold. Record the affected lot or units and keep them distinguishable from goods approved for release.
- Define the correction. Ask for the affected quantity, action, owner and completion forecast. Separate replacing a damaged item from changing the approved design.
- Verify the outcome. Agree the follow-up inspection scope and acceptance rules. Link the new evidence to the original findings.
- Record the decision. State the exact quantity and configuration released, any authorized exception, the approver and date.
A photograph of one repaired box does not automatically close a finding that affects an entire lot. Ask what population was checked or corrected and what evidence supports the proposed disposition. Do not treat a sampling pass as blanket permission to include known nonconforming goods; agree how those items will be handled.

Reconcile the final packing list after sorting, replacement or removal of units. Check that carton identifiers still match the quantity and configuration being released. If part of the order ships first, identify that portion explicitly and retain a separate status for the remainder. Record any checks left incomplete rather than describing the whole order as accepted.
Inspection completion and collection readiness are separate milestones. Protect time for the agreed decision, corrective work and final packing in the order lead-time schedule. A forwarder’s collection booking should not be treated as authorization to release goods with unresolved requirements.
Keep inspection conclusions within their scope
An appearance and functional inspection does not replace a distribution test. ISTA distinguishes screening and general simulation procedures: its 1-Series tests are screening tools, while 3-Series tests simulate transport hazards under defined laboratory conditions. A visual packing check does not demonstrate either result.
Where performance evidence is required, identify the relevant report and the configuration it covers. Review differences in the box, contents, insert or outer packing with the responsible specialist. Avoid assuming that an old report applies automatically, or ordering an unrelated test simply because it appears on a generic checklist.
For an XRX project, use the quality-control overview as a starting point for discussing the required scope. Bring the configuration, lot quantities, current references, intended contents and proposed acceptance criteria when you contact XRX. The useful outcome is a shared inspection brief and a named release decision, supported by records of the goods actually examined.
Frequently asked questions
Is pre-shipment inspection the same as golden sample approval?
No. Golden sample approval establishes an identified reference and its approved scope. Pre-shipment inspection examines the offered production goods against agreed requirements. Approval of the reference does not establish the condition of the shipment.
How many wooden boxes should be inspected?
Use the agreed inspection plan for the defined lot and required checks. Have the responsible quality professional specify the selection method, quantities and decision rules. There is no universal sample count supplied by this checklist.
Should every scratch be treated as a minor defect?
No. Apply the agreed defect definitions and appearance limits, including the location and intended presentation. If a condition is outside those definitions, obtain a documented decision rather than assigning a convenient classification.
What should happen after defects are corrected?
Keep the original findings, identify the corrected goods and complete the agreed follow-up verification. Record the evidence, unresolved items and authorized disposition. A repair photograph alone does not necessarily establish that the affected lot is ready for release.
Does a passed inspection prove shipping protection?
No. A passed inspection addresses its defined checks and acceptance rules. Transport performance requires appropriate evidence for the intended product-and-package configuration; visual and ordinary functional checks do not establish distribution-test performance.