
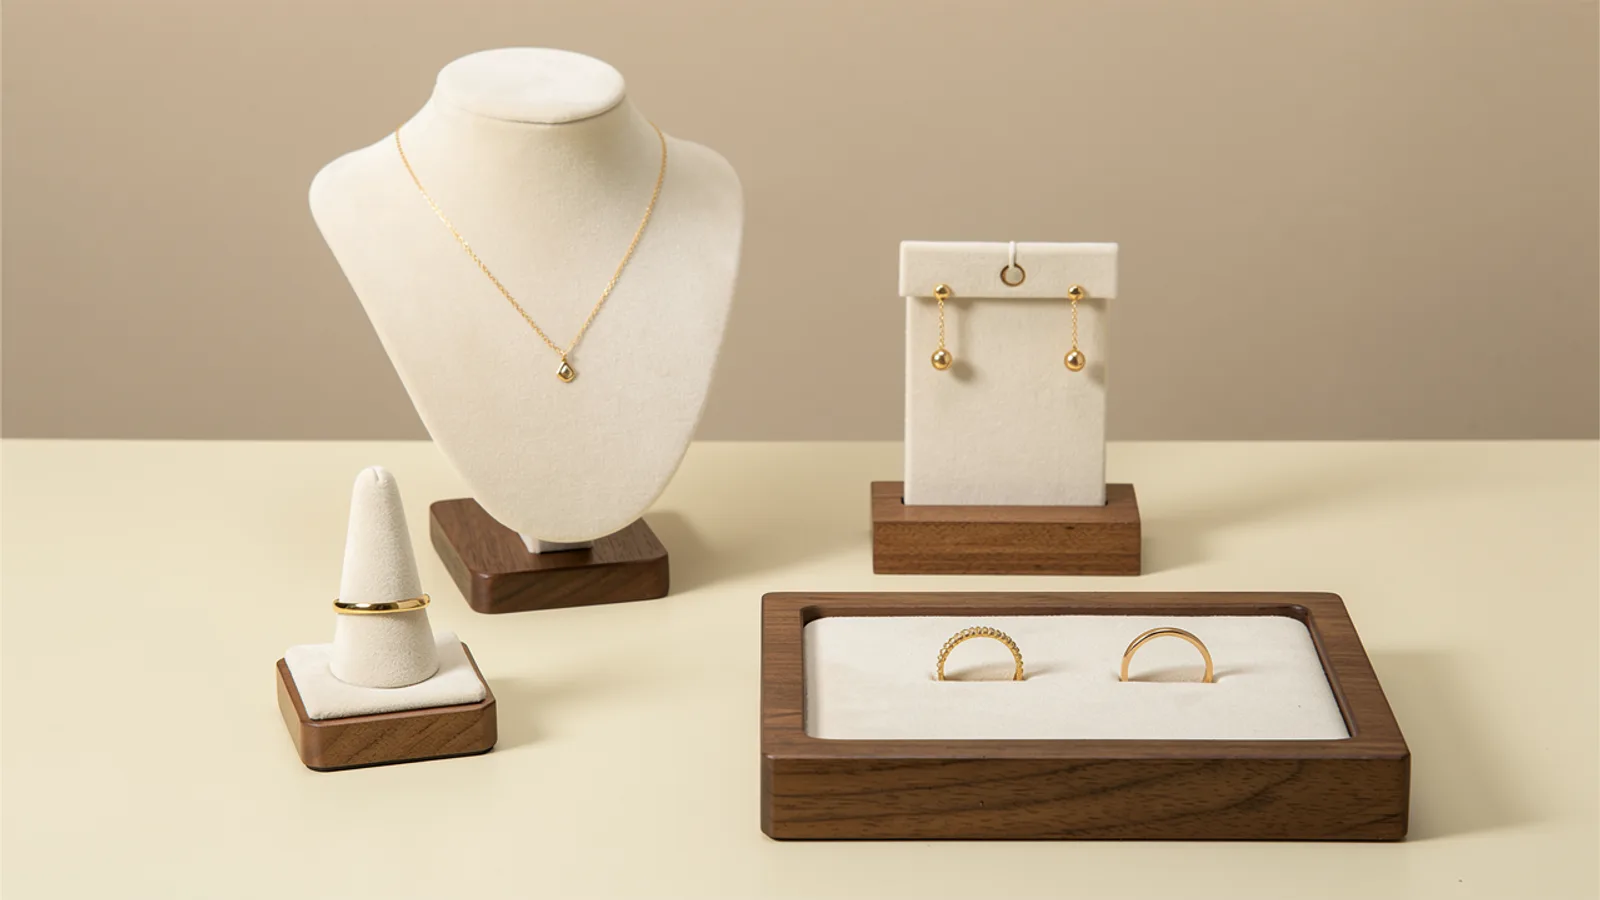

What Are the Main Jewelry Display Types?
A display prop supports jewelry within a counter, showcase or presentation area. It is different from the showcase cabinet itself and from the packaging the customer takes home. Supplier terminology varies, so use a photo or drawing alongside the name.
| Display type | Presentation role | What to check with your jewelry |
|---|---|---|
| Necklace bust or panel | Shows a necklace vertically or on an inclined face. | Chain routing, pendant position and the room needed to remove it. |
| Ring stand or cone | Presents a selected ring individually. | Whether the ring sits securely and its setting faces the customer. |
| Earring holder or panel | Keeps a pair together for viewing. | Post, hook or clip fit; access to the back; clearance for drops. |
| Bracelet bar or cushion | Supports a looped or curved piece. | Fastening method and whether one item can be removed independently. |
| Tray or display pad | Groups pieces within a defined area. | Usable positions, separation and finger access. |
| Riser or platform | Raises another prop or a selected group. | The combined footprint, stability and effect on nearby sightlines. |
Westpack’s display terminology distinguishes item holders from grouping trays and height-building risers. The final column above is our proposed selection checklist, not a universal fit specification.
Which Pieces Need Individual Stands, and Which Belong Together?
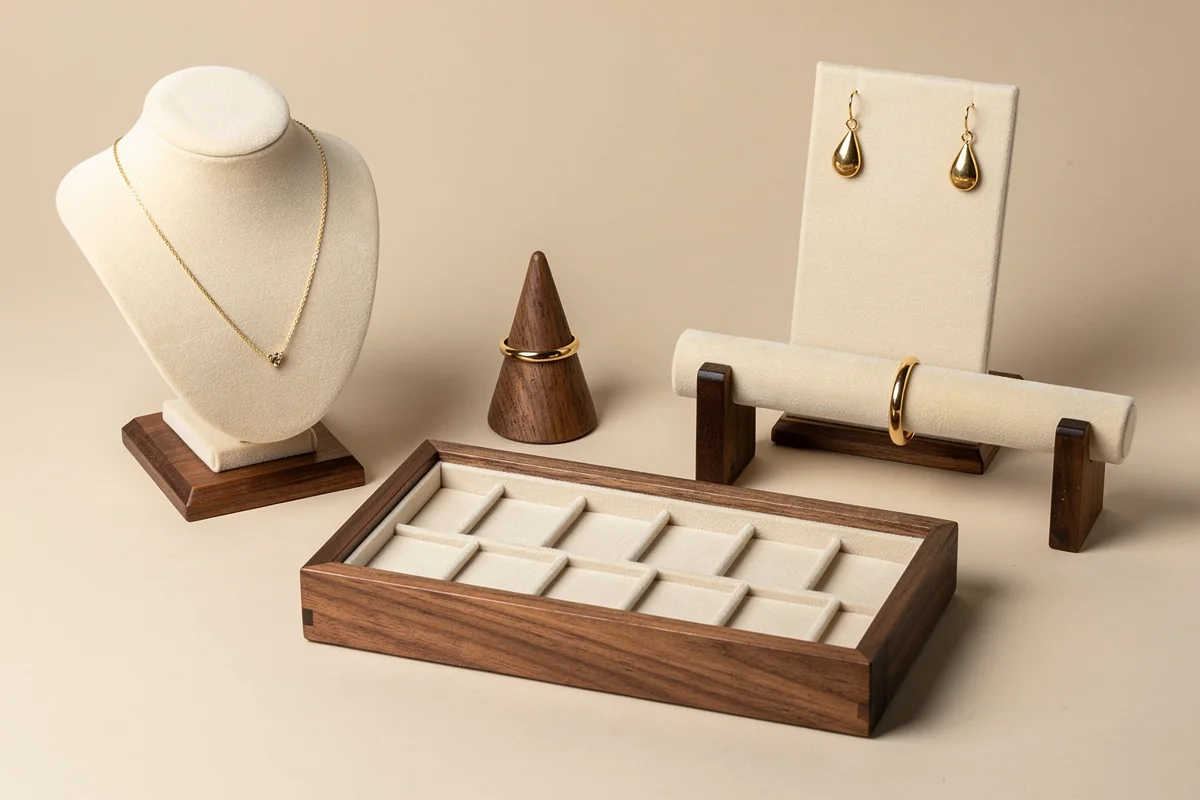
Separate the collection into two jobs: individual presentation and side-by-side comparison. A necklace whose shape is central to the design may deserve a bust. Several ring variations may be easier to review together in a tray, with one selected ring on a separate stand.
This distinction also helps prevent a common planning mistake: treating every item as a focal piece. If every small product receives its own tall support, the buyer still has to decide which pieces belong together and how staff will reach them.
Start a short assortment list with the jewelry reference, quantity displayed, format and removal method. Count what will be shown at one time, rather than the entire stock holding. For earrings, state whether a quantity means individual earrings or pairs.
Review pieces that are likely to challenge the proposed format: a long pendant, a broad ring setting, a long drop earring or a bracelet with a different fastening. These are useful trial items because they expose fit questions before the display family is ordered.
Bust, Panel or Tray: Match the Form to the Viewing Task
Use a bust when the necklace’s drape matters
A bust gives the chain a shaped support. A flatter panel or inclined pad provides a different presentation surface. Bates Display’s guide describes neck forms, trays and risers as distinct components of a retail display system.
To choose between a bust and a panel, place the actual necklace on each candidate. Check where the pendant ends, how excess chain is managed and whether the clasp can be reached. A photograph of an empty bust does not answer those questions.
Use an individual ring holder selectively
Try the proposed holder with the ring sizes and setting shapes in the collection. Check both the viewing angle and removal. A ring should not need to be forced onto a cone merely to make the display look tidy.
When customers need to compare several versions, test a tray arrangement as well. Keep enough access to lift one ring without disturbing its neighbors. The number of slots is only the starting capacity; the actual pieces determine whether those slots are useful.
Choose earring and bracelet supports by how items attach
For earrings, review the fastening behind the panel as well as the front view. A holder that presents a hook-style pair neatly may need a different detail for studs or clips.
For bracelets, rehearse the removal sequence. If taking a piece from the center of a bar requires sliding off other pieces first, decide whether that is acceptable for the intended sales routine. A separate cushion or another holder may be worth testing when independent access matters.
A Worked Example: Five Props for One Small Collection
The following is an illustrative planning example, not an XRX customer case or a standard set size. Assume a counter must show two necklaces, four rings and two pairs of earrings. One necklace and one ring are the featured pieces.
| Collection assignment | Proposed prop | Check before keeping this choice |
|---|---|---|
| Featured necklace | One bust | Pendant and chain remain fully visible. |
| Second necklace | One inclined necklace pad | The chain stays within its display area. |
| Featured ring | One individual ring stand | The setting is visible from the customer side. |
| Other three rings | One tray with three usable positions | Each ring can be lifted separately. |
| Two pairs of earrings | One panel with two pair positions | The pairs remain distinct and backs are accessible. |
This proposal uses five props to present eight assortment entries, counting each earring pair as one entry. It deliberately leaves out bracelet bars and extra risers because this collection has not established a need for them.
Now change the brief: if all four rings must be compared equally, move the featured ring into a suitable four-position tray and remove the separate stand. If the second necklace cannot sit properly on the pad, change that prop. Adjust the set in response to the jewelry rather than preserving the first layout at all costs.
Check the Arrangement from Both Sides of the Counter
Our suggested layout method is to mark the usable counter footprint, place the loaded props within it, and review the arrangement from the customer’s side and the staff’s working side. Include doors, shelf edges, lighting fittings and any space reserved for a presentation tray.
From the customer side: look for a tall prop hiding a smaller piece, jewelry blending into its background, labels competing with the product, or a pendant obscured by the counter frame. Try representative viewing positions instead of approving only a close-up photograph.
From the staff side: remove and return one item from every prop. Check whether reaching behind a bust disturbs another piece, whether an earring back can be handled, and where the jewelry will be placed during a customer presentation.
Add height only when this review identifies a reason. A riser changes the loaded arrangement, so check the prop and platform together. There is no fixed height difference or spacing rule in this guide; the counter and actual jewelry determine the workable layout.
Coordinate the Set Without Making Every Prop Identical
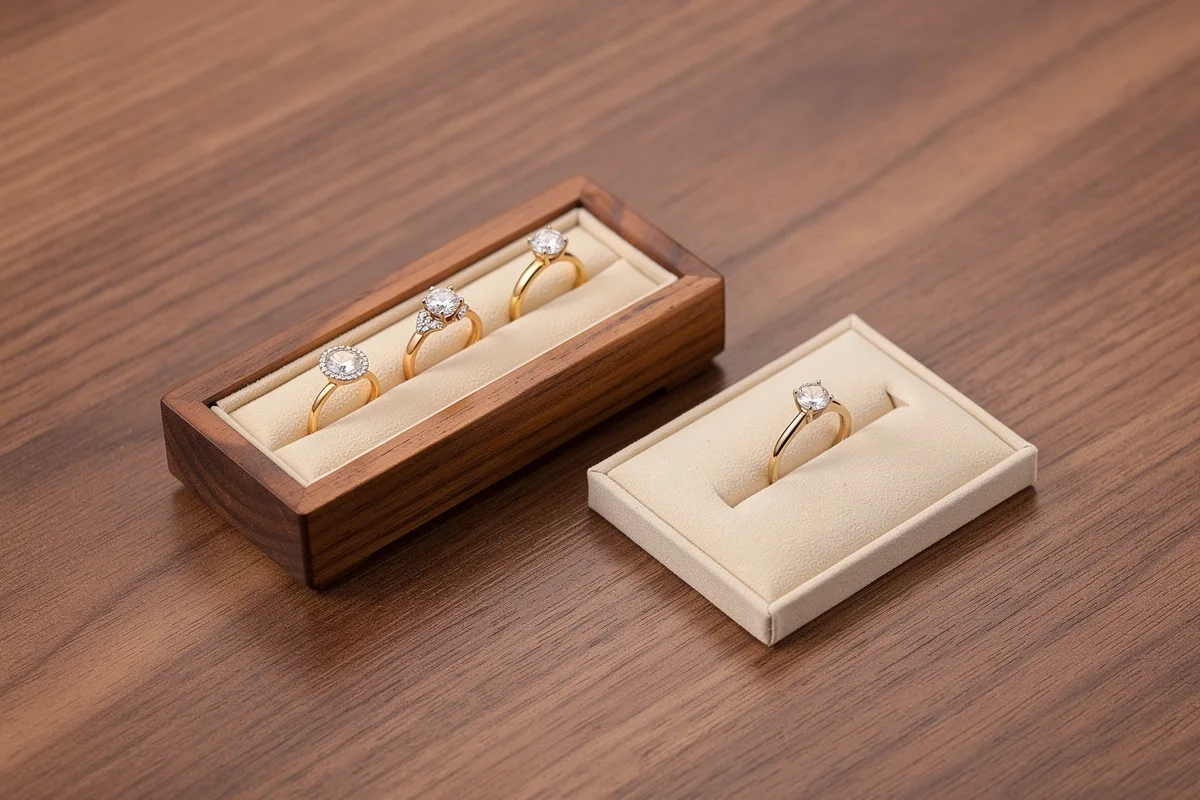
Keep a small set of shared visual references: wood tone or paint color, contact-surface color, edge treatment and logo style. The forms can differ because each serves different jewelry.
Review the finished samples together under the intended display lighting. Check the actual contact surface with representative pieces and agree an appropriate cleaning method with the supplier. A soft-looking covering alone does not establish scratch protection or long-term storage suitability.
For packaging-specific surface selection, see the separate jewelry box lining guide. Retail presentation and packaged protection should retain separate approval requirements.
XRX manufactures wooden jewelry display props and supports custom size, material, finish and branding. Use the wooden jewelry display props page to discuss a coordinated program; confirm the construction and availability of each proposed component for your project.
What to Send Before Sampling a Display Set
Send the counter’s usable dimensions, the displayed assortment, representative jewelry sizes, preferred viewing direction and a component list. Add finish references and a simple sketch showing which jewelry belongs on each prop.
Request one assembled trial arrangement before multiplying the set across counters or stores. Record the accepted component dimensions and layout with the sample approval reference, adapting the record to display props rather than box interiors.
For a project review, share your collection list and counter layout with XRX. These inputs make a more useful starting brief than a request for a generic “complete display set.”
Frequently Asked Questions
Which jewelry display types should a mixed collection include?
Start with the jewelry you intend to show at one time. Necklace busts or panels, ring stands or trays, earring holders and bracelet bars serve different presentation needs. Add a riser only when the assembled layout needs height; a coordinated set does not need every display type.
Should every necklace have its own bust?
No. Use a bust where the necklace’s drape is important to the presentation. A suitable panel or pad may work for another piece. Check the actual chain length, pendant position and removal method before choosing the format.
How many pieces should fit on one jewelry display tray?
Set capacity from the actual assortment and the space needed to see, identify and remove each piece. A tray’s slot count alone does not establish usable display capacity for wide rings, large settings or mixed jewelry.
Are taller jewelry displays always better?
No. Extra height can obstruct other pieces or make staff access awkward. Check the loaded arrangement from the customer’s viewing position and the staff’s working side before adding a riser or taller stand.
Can retail display props replace jewelry packaging?
Do not assume so. A retail prop is selected for presentation and handling at the counter. Storage and transport protection require their own specification and verification, even when the display and packaging use matching finishes.