
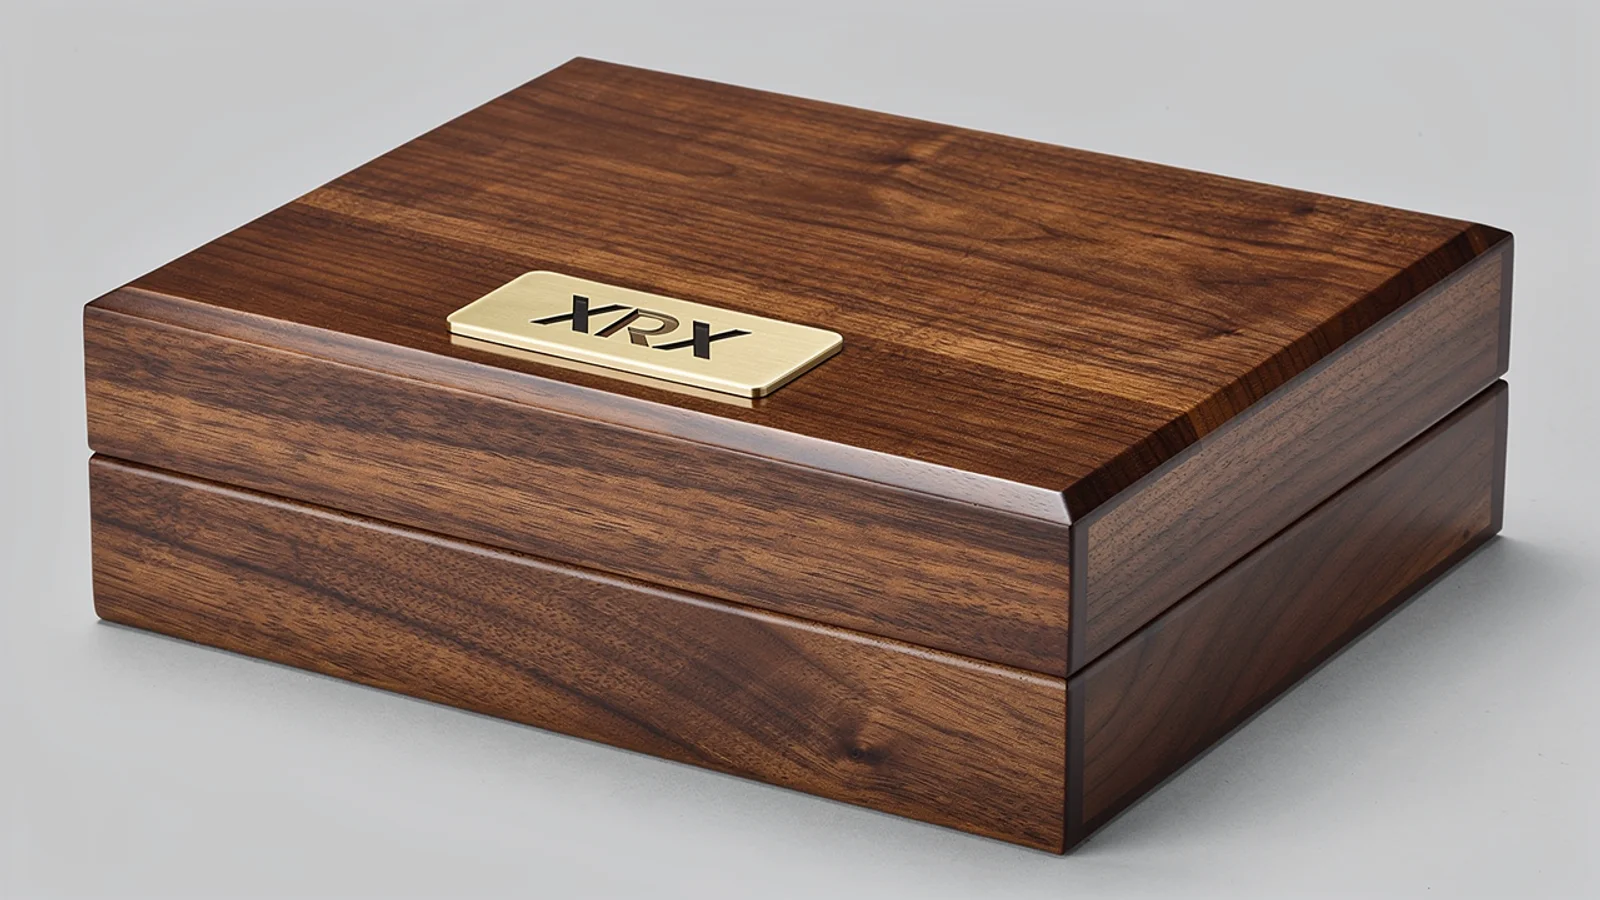

How to attach metal to wood: start with the actual contact surfaces
“Metal to wood” is often shorthand for a more complicated connection. A gold-colored plaque may have a different material or treatment on its back. A wood-grain box may have clear lacquer over veneer. In an adhesive assembly, those contact layers are the immediate bonding surfaces.
3M’s surface science guidance distinguishes an object’s bulk material from its outer surface, including painted metal and varnished wood. For box specification, this means naming the visible metal and wood is insufficient: identify the two surfaces the adhesive actually touches.
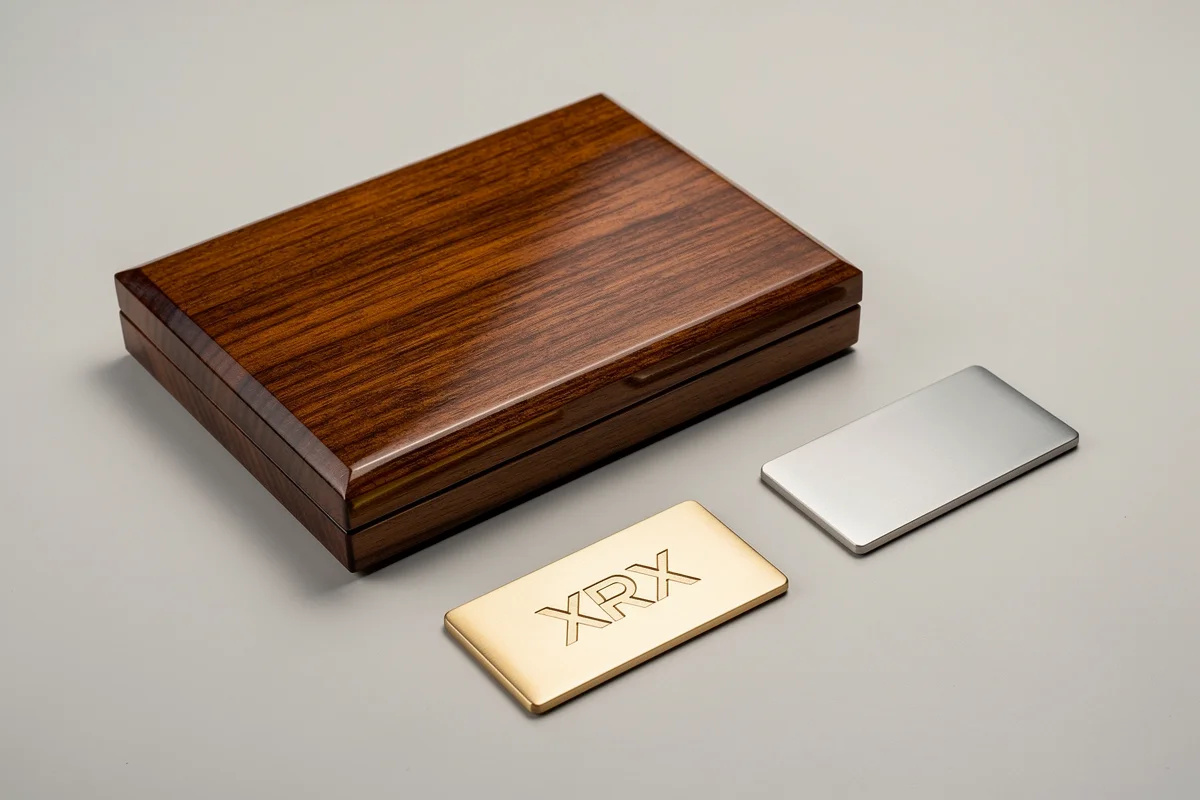
Ask for the plate back specification, including any coating, texture or existing adhesive. On the box side, identify the outer finish and the area available for attachment. Do not approve a connection on an unfinished offcut and assume the approval transfers to the lacquered lid.
The rest of the surface construction matters too. A firmly attached plate is not a reason to ignore the coating or veneer beneath it. Evaluate the finished assembly instead of treating an adhesive’s published properties as the performance of the entire box.
Compare three attachment routes before choosing a product
Choose the attachment approach with the supplier before naming a glue or tape. The following comparison is a planning aid; the proposed materials and sample decide suitability.
| Route to evaluate | Useful design question | Process issue to control | Sample detail to inspect |
|---|---|---|---|
| Pressure-sensitive adhesive tape or a die-cut adhesive layer | Is there enough suitable contact area without exposed adhesive at the edges? | Surface preparation, alignment, application pressure and required time before handling | Visible thickness, edge exposure and attachment after agreed checks |
| Liquid adhesive | Can adhesive be applied and the plate held without contaminating the visible finish? | Quantity, placement, movement during curing and cleaning restrictions | Squeeze-out, plate position and any finish change |
| Screws, posts, tabs or another designed mechanical fixing | Does the wall construction provide suitable access and clearance? | Hole position, hardware dimensions and the assembly sequence | Visible hardware, internal clearance and lining fit |
Pressure-sensitive adhesive is often shortened to PSA. That description covers a type of bonding system, not proof that any double-sided tape is appropriate. Likewise, a liquid adhesive labeled for metal and wood has not necessarily been evaluated on the specific decorative coatings in your design.
Mechanical fixing also needs design work. Request a section drawing through the plate and box wall so the supplier can review thickness, access and the relationship to the lining. Do not add a screw length to the purchase order from the outside appearance alone.
Prepare the finish without creating a cosmetic defect
The intended attachment area must be prepared according to the selected adhesive system and the finish supplier’s limits. That is different from sanding every lacquered surface or applying a general-purpose solvent.
3M’s VHB surface-preparation guidance calls for clean, dry surfaces and addresses sealing porous materials such as wood for those tape applications. It also identifies application pressure and time as relevant to bond development. These are system-specific instructions, not a universal recipe for every tape, adhesive or box coating.
For a finished presentation box, ask the supplier to establish a preparation method that suits the actual coating without leaving a visible mark beyond the plaque. If a primer or cleaner is proposed, confirm its permitted use and evaluate it on a representative finished surface.
If the finish is still being selected, settle that decision alongside attachment development. Our guide to wooden box spray finishes explains the separate coating choices; changing them later can change the attachment surface.
Approve plate height, edges and location together
A metal plaque can be surface mounted or incorporated into a designed recess. Define the desired visible height rather than relying on “flush” as a complete instruction. The plate, attachment layer and recess geometry must be considered together.
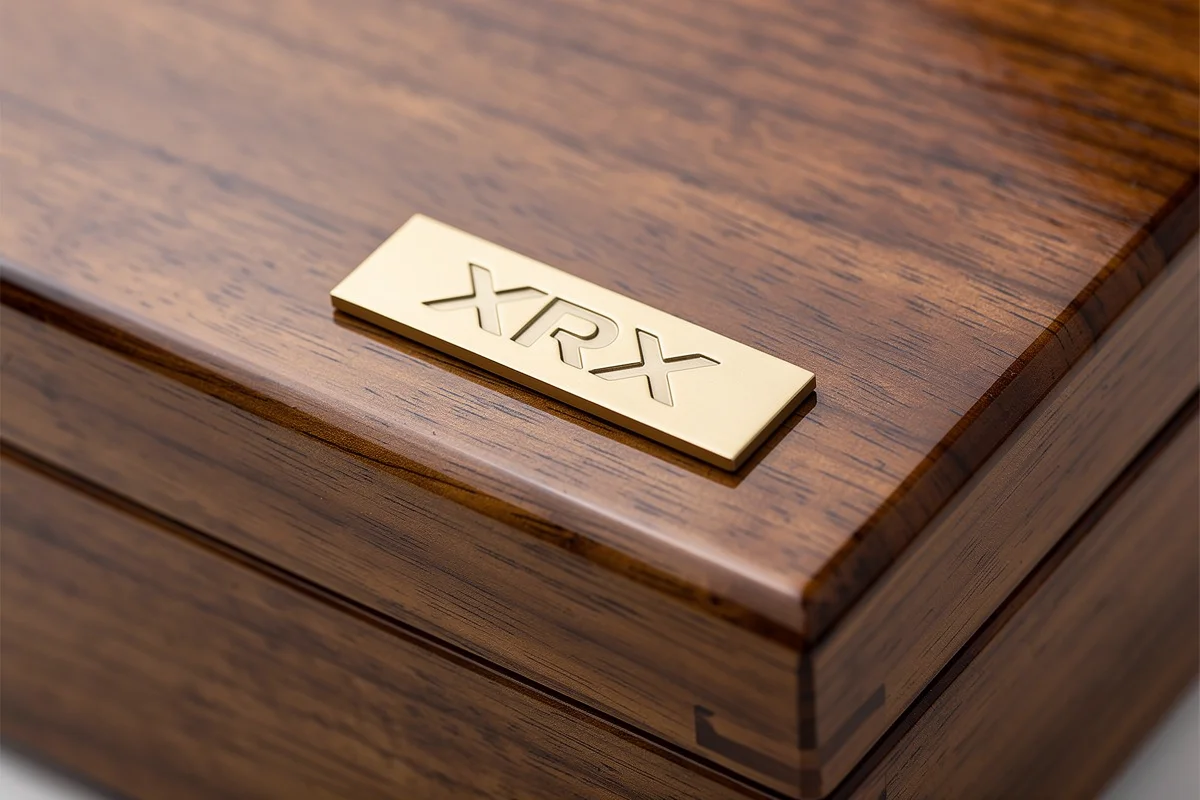
A shallow pocket can help define location and appearance. It should not be assumed to retain the plate by itself or eliminate forces that can lift an edge. If retention depends on adhesive, the adhesive connection still needs approval.
Specify the plaque’s overall dimensions, corner shape, orientation and distances from identifiable lid features. Include which edges may be touched during normal use and whether an exposed step is acceptable. For a high-gloss lid, inspect both the edge detail and any marks around the attachment area.
A practical design judgment: treat plaque placement and attachment strength as different approval items. A perfectly centered plate can still use an unsuitable connection; a firmly attached plate can still look wrong because it sits too high. A sample review should record both.
Make the assembly sequence part of the sample request
Ask when the plate will be attached relative to finishing, lining installation and packing. The sequence should allow the selected attachment process to be completed and checked. A concealed mechanical fixing, for example, requires consideration of access before the inner lining closes the area.
For an adhesive route, ask the supplier to define when the assembly may be moved, inspected and packed under the chosen system’s instructions. Do not replace that process with “pack when dry” or borrow a waiting time from an unrelated adhesive.
Describe the expected handling and packing contacts so the sample plan reflects the application. A decorative plaque should not be used as a lifting point unless a separate load-bearing design has been specified and verified.
Agree how samples will be checked and what counts as acceptable. Useful inspection topics include position, edge exposure, adhesive visibility, finish marking and retention under the agreed conditions. These are topics for a test plan, not a claim that the design has already passed one.
Turn the accepted assembly into a repeatable specification
For wooden packaging box projects, include the following in the plate attachment brief:
- Plate drawing, back-surface specification and artwork revision.
- Box wall construction, outer finish and intended mounting area.
- Attachment route proposed by the supplier, including preparation and handling requirements.
- Position references, visible plate height and acceptable perimeter appearance.
- Internal access and lining clearance if mechanical fixings are proposed.
- Approved finished sample and the agreed inspection conditions.
Use the golden sample approval process to connect the accepted appearance with the relevant drawing and material revisions. If the plaque back, box coating or attachment system changes, review whether the earlier approval still applies.
Explore XRX’s logo and insert customization options, or send the plate drawing and finished box requirements for discussion. Include a view of the back of the plate, not only the branded front.
FAQ
Can a metal logo plate be attached to lacquered wood?
It may be possible, but the attachment must be evaluated on the actual lacquer and plate back. An adhesive contacts those outer surfaces, so approval on bare wood or a different coating is not enough.
Is double-sided tape or liquid adhesive better for a box logo plate?
There is no universal winner. Tape requires a suitable contact area, controlled placement and an appropriate application process. Liquid adhesive requires control of quantity, movement during curing and squeeze-out. Compare suitable systems on the intended finished assembly.
Does a recessed pocket hold a metal plaque securely by itself?
Do not assume so. A shallow pocket can define position and visible height, but retention still depends on the designed attachment. Approve the recess and the fixing method together.
Can screws or posts be used for a decorative metal plate?
They can be considered where the box construction supports them. Confirm wall thickness, rear access, hardware clearance and how the inner lining covers or avoids the fixing. A drawing is needed before holes or posts are specified.
What should buyers send to a supplier before choosing the attachment?
Send the plate dimensions and back-surface details, the box construction and finish, the intended location and edge height, and the expected handling conditions. Request a representative finished sample and agreed acceptance checks.