

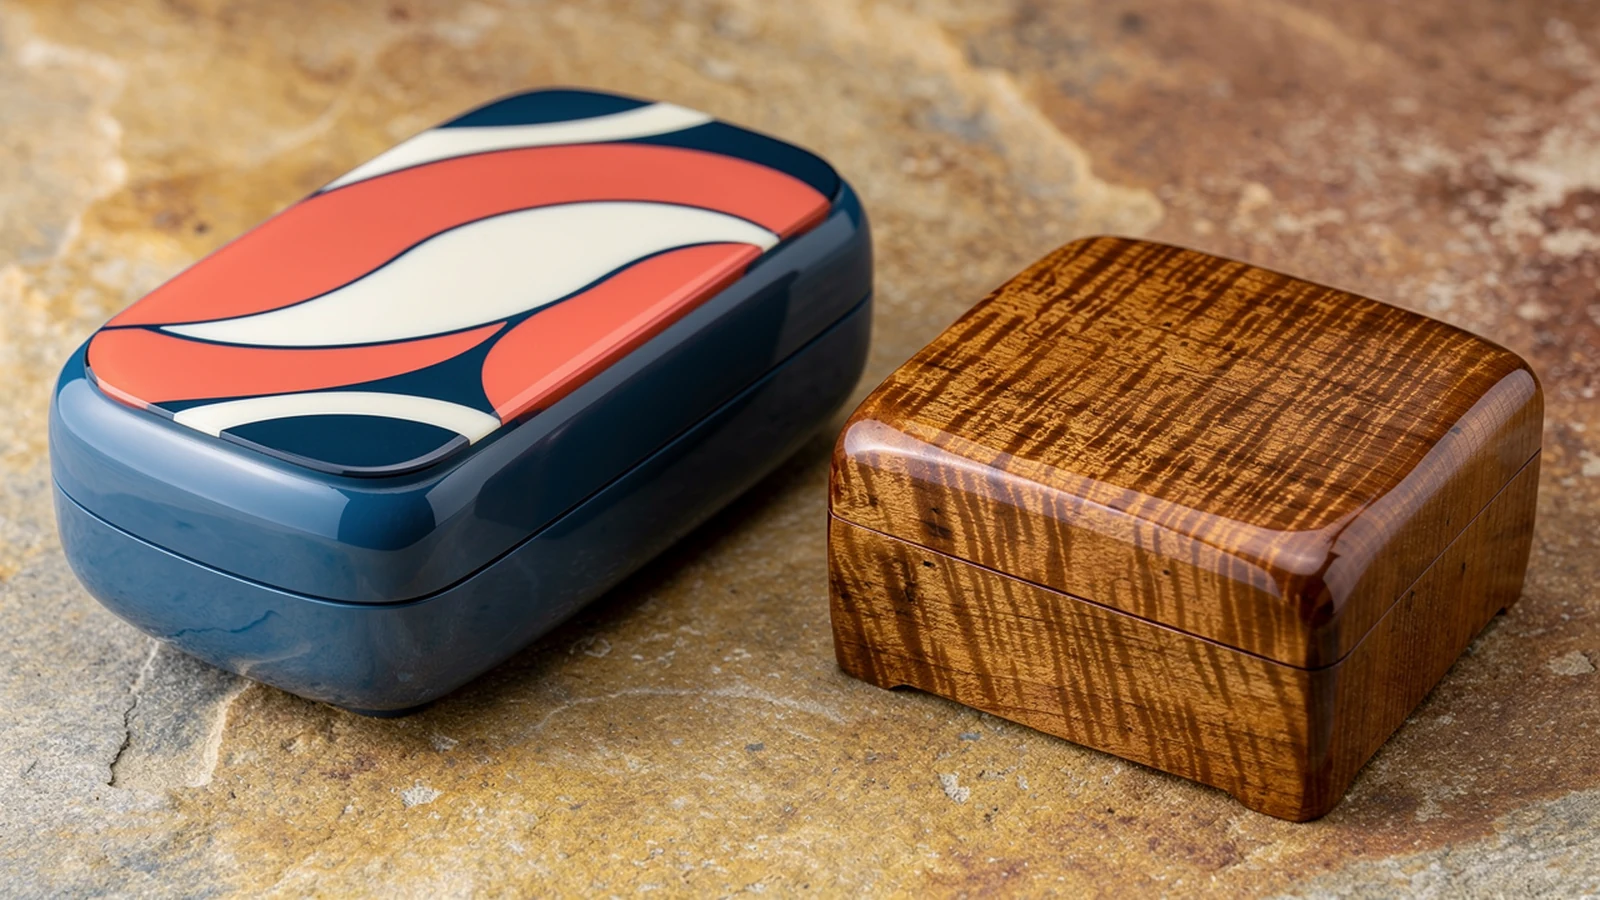

For a brand ordering finished wooden packaging, the useful decision is how those features work together: the exterior should match the intended appearance, the product and insert should fit, and the decoration should finish at an agreed boundary. Put those requirements on the same drawing before approving a sample.
This guide explains what to mark, what to ask the manufacturer and what to inspect. It does not prescribe a radius for every box; the finished construction needs its own review.
Define which part of the corner you mean
Start with three separate views. In a top view, mark the curved outline at the four outside corners. In a section through the upper edge, show how the top surface meets the side. In an interior plan, show the corner that the lining, insert or product will actually encounter.
A box can have a visibly rounded footprint while its upper edge has only a slight softening. Conversely, a broadly rectangular outline can have a pronounced rounded upper edge. Ask the supplier to confirm the proposed combination rather than interpreting both from one perspective rendering.
Also distinguish a curved transition from a bevel. Autodesk’s documentation describes fillets as rounding interior or exterior features, while chamfers bevel edges. That is a useful geometry distinction, not a wooden-box performance specification. See Autodesk’s descriptions of fillets and chamfers.
| Feature to identify | What the drawing should show | What the buyer should confirm |
|---|---|---|
| Outside corner in plan | Radius or agreed profile at the identified corners | The intended silhouette from above |
| Upper edge in section | Rounded or bevelled transition on specified edges | The visible border and feel of the finished edge |
| Finished inside corner | Interior profile after lining and finishing | Clearance for the actual insert and contents |
| Lid-to-base relationship | Both outlines and any intentional offset | Alignment when the completed box is closed |
Do not apply one unlabelled radius note to the whole box. Specify units, locations and the drawing revision, and agree how the finished profile will be checked. If a reference uses a compound curve rather than a circular arc, a single radius may not describe it adequately; request a profile detail.
Protect product space when specifying rounded corners on custom wooden boxes
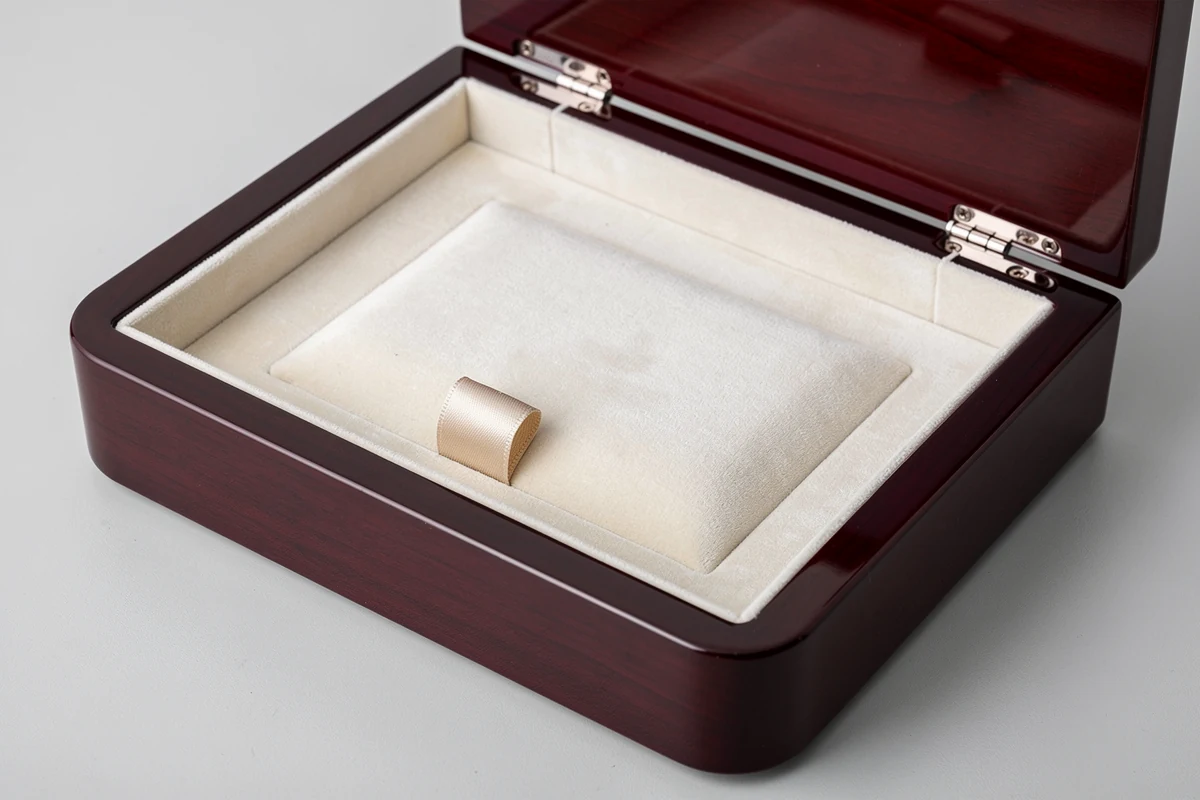
An outside radius is not a reliable description of the inside cavity. Ask for both geometries. The manufacturer should review whether the requested interior can be achieved with the proposed wall construction, joints and finish.
The key fit question is not simply whether the insert is shorter and narrower than the opening. Its corners must also clear the finished inside corners, and it must pass through the opening along the intended loading path. Check the final lining and insert together, including any folded fabric or raised edge that changes contact.
For example, imagine an ideal cavity with straight opposing faces spaced 100 × 80 mm apart and inward corner fillets of radius 10 mm. A centred, square-cornered insert measuring 96 × 76 mm leaves 2 mm at each straight side. Nevertheless, its corners interfere with the cavity’s rounded corners.
At the upper-left corner, the insert point sits 2 mm from each straight face. The centre of the radius sits 10 mm from each face. The distance between them is approximately 11.3 mm, greater than the 10 mm radius, so that insert corner falls outside the available rounded interior. Straight-side clearance alone gave an incomplete answer.
These are illustrative dimensions, not recommended box sizes or manufacturing allowances. Possible revisions include changing the insert’s corner profile, increasing the usable cavity or revising the inside construction. Compare them against product support and presentation before selecting one. Do not enlarge the entire box automatically if a local corner change can meet the brief.
Keep profile requirements separate from dimensional variation. The companion guide to dimensional tolerances for wooden boxes explains how to define measurement locations and acceptance conditions. A correct nominal radius still needs an agreed inspection method and allowable variation.
Confirm how the finished surface reaches the curve
A picture of continuous wood grain around a corner does not establish the underlying construction. For a veneered proposal, ask the supplier to identify the substrate, veneer build-up, grain direction and intended joint location. Request a corner detail showing where one surface treatment ends and another begins.
If uninterrupted grain around the corner is important to the design, make it an explicit sample requirement. Ask the manufacturer to confirm feasibility for the actual combination, rather than treating a photograph of another box as proof. A defined joint or contrasting edge may be an acceptable design option, but it needs approval before it appears on the sample.
For painted or clear-coated boxes, inspect the finished edge as well as the broad flat face. Teknos’s guidance for coated joinery explains that wet paint can move away from sharp edges. Its document addresses items such as windows and doors; its specified radii should not be copied into a decorative wooden-box order. Use the principle to request a suitable finish review for your construction, not to invent a universal minimum. See the Teknos joinery application guidance.
On the sample, examine the transition under consistent lighting. Record visible roughness, exposed substrate, unexpected colour changes or an uneven profile against the agreed appearance reference. Keep those observations specific. A smooth-looking radius does not establish coating adhesion, resistance to rubbing or the strength of the corner joint.
Place decoration against a defined edge boundary
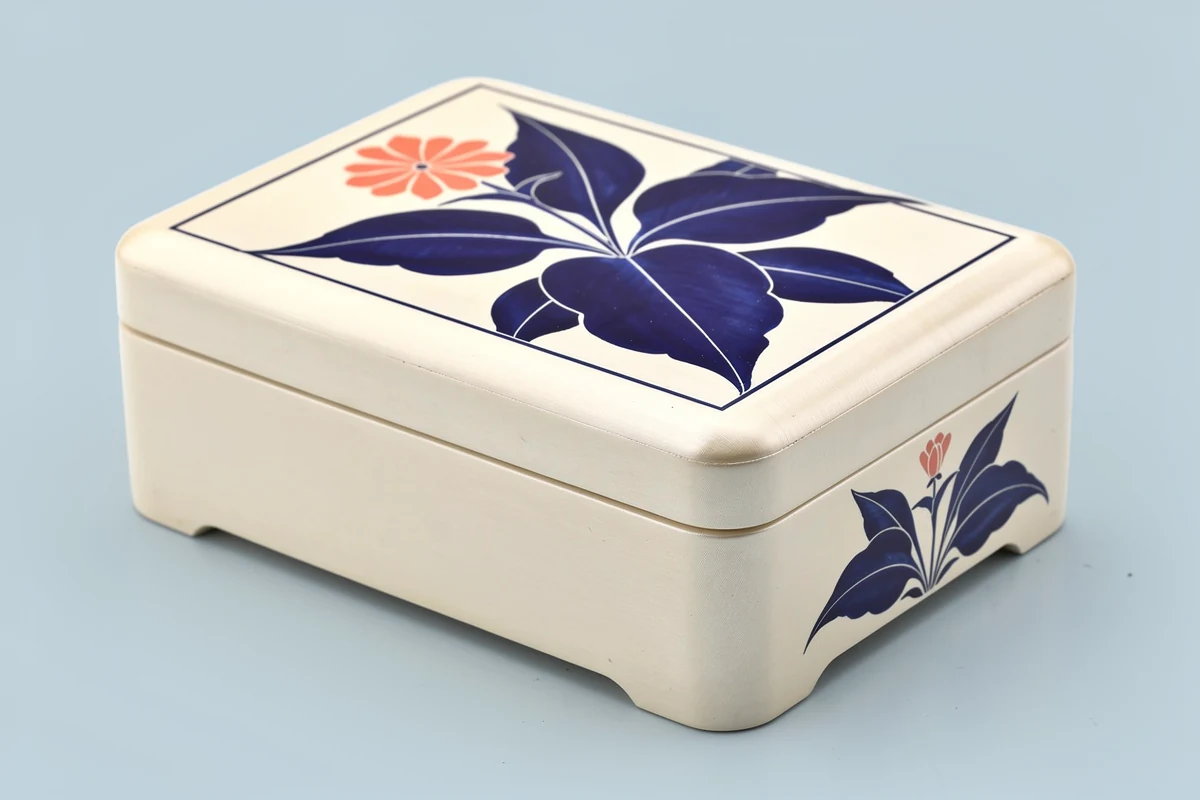
A flat lid proof can show the artwork clearly without showing where the flat surface starts curving downward. Mark that transition on the placement drawing, especially when a border, fine line or important motif sits close to it.
Choose the intended treatment: decoration contained within the flat face, decoration extending onto a curve, or separate artwork for the lid and side. Ask the supplier to confirm the proposed application method and available placement area. None of these choices should be inferred from a generic “full print” note.
If the design uses a plain border, identify the reference boundary for measuring it. The outermost box outline and the start of the rounded edge are different references. Two proofs can use the same numerical border width while placing the artwork differently if the measurement origin is unclear.
For a design crossing the lid opening, show the closed-box relationship and inspect it on the finished sample. Keep essential lettering or symbols where they can be read in the intended viewing position. If the corner profile changes later, review the decoration boundary again before reusing the approved layout.
Approve the closed outline and the open fit together
Review the sample closed first. Compare the lid and base at each corner from above and from the side. Check that any overhang or offset is intentional, that the opening line follows the agreed design and that the profile does not change unexpectedly between corners.
Then open the box and load the actual contents using the intended insert. Confirm that the insert seats properly, that the product can be removed as planned and that closing the lid does not require forcing the contents into position. A corner change should not be approved only because the empty box looks attractive.
For a dimensioned circular radius, agree on a suitable profile gauge, template or other measurement approach with the manufacturer. Match the method to the accessible finished surface. Photographs can document an observation, but perspective and reflections make them a poor substitute for an agreed dimensional check.
Record each correction by location. “Increase the outside plan radius at all four base corners while retaining the approved interior profile” is more useful than “make the corners rounder.” The manufacturer must then confirm the revised construction and identify any effect on the lid, decoration or insert.
Attach the accepted drawing and corner details to the approved wooden-box sample record. If the supplier proposes a material or construction change later, use that record to identify which parts need renewed review.
Send a corner-specific brief with the quotation request
Before requesting a quotation, collect the intended exterior profile, finished internal dimensions, insert outline, surface treatment and decoration boundaries. Add photographs as appearance references, with notes explaining which features matter. State whether the supplier may propose alternatives and what must remain fixed.
This makes competing proposals easier to assess. A quotation for a lightly eased edge is not necessarily pricing the same design as one for a substantially curved footprint with coordinated lining and decoration. Request a written explanation of any deviation before comparing prices.
For custom wooden packaging boxes, settle the corner detail alongside the contents and finished appearance. You can send XRX your drawing and product dimensions for a project review, including the reference views and any corner-fit concerns you want resolved during sampling.
Frequently asked questions
What is the difference between a rounded corner and a rounded edge?
A rounded corner can describe the curved box outline in top view, while a rounded edge can describe the transition between the top and side surfaces in section. Because the wording can be ambiguous, identify the location and view on the drawing instead of relying on the phrase alone.
Do rounded outside corners require a rounded interior?
Do not infer the interior from the exterior appearance. Specify the inside profile separately and ask the manufacturer to confirm a feasible construction. The approved design must account for the wall, joints, lining and the space needed by the contents.
Why can an insert fail to fit when its length and width are smaller?
Square insert corners can interfere with curved internal corners even when there is clearance at the straight sides. Check the complete finished outline and loading path with the intended lining and product, rather than comparing length and width alone.
What radius should I specify for a custom wooden box?
Choose the profile through a review of the desired appearance, interior fit, construction, finish and decoration. Agree the dimension and inspection method with the manufacturer. Do not copy a radius from a photograph or an unrelated coating specification as a universal requirement.
Can artwork extend over a rounded wooden box edge?
Ask the supplier to confirm feasibility for the selected surface, geometry and application method. Mark the decoration boundary on the drawing and approve its placement on the finished sample. A flat artwork proof alone does not establish the appearance around a curved edge.